 by
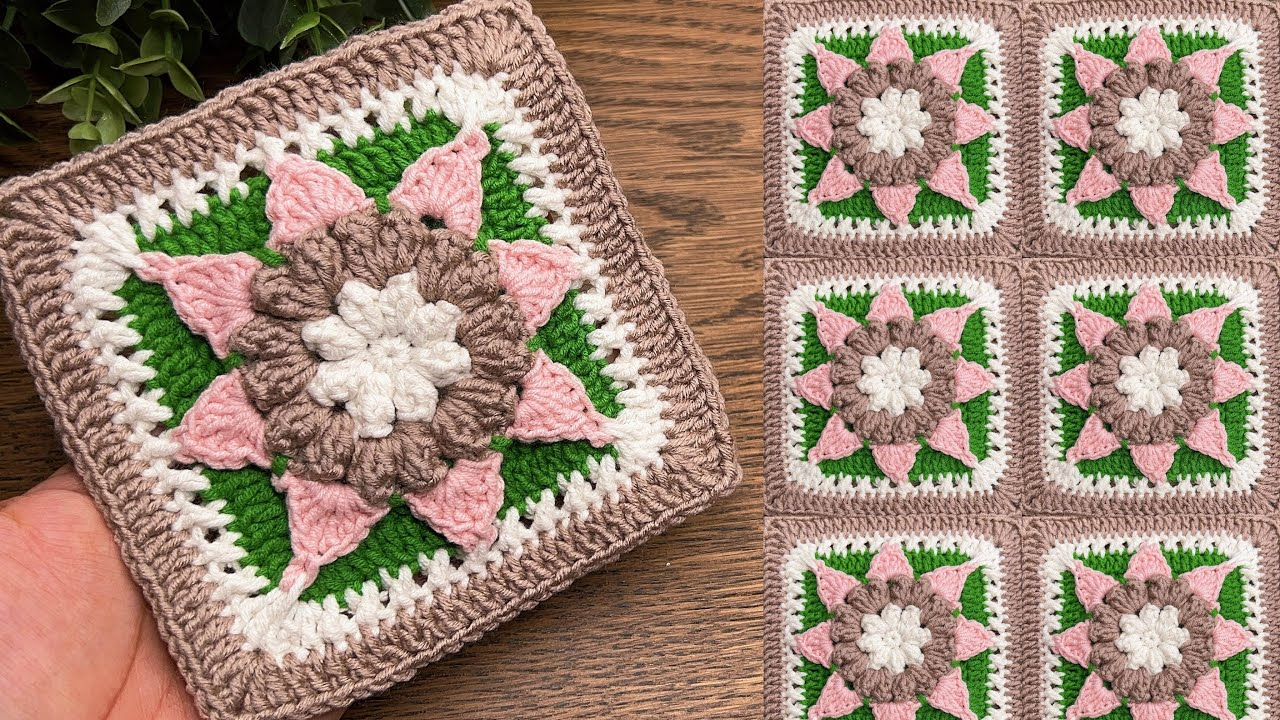
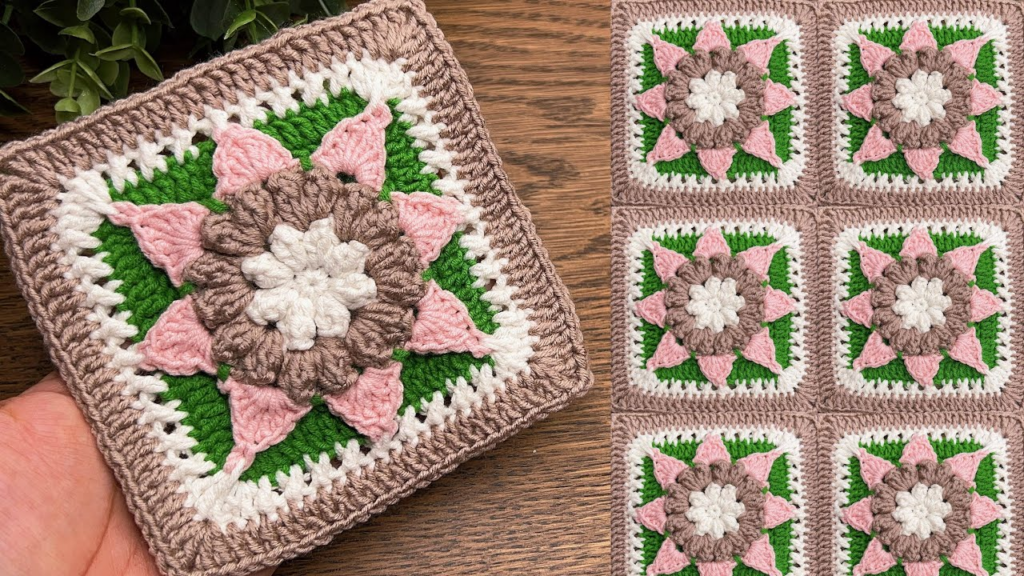
by The Granny Square is the quintessential crochet project. It is the perfect blend of simple, repetitive motion and creative freedom. Once you learn the “cluster” technique, you can make everything from small coasters to massive, heirloom-quality blankets.
Here is your comprehensive, step-by-step guide to mastering the classic Granny Square.
🧶 The Beginner’s Toolkit
| Item | Recommendation |
| Yarn | Worsted Weight (Size 4) – Bright, solid colors make it easier to see your stitches. |
| Hook | 5.0 mm (H/8) – This size is comfortable for most beginners. |
| Extras | Scissors and a tapestry needle (for weaving in ends). |
Stitch Key (US Terms):
- ch (Chain): Yarn over, pull through the loop on your hook.
- sl st (Slip Stitch): Insert hook, yarn over, pull through both the stitch and the loop on your hook.
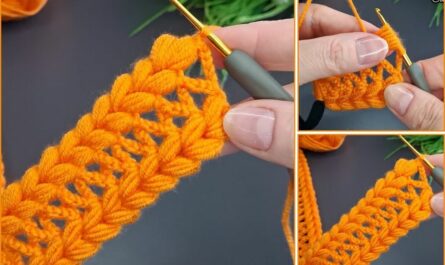
- dc (Double Crochet): Yarn over, insert hook into space/stitch, pull up a loop, yarn over and pull through 2 loops twice.
- Cluster: A group of 3 double crochets (3 dc) worked into the same space.
🛠 Step-by-Step Instructions
Round 1: The Core
- Start:
ch 4. Join with asl stinto the first chain to form a small ring. - The Start:
ch 3(this counts as your first dc). - The First Cluster: Work 2 dc into the center of the ring.
ch 2(this creates your first corner). - The Pattern: Work a cluster of 3 dc into the ring, then
ch 2. Repeat this two more times. - Join:
sl stinto the top of the initialch 3.

Result: You now have 4 clusters and 4 corners. Pull the starting yarn tail to close the center hole.
Round 2: Growing the Square
- Travel:
sl stacross the tops of the next 2 stitches and into the nearest corner space. - Corner 1:
ch 3(counts as dc),2 dc,ch 2,3 dc(all in that same corner space). - The Transition:
ch 1. - The Corners: In each of the remaining 3 corner spaces, work (3 dc, ch 2, 3 dc). Remember to
ch 1between each corner cluster. - Join:
sl stto the top of your initialch 3.
Round 3: The Expanding Frame
- Travel:
sl stinto the nearest corner space. - Corner:
ch 3,2 dc,ch 2,3 dc(all in the corner). - The Side:
ch 1. Work a cluster of 3 dc into the side space (the gap created by thech 1from the previous round).ch 1. - The Corner: Work (3 dc, ch 2, 3 dc) in the corner.
- Repeat: Follow this rhythm around the square:
(3 dc, ch 2, 3 dc)in every corner, and3 dcin every side space, withch 1between each cluster. - Join:
sl stto the top of the initialch 3.

📐 3 Secrets for Professional Results
- The “Turning” Trick: To prevent your square from spiraling or twisting as it gets larger, turn your work over after every round. This keeps the stitches perfectly vertical and ensures the corners remain razor-sharp.
- The Magic of Blocking: Beginners often think their finished squares look “lumpy.” Blocking solves this. Pin your finished square to a clean towel or foam board, stretching it into a perfect, sharp-cornered square. Spritz it with water and let it dry. This “locks” the fibers and makes the square perfectly flat.
- Weave As You Go: Don’t leave all your yarn ends for the end of the project! Use a tapestry needle to weave your tail under the stitches of the current round as you finish. It keeps your work neat and prevents you from having to weave in dozens of ends at the end of a big blanket.
💡 How to Join Them
If you are ready to connect your squares, the Flat Slip Stitch Join is the best beginner method:
- Place two squares side-by-side with the right sides facing you.
- Insert your hook through the back loops only of both squares.
- Pull up a loop and
sl stacross the edge. - This creates a recessed, professional-looking seam that mimics the look of a machine-made garment.
Would you like me to suggest a simple project you could start with once you’ve finished your first few squares, such as a coaster or a small pouch?