 by
by Crocheting square motifs is one of the most rewarding skills in the craft because they are the “Lego bricks” of the fiber arts. You can combine them to create everything from blankets and pillows to sophisticated blouses and table runners.
To master square motifs, you need to understand the three fundamental pillars of their construction.

1. The Anatomy of a Square Motif
Almost every square motif, whether simple or complex, follows a radial progression:
- The Center (The Core): Usually a Magic Ring (for a seamless look) or a Chain Ring (easier for beginners). This is where you establish the base count.
- The Corners: These are the “engine” of the square. To keep a square flat, you must increase at the corners. The standard formula is (Stitch, Chain, Stitch) into the same corner space. This specific increase forces the fabric to turn a 90-degree angle.
- The Sides: This is where you determine the “look” of your square.
- Openwork: Working into chain spaces (the classic granny style).
- Solid: Working into every stitch across (the architectural/modern style).
- Textured: Using post stitches or cluster stitches to create 3D patterns.

2. The Three Common “Architecture” Styles
| Style | Construction | Best For |
| Classic Granny | Clusters of 3 dc separated by chain-1 spaces. | Blankets, bohemian home decor. |
| Solid Square | Dc in every stitch; only the corners have chains. | Sturdy bags, table runners, pillows. |
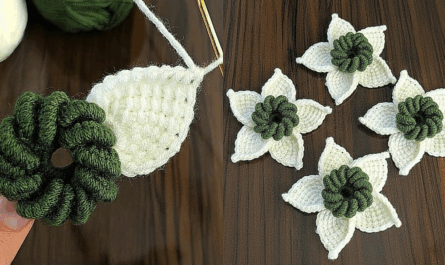
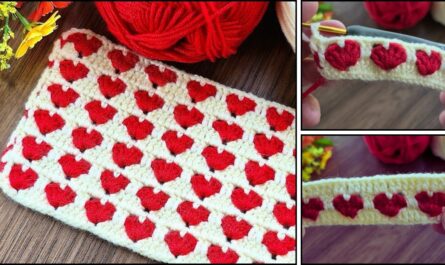
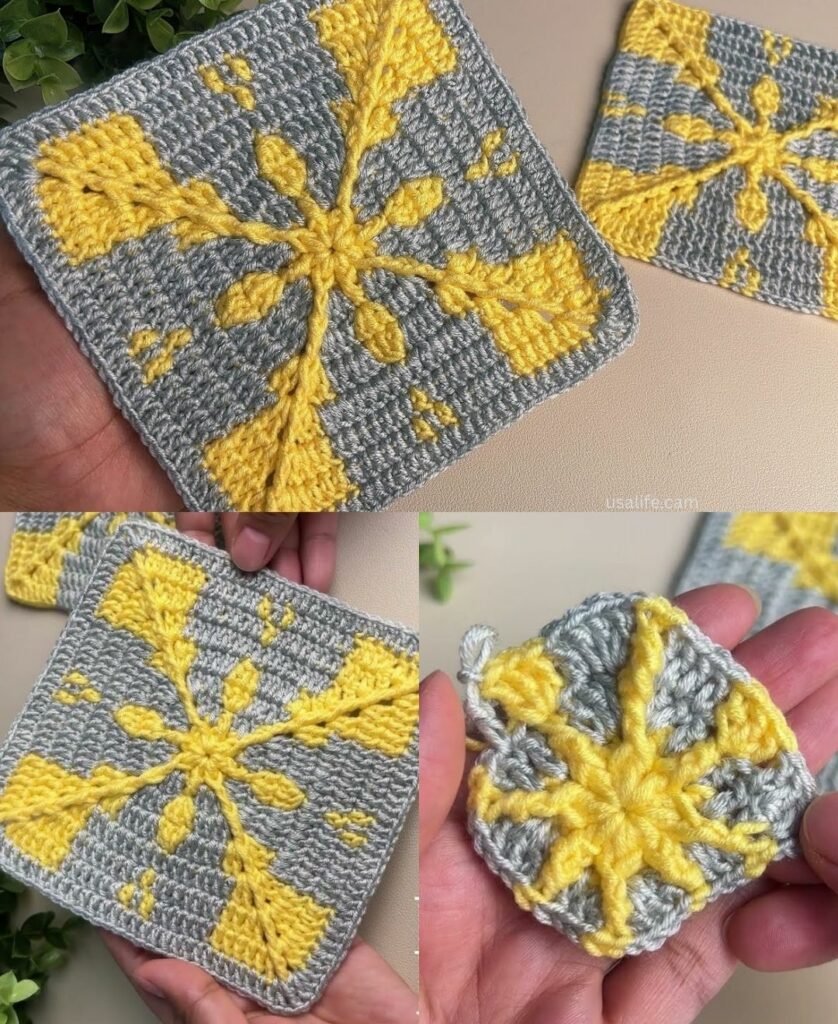
| Floral/3D Motif | Uses “popcorn” or “bobble” stitches in the center. | Statement pillows, decorative throws. |
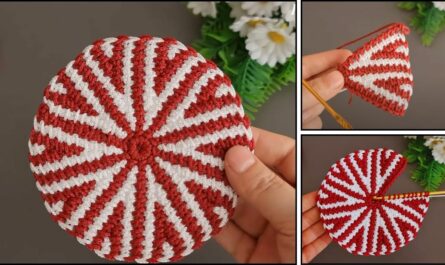
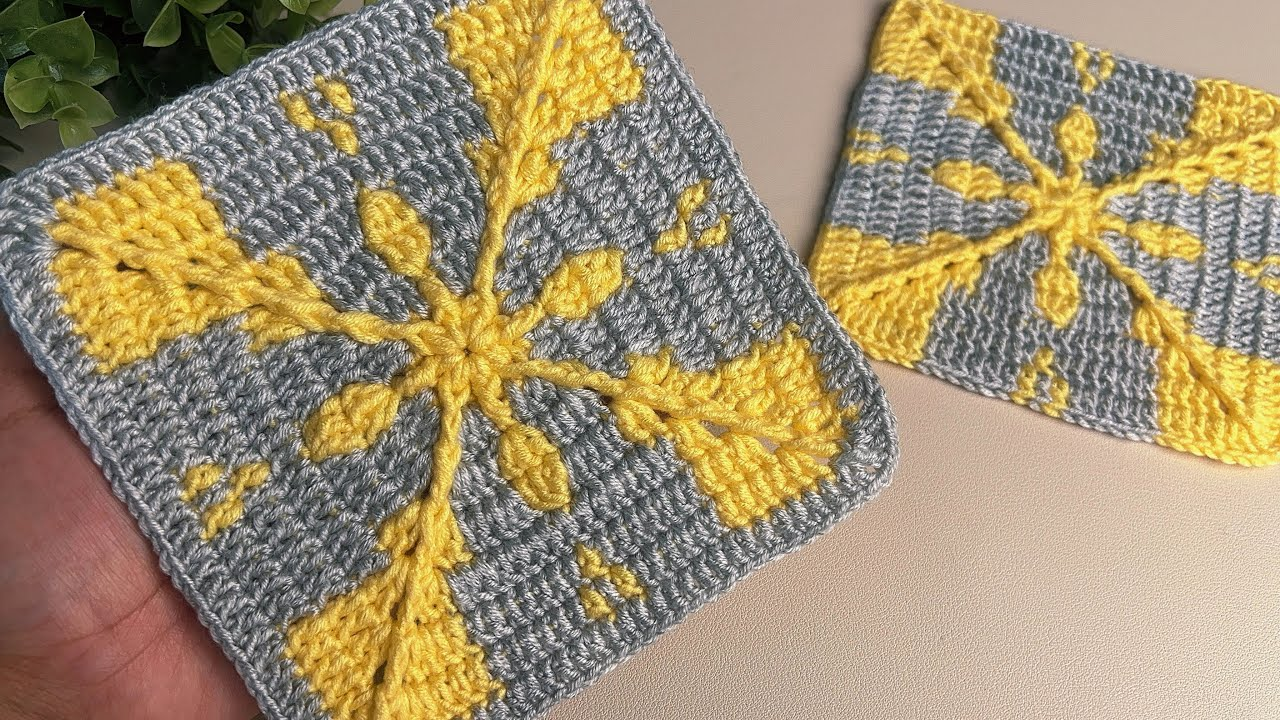
3. Step-by-Step: The “Solid” Motif Masterclass
If you want a square that looks professional and clean (with no gaps), use this method:
- Round 1: Start with a Magic Ring.
ch 3(counts as first dc). Work 11 dc into the ring.sl stto join. (12 stitches total). - Round 2:
ch 3,dcin the next 2 stitches. In the next stitch, work(2 dc, ch 2, 2 dc)—this is your first corner. Repeat the side-and-corner pattern 4 times.sl stto join. - Round 3:
ch 3. Work1 dcinto every stitch across the side. In every ch-2 corner space, work(2 dc, ch 2, 2 dc). - Repeat: Continue Round 3 until your square reaches the desired size.

4. The “Pro” Finishing Techniques
The difference between a square that looks “homemade” and one that looks “designer” comes down to how you finish it.
- The Invisible Join: Instead of using a slip stitch to end your rounds, use a tapestry needle. Thread the tail through the first stitch of the round and back into the last, creating a seamless, invisible loop that mimics the “V” of a real stitch.
- Blocking (Non-Negotiable): This is the most important step for motifs. Pin your squares to a foam board using T-pins, pulling the corners until they are perfect 90-degree angles. Steam them lightly with a handheld steamer. This “sets” the fibers and makes the motifs identical in size, which is critical for joining them later.
- Choosing Your Join:
- Flat Slip Stitch Join: Creates a recessed, professional seam that lies completely flat.
- Mattress Stitch (Sewn): The strongest join, perfect for bags or heavy garments.
- Join-as-you-go: The fastest method; you crochet the final round of the second square while attaching it to the first.

💡 Troubleshooting Common Issues
- My square is turning into a circle: You aren’t increasing enough at the corners. Ensure you are working
(2 dc, ch 2, 2 dc)in every corner space. - My square is “ruffling” (wavy edges): You have too many stitches on the sides. You are likely accidentally adding extra stitches that aren’t part of the pattern.
- My square is curling into a bowl: Your tension is too tight. Try going up half a hook size or loosening your chain stitches in the corners.
Would you like me to provide a specific, advanced pattern for a 3D flower motif, or should we map out a layout for a blanket using the Solid Square method?