 by
by Crocheting a flower is one of the most rewarding small projects you can undertake. Flowers are essentially “mini-motifs” that allow you to practice working in the round, creating texture, and shaping petals.
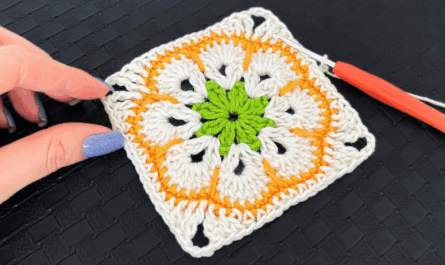
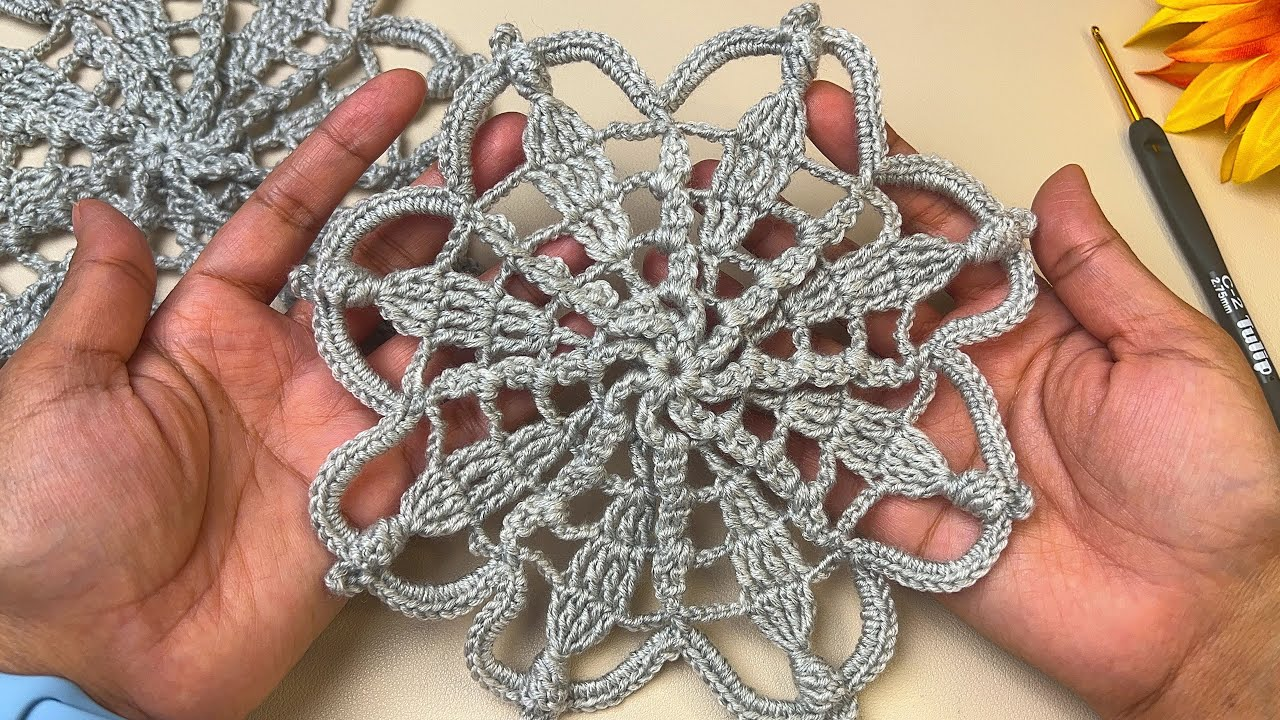
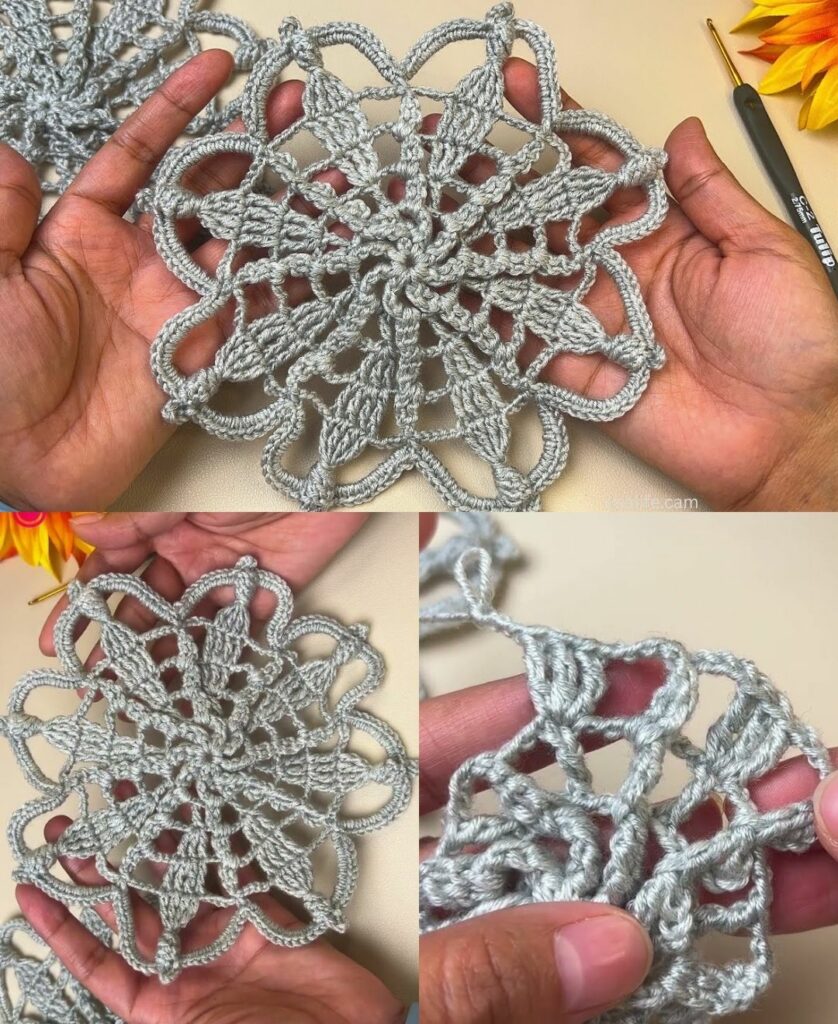
Whether you want a simple flat daisy or a dramatic 3D rose, the fundamental construction remains the same. Here is a detailed guide on how to crochet a versatile Classic 5-Petal Flower.

🧶 The Flower Maker’s Toolkit
| Tool | Recommendation |
| Yarn | Cotton or Acrylic (DK or Worsted weight) |
| Hook | 3.5 mm (E/4) or 4.0 mm (G/6) |
| Extras | Yarn needle for weaving ends; optional button for the center |
Stitch Key (US Terms):
- ch: Chain
- sl st: Slip Stitch
- sc: Single Crochet
- dc: Double Crochet
- tr: Treble Crochet (for taller, pointier petals)
🛠 The Step-by-Step: Classic 5-Petal Flower
Step 1: The Foundation (The Center)
- Start:
ch 5. - Ring: Join with a
sl stto the first chain to form a small ring. - Setup:
ch 1(this does not count as a stitch). Work 10 sc into the center of the ring. - Join:
sl stto the firstsc.

Step 2: The Petals (The Creative Part)
You will now work directly into the stitches of the center ring.
- Position:
sl stinto the next stitch. - Petal Start:
ch 2. - Petal Body: Work 2 dc and 1 tr into the same stitch.
- Petal Peak:
ch 1(this gives the petal a tiny point). - Petal End: Work 1 tr, 2 dc, and
ch 2into the same stitch. - Secure:
sl stinto the next stitch of the ring to anchor the petal. - Repeat: Repeat these steps 5 times total to create five petals.
Step 3: Finishing
- Fasten Off: After the last petal,
sl stinto the base of the first petal. - Tail: Cut the yarn, leaving a 15 cm tail. Pull the tail through the loop and use your yarn needle to weave the end securely into the back of the flower.

🎨 How to Make Them “Stunning”
If you want your flowers to look like they came from a high-end boutique rather than a craft basket, apply these three expert techniques:
- The “Pop” Center: Instead of just crocheting the center, sew a small vintage button, a pearl bead, or a cluster of French knots using a contrasting embroidery floss in the very middle. This adds a professional, finished quality.
- The Layering Technique: For a “full” flower (like a rose or a dahlia), make two identical flowers. Use a smaller hook for the bottom one and a larger one for the top. Stack them, offset the petals, and sew them together through the centers. This gives you a dense, 3D effect.
- Blocking for Perfection: Even a small flower can look “wobbly” off the hook. Pin the flower flat to a piece of styrofoam or a towel, pulling the petals outward so they lie symmetrically. Lightly steam them with a handheld steamer. When they dry, they will hold their “open” shape beautifully.
💡 Endless Creative Uses
- Wearable Art: Glue a brooch pin to the back of a large flower to accent a blazer or a sun hat.
- Gift Wrapping: Use a piece of jute twine to tie a gift, then thread the twine through the center of a crochet flower for a beautiful, rustic tag.
- The “Floral” Blanket: Make 50 small flowers in various shades of one color (e.g., all pinks). Join them together in a field pattern to create a soft, textured throw.
Would you like me to provide a pattern for a more advanced 3D rose or perhaps a simple way to connect these flowers into a garland?