 by
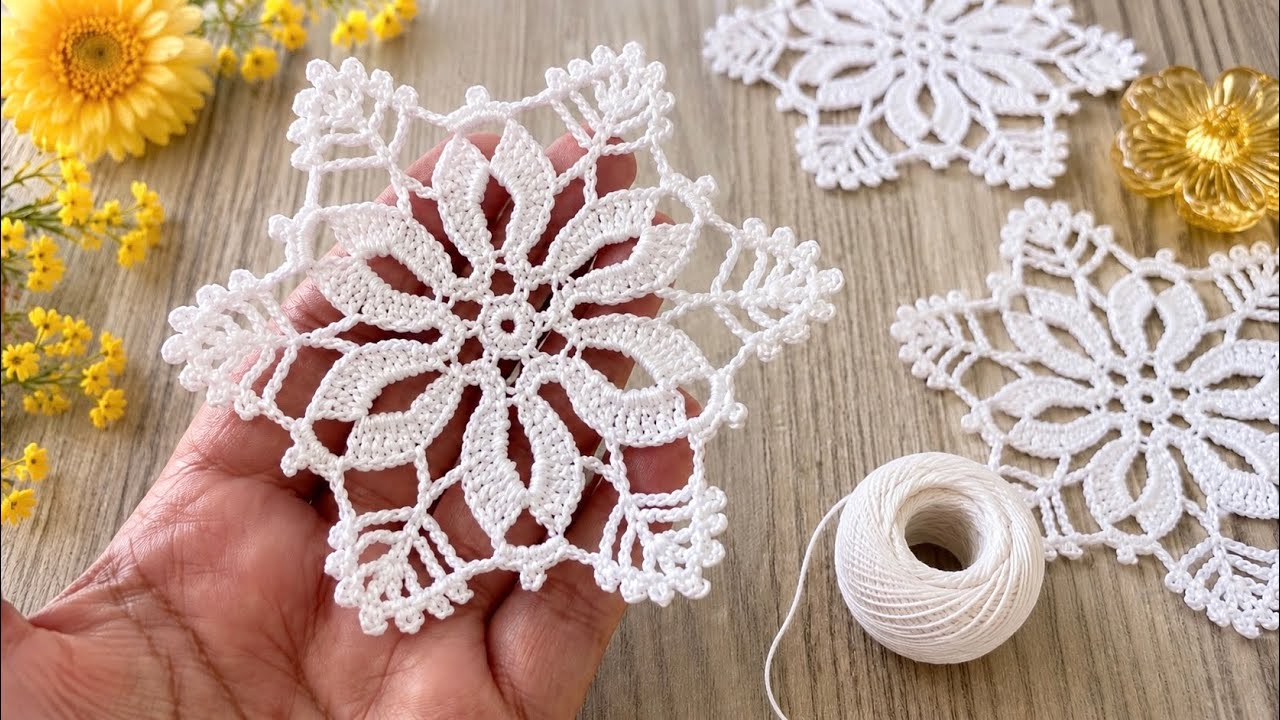
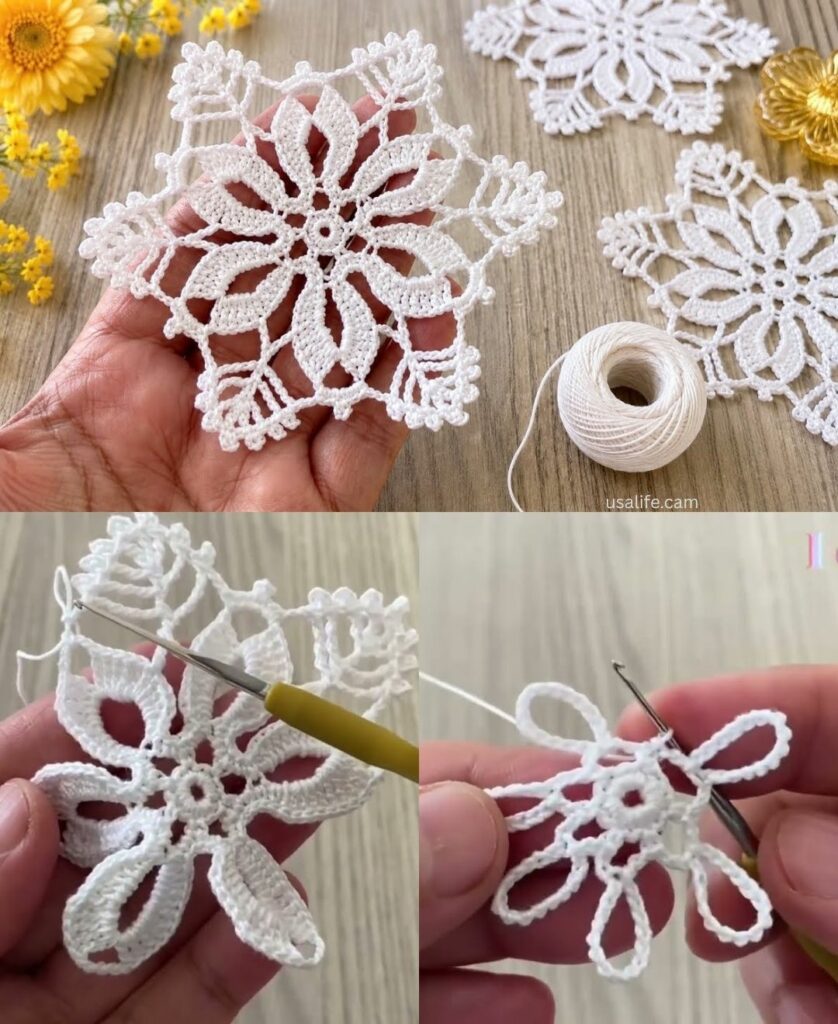
by A crochet motif is a self-contained unit—a building block—that you create individually and then join together to form a larger project. Unlike working in long, continuous rows, motifs allow you to play with geometry, color, and texture in a way that is modular and highly portable.
Here is your detailed guide to understanding, creating, and mastering the crochet motif.

1. The Anatomy of a Motif
Every motif, regardless of its shape (square, hexagon, circle, or triangle), follows a specific structural logic:
- The Origin: Every motif starts at a central point. You typically use a Magic Ring (for a closed center) or a Chain Ring (for a small opening).
- The Growth (Rounds): You work in circular “rounds” that expand the shape. To keep a motif flat, you must follow the mathematical principle of increasing (adding extra stitches in specific spots) to accommodate the growing diameter.
- The “Anchor” Points: These are the corners or strategic points that define the motif’s final shape. For example, in a square motif, you work your increases at four designated “corners” to force the circle into a $90^\circ$ angle.

2. The Three Essential Motif Shapes
| Shape | Geometry Rule | Best For |
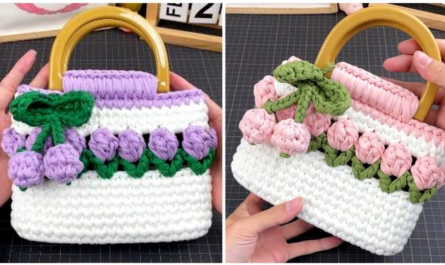
| Square | 4 corners at $90^\circ$ | Blankets, pillows, bags, garments. |
| Hexagon | 6 corners at $120^\circ$ | “Honeycombed” blankets, loose-fitting tops. |
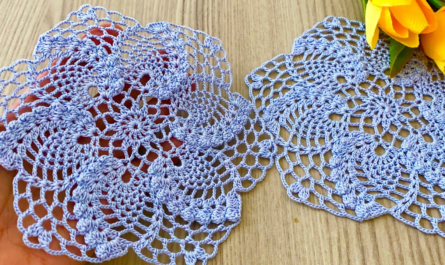
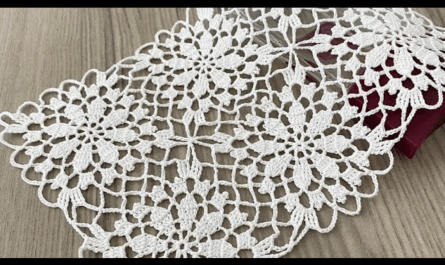
| Circle | Evenly spaced increases | Coasters, doilies, decorative wall hangings. |
3. Step-by-Step: Creating Your First Motif (The Universal Square)
This is a standard motif that can be adapted to any size.
- Start:
ch 4andsl stinto the first chain to form a ring. - Round 1:
ch 3(counts as first dc). Work 2 dc into the ring,ch 2, [3 dc into the ring, ch 2] 3 times. Join withsl stto the top of thech 3. (You now have 4 sides and 4 corners). - Round 2:
sl stinto the corner space.ch 3, 2 dc,ch 2, 3 dc (all in that corner).ch 1. In the next corner, work(3 dc, ch 2, 3 dc). Repeat around. - Round 3: Continue the pattern, working
(3 dc, ch 2, 3 dc)in every corner and3 dcin the side spaces (thech-1gaps).

4. The “Pro” Finishing Process (The Secret to Success)
Motifs rarely look perfect the moment they come off the hook; they are almost always slightly misshapen or “wobbly.” You must finish them properly:
- Weaving Ends: Because motifs involve frequent color changes, you will have many ends. Do not cut them short. Weave them in securely with a tapestry needle, moving in different directions to ensure they don’t pop out after washing.
- Blocking: This is non-negotiable for professional results.
- Pin your motifs to a board or towel, pulling them into their perfect final shape.
- If using cotton, you can use a steam iron (hovering above, never touching) to “set” the shape.
- Leave them pinned until 100% dry. This ensures that when you go to join them, they are all identical in size.

5. Joining: Bringing Motifs Together
The way you join your motifs changes the look of the entire project:
- Flat Slip Stitch Join: Creates a neat, recessed line. It looks clean and professional.
- Mattress Stitch (Sewn): The strongest method. Use this if your motifs are heavy (like a bag) or if you want a seamless, almost invisible look.
- Join-as-you-go: The most efficient method. You finish the last round of your new motif by crocheting it directly onto the existing piece. It saves hours of sewing!
💡 Design Tips for Impact
- The “Framing” Effect: If you have motifs in many different colors, join them all with a single, neutral color (like cream or charcoal). This acts as a frame, turning a chaotic pile of scraps into a sophisticated, unified blanket.
- Texture Contrast: Try mixing a flat, solid square motif with a 3D flower motif in the same blanket. The contrast makes the piece look like a luxury boutique item.
Would you like me to help you design a layout for a blanket using motifs, or are you looking for a specific motif pattern like a hexagon or a star?