by
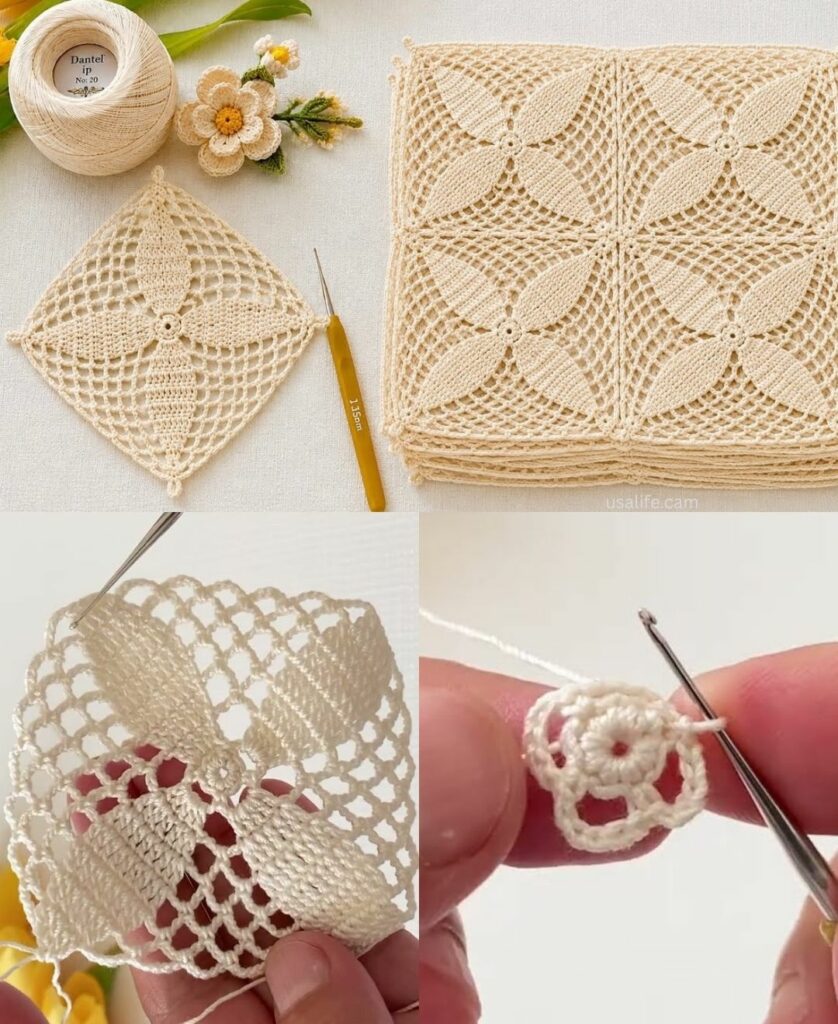
by To crochet a professional-looking square motif, you are essentially learning to manage geometry through stitches. Whether you are making a simple coaster or a complex blanket, the core technique for a square is controlling the increase at the corners to turn a circular stitch pattern into a flat, four-sided shape.
Here is a detailed breakdown of how to construct, perfect, and finish your square motifs.
1. The Anatomy of a Square Motif
Every square motif is built using a radial construction. You start at the center and grow outward in rounds. To keep the square flat, you must follow the rule of the four corners:
- The Increase: In every corner space, you work a set of stitches—usually
(2 dc, ch 2, 2 dc)or(3 dc, ch 2, 3 dc). - The Tension: The chains in the corner provide the “room” for the fabric to turn $90^\circ$ without curling into a bowl or ruffling into a wave.
2. Step-by-Step: The “Universal” Solid Square
If you want a motif that is sturdy, gap-free, and elegant, follow this “Solid” method:
Round 1:
- Magic Ring: Create a magic ring (or
ch 4and join to form a loop). - Foundation:
ch 3(counts as first dc). Work 2 dc into the ring,ch 2. - The Pattern: Work a cluster of 3 dc into the ring, then
ch 2. Repeat this 3 more times. - Join:
sl stto the top of the initialch 3.

Round 2:
- Travel:
sl stto the first corner space. - Corner:
ch 3(counts as dc), 2 dc, ch 2, 3 dc all into that corner space. - Side:
ch 1. - The Pattern: In every corner space, work (3 dc, ch 2, 3 dc). Between these corner groups, work
ch 1. - Join:
sl stto the top of the initialch 3.
Round 3 (Making it Solid):
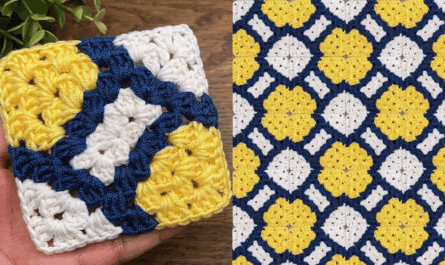
- The Fill: In the next round, instead of skipping stitches, work 1 dc into every stitch along the sides, and work your corner clusters
(3 dc, ch 2, 3 dc)in the corner spaces. - This “solid” fill eliminates the holes common in granny squares, creating a sophisticated tile effect.
3. The Professional Finishing Touch
Motifs often look “raw” when finished. To make them look like they came from a high-end boutique, you must perform these two steps:

The Invisible Join
Instead of using a bulky slip stitch, cut your yarn with a 6-inch tail. Use a tapestry needle to thread the tail through the first stitch of the round, then back down through the center of the last stitch. This mimics the “V” shape of a standard stitch, making the seam completely invisible.
Blocking (Non-Negotiable)
Blocking is the act of forcing your crochet into the correct shape.
- Pin: Lay your motif on a foam board or a folded towel. Use rust-proof T-pins to stretch it into a perfect square, putting one pin in each corner.
- Steam: Hover a handheld steamer over the motif (do not touch it with the iron). The heat relaxes the fibers.
- Set: Leave it pinned for 24 hours. When you remove the pins, the square will be “set” in that perfect shape forever.

4. Expert Troubleshooting
- My square is cupping (like a bowl): You are likely missing stitches in your corners. Ensure you are working the full corner group
(3 dc, ch 2, 3 dc)in every corner space. - My square is ruffling (wavy edges): You have too many stitches on the sides. Check that you aren’t adding extra chain stitches where they don’t belong.
- My square is a diamond shape: This happens if you are not “turning your work.” Try turning your square over after every round; this ensures the stitches stay vertical and the square grows evenly.
5. Creative Layout Ideas
Once you have made several motifs, how you join them changes the entire design:
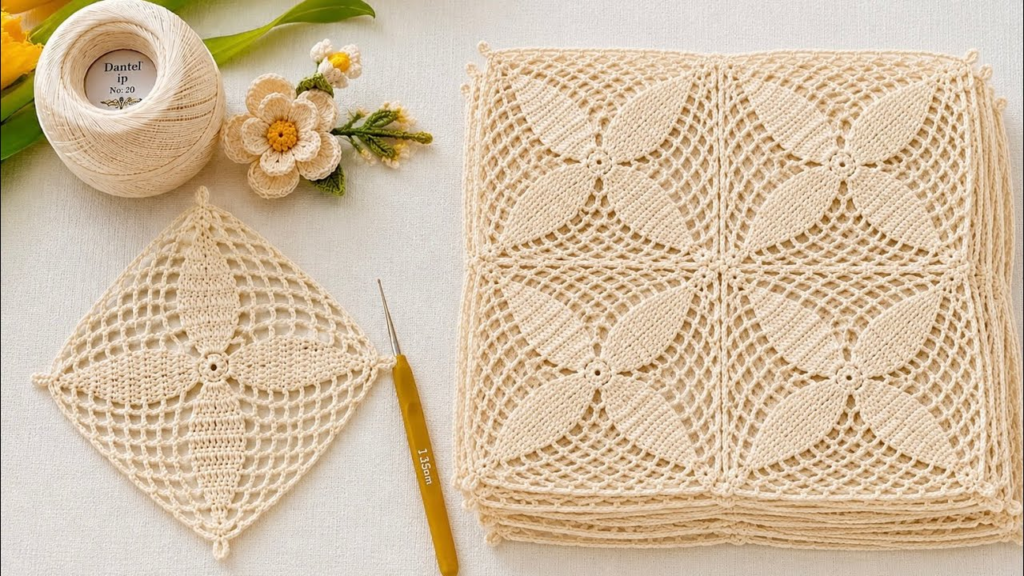
- The Grid: Align them perfectly in rows and columns for a modern, architectural look.
- The Stagger: Join them in a “brick-lay” pattern (offsetting every other row) for a more organic feel.
- The Lattice: Join them corner-to-corner only, leaving small gaps between motifs to create a diamond lattice effect.
Would you like me to suggest a layout map for a specific project, such as a blouse, a table runner, or a cushion cover?