by
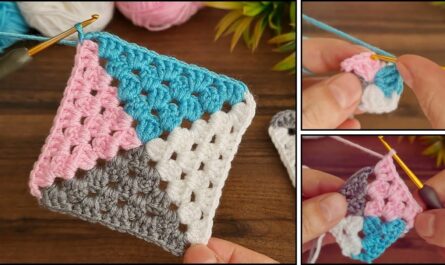
by The Granny Square is the iconic heart of crochet. It is beloved because it is fast, modular, and infinitely customizable. To make a “Gorgeous” Granny Square, we focus on clean corners, consistent tension, and beautiful color transitions.
Here is your detailed, step-by-step masterclass.
🧶 The Gorgeous Granny Toolkit
- Yarn: Medium-weight (DK or Worsted) cotton or acrylic blend.
- Hook: 5.0 mm (H/8) for a standard, drapey square.
- Stitch Key (US Terms):
- ch: Chain
- dc: Double Crochet
- sl st: Slip Stitch
- Cluster: A group of 3 double crochets (3 dc).

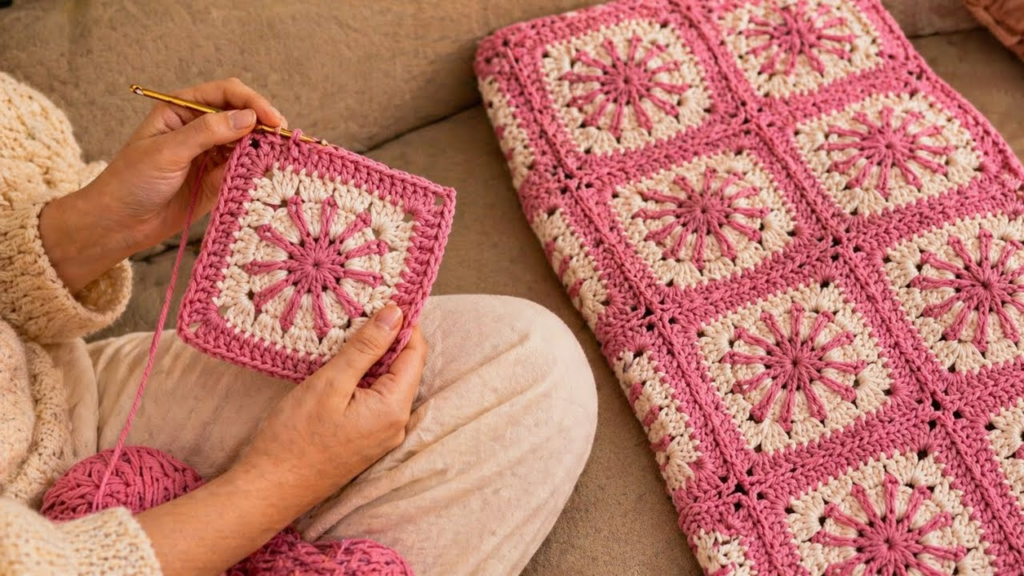
🛠 The Step-by-Step Construction
Round 1: The Foundation
- Start:
ch 4, join withsl stto the first chain to form a ring. - The Base:
ch 3(counts as first dc). Work 2 dc into the ring.ch 2(corner). - The Pattern: Work a cluster of 3 dc into the ring, then
ch 2. Repeat 3 times total. - Join:
sl stinto the top of your initialch 3.
Round 2: The First Expansion
- Move to Corner:
sl stinto the next 2 stitches and into the nearest corner space. - The Corner:
ch 3(counts as dc), 2 dc, ch 2, 3 dc all into that same corner space. - The Transition:
ch 1. - The Pattern: Move to the next corner and work 3 dc, ch 2, 3 dc. Repeat for all 4 corners, remembering to
ch 1between each cluster. - Join:
sl stinto the top of your initialch 3.

Round 3: The Classic Growth
- Move to Corner:
sl stinto the corner. - The Corner:
ch 3, 2 dc, ch 2, 3 dcin the corner. - The Side:
ch 1. Work a cluster of 3 dc into the side space (the gap created by thech 1in Round 2).ch 1. - The Pattern: Continue: corners get
(3 dc, ch 2, 3 dc), side gaps get(3 dc). - Join:
sl stinto the top of your initialch 3.
✨ The “Gorgeous” Factor: Pro-Tips
1. The Color Twist
For a truly stunning look, change colors every round.
- To join a new color, simply pull it through the corner space during your final slip stitch.
- By alternating a “pop” color with a neutral one, you turn a simple square into a graphic design piece.

2. Avoid the “Spiral”
The most common mistake is the square “twisting” as it gets bigger.
- The Secret: Turn your work over after every round. By working the next round in the opposite direction, you keep your stitches perfectly vertical, ensuring the square stays perfectly balanced.
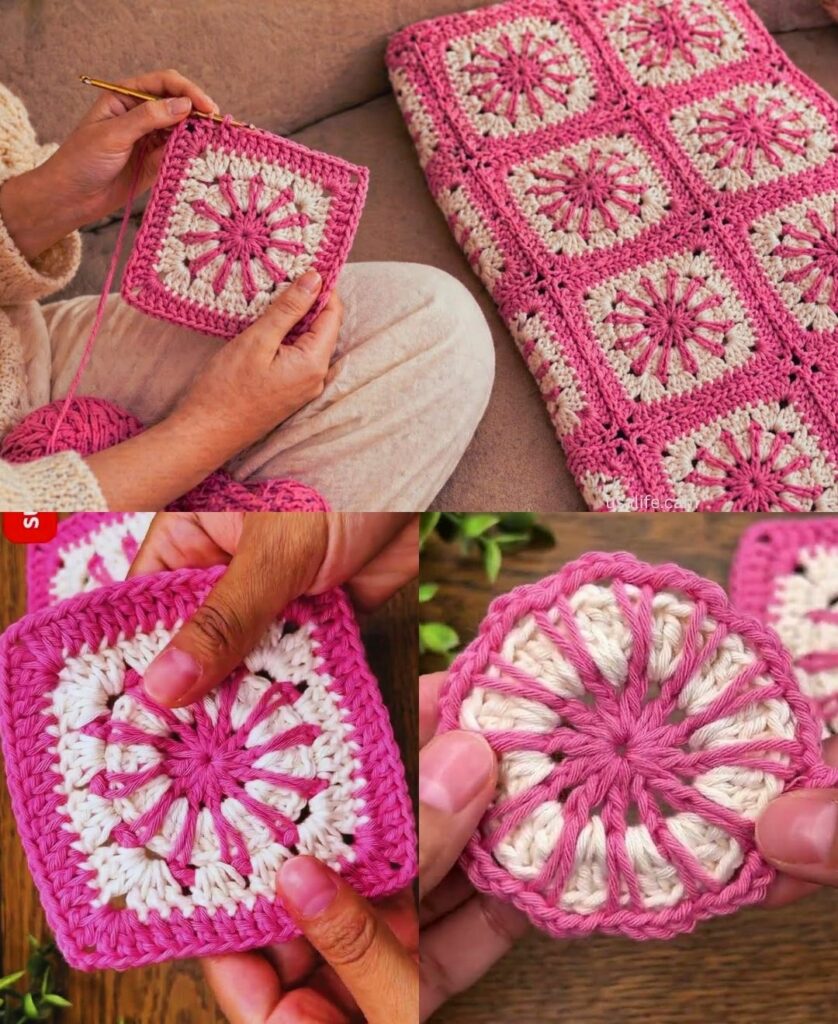
3. Blocking: The Final Polish
A granny square straight off the hook is often a bit bumpy or rounded at the corners.
- The Process: Pin your finished square to a foam mat or a folded towel. Use rust-proof pins to stretch the corners into perfect 90-degree angles.
- The Set: Lightly steam it with an iron (hold the iron 2 inches away—never touch the yarn directly). Let it dry completely. This step is the “secret sauce” that makes handmade items look like boutique-quality pieces.
💡 Creative Idea
If you want to make your square look “modern,” work your final round in a solid, dark color (like Navy or Charcoal) while the inner rounds are bright. This dark “frame” makes the interior colors look like stained glass.
Would you like to know how to join these squares together to make a seamless blanket, or are you interested in a specific border pattern to make the edges look lacy and elegant?