 by
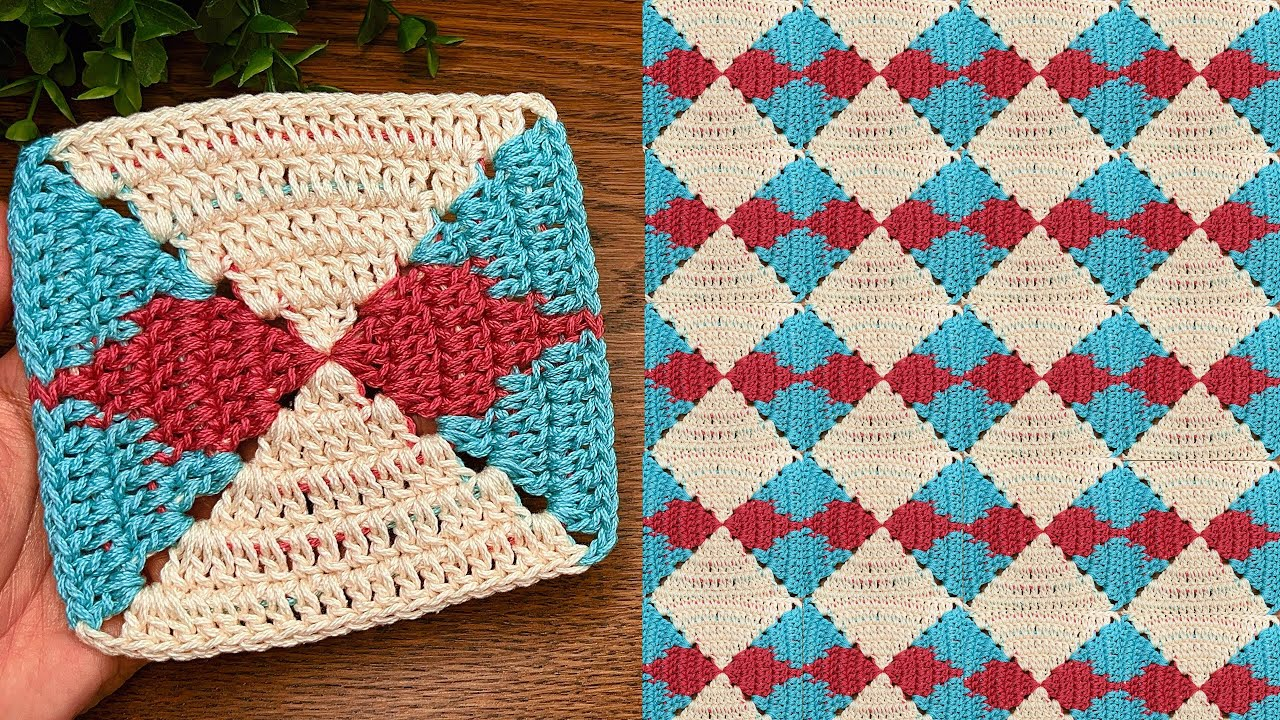
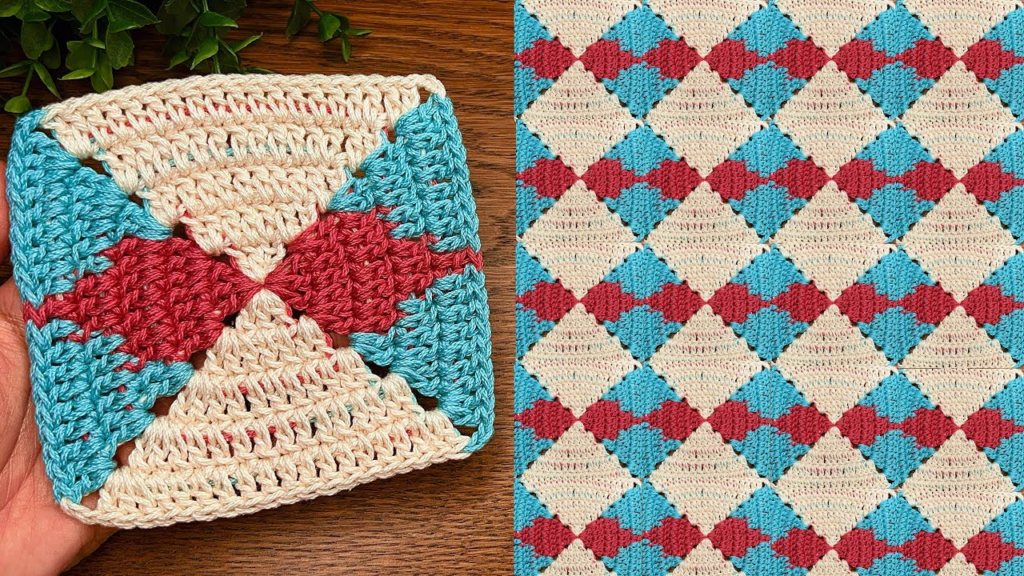
by Creating a crochet square—often called a “Granny Square” or a “Solid Square”—is the most rewarding project for a beginner. It teaches you the three core skills of crochet: how to start a project, how to work in rounds, and how to create corners.
Follow this step-by-step guide to create a classic, clean, solid square.
🧶 Your Beginner Toolkit
- Yarn: Choose a smooth, medium-weight (worsted or DK) yarn in a light color. Light colors make it much easier to see your stitches.
- Hook: A 5.0 mm (H/8) hook is a great size for beginners—it is big enough to hold easily but not so big that your yarn slips off.
- Stitch Key (US Terms):
- ch (chain): Yarn over, pull through loop.
- sl st (slip stitch): Insert hook, yarn over, pull through both stitch and loop on hook (used for joining).
- dc (double crochet): Yarn over, insert hook, pull up loop, yarn over, pull through two loops, yarn over, pull through final two loops.
🛠 The Step-by-Step Guide
Round 1: The Heart of the Square
- The Ring:
ch 4. Insert your hook into the first chain you made andsl stto form a small ring. - The Starting Cluster:
ch 3(this counts as your firstdc). Work 2 dc into the center of the ring. You now have 3 stitches. - The Corner:
ch 2. - The Pattern: Work 3 dc into the ring, then
ch 2. Repeat this two more times. - The Join:
sl stinto the top of your very firstch 3to close the round. You now have a small square with 4 clusters of stitches and 4 corner spaces.

Round 2: Growing the Square
- Move to the Corner:
sl stacross the next 2 stitches and into the corner hole. - The First Corner:
ch 3(counts asdc), 2 dc, ch 2, 3 dc all into that same corner hole. - The Transition:
ch 1. - The Sides: Move to the next corner hole and work 3 dc, ch 2, 3 dc.
- Repeat: Do this for all 4 corners, remembering to
ch 1between each corner cluster. - The Join:
sl stinto the top of your startingch 3.
Round 3: Building Size
- Move to the Corner:
sl stinto the first corner hole. - The Corner:
ch 3, 2 dc, ch 2, 3 dcin the corner. - The Side Space:
ch 1. Work 3 dc into the gap created by thech 1from the round below.ch 1. - The Pattern: Work your corners as
(3 dc, ch 2, 3 dc)and your side gaps as(3 dc). - The Join:
sl stinto the top of your startingch 3.

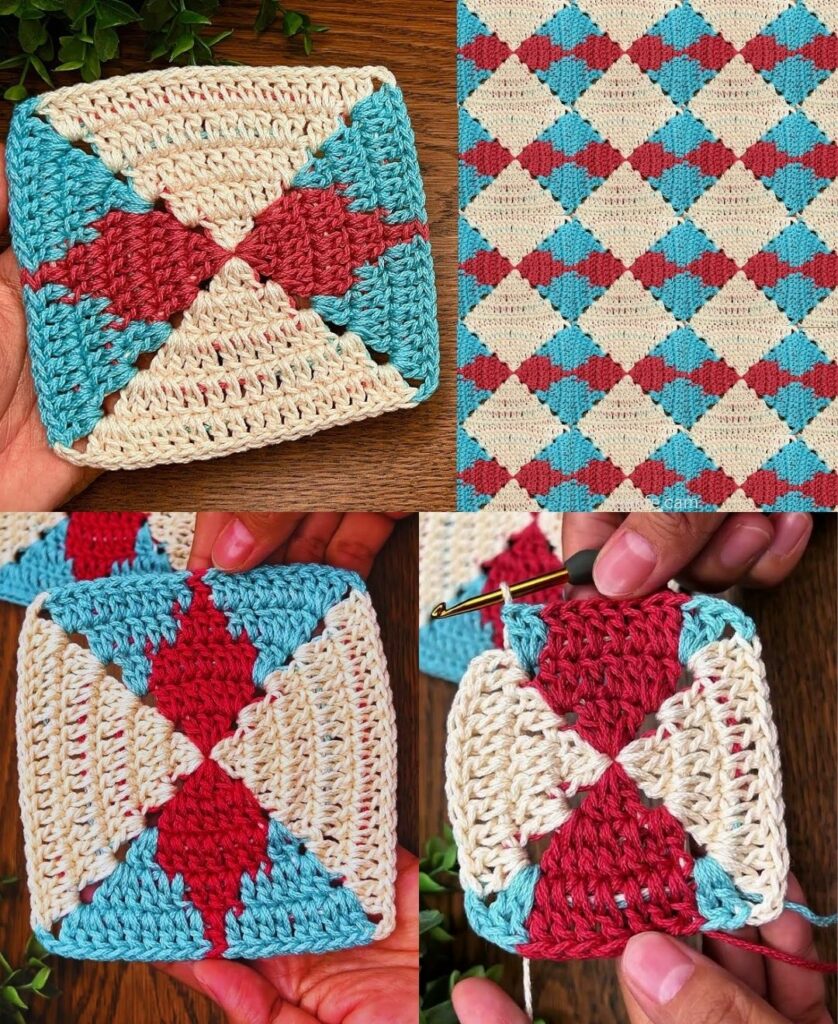
🌟 3 Tips for a Perfect Result
- Tension is Key: Beginners often pull their yarn too tight. If you find your square is curling up like a bowl, your tension is too tight. Try to keep your stitches loose enough that you can easily insert your hook into them.
- Don’t Fear the “Frog”: If you make a mistake, don’t worry! Simply pull the hook out and gently pull the yarn until you reach the mistake—crocheters call this “frogging” (rip it, rip it). It is how every expert learns.
- Blocking: When you finish, your square might look a bit lumpy. Lay it on a towel, pull the corners until it is a perfect square, and let it dry. This is called “blocking,” and it turns a wobbly piece of fabric into a sharp, professional square.
💡 Your First Project Idea
Once you have made just four of these squares, you can join them together to make a coaster set, a small decorative pouch, or even the first block of a larger blanket.
Would you like me to explain how to join your finished squares together using an “invisible” seam, or would you like to try a version with a different stitch pattern?