 by
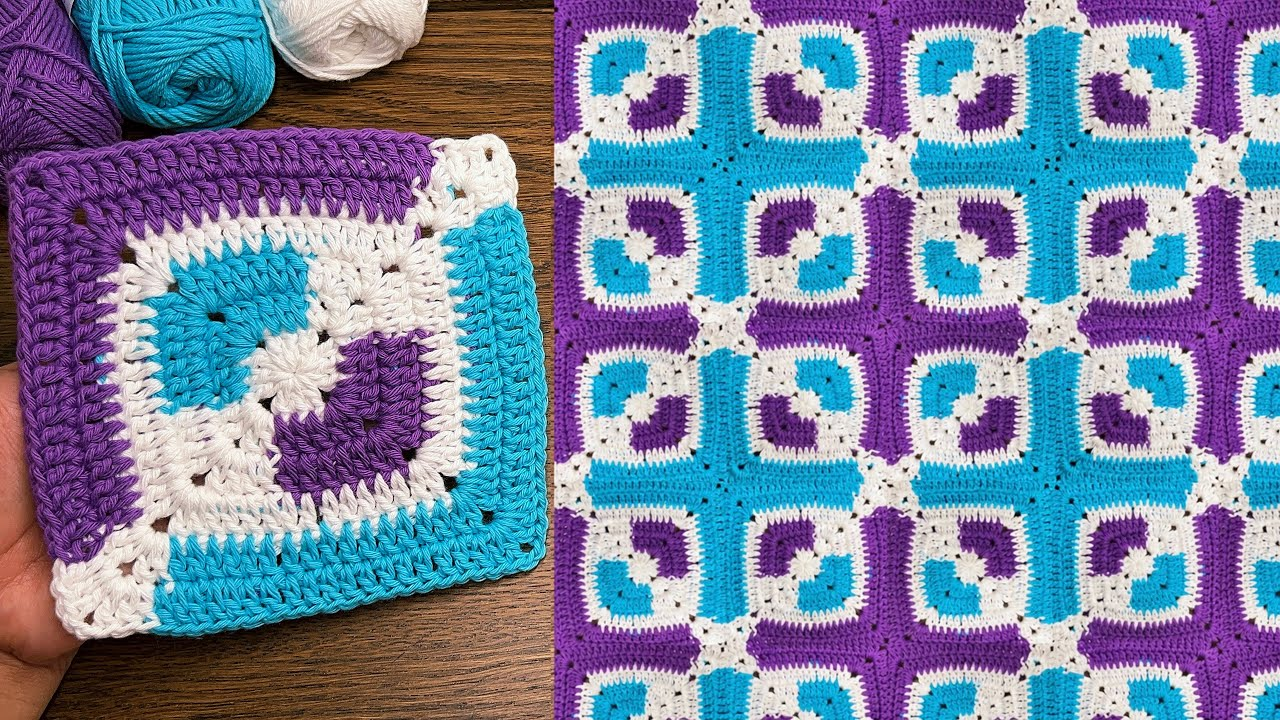
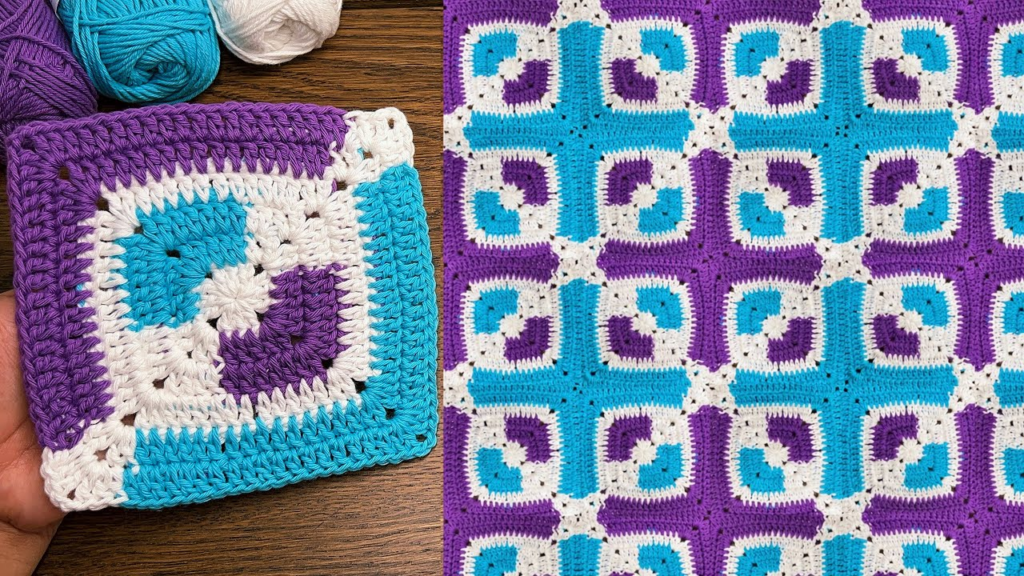
by To achieve a “Stunning Color Twist” in a square motif, the secret isn’t just about changing yarn colors—it is about color placement and structural contrast. By strategically placing bright, high-contrast colors in the center and framing them with a dark or neutral “anchor” color, you create a graphic, professional-looking tile that looks like a high-end designer piece.
Here is the detailed guide to creating the “Twist-Frame” Square.
🧶 The “Color Twist” Toolkit
- The “Pop” Color (Color A): A vibrant, saturated shade (e.g., Mustard Yellow, Hot Pink, or Electric Blue).
- The Transition Color (Color B): A softer, tonal shade that complements Color A.
- The Anchor Frame (Color C): A dark, matte neutral (e.g., Charcoal, Navy, or Deep Chocolate). This is the key to the “stunning” effect—it grounds the bright colors.
🛠 The “Twist-Frame” Pattern
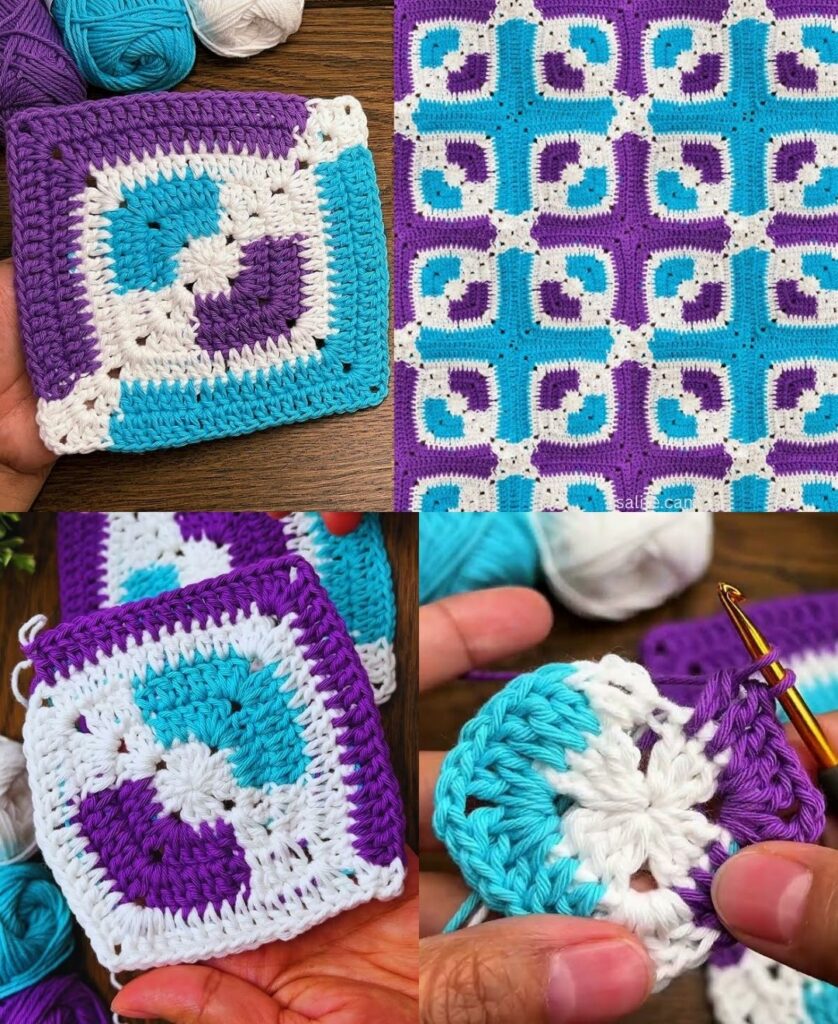
Round 1: The “Twist” Center (Color A)
- Start:
ch 4in Color A, join to form a ring. - The Base:
ch 3(counts as dc),2 dcin ring,ch 2, [3 dc in ring, ch 2] 3 times.sl stto join. - Twist Detail: This round creates the core. By using a bright, saturated color here, you ensure the motif has a “heart” that draws the eye.

Round 2: The Soft Transition (Color B)
- Join: Join Color B in any corner.
- Corner:
ch 3,2 dc,ch 2,3 dc(all in corner). - The Side:
ch 1. - The Pattern: In the next corner, work
(3 dc, ch 2, 3 dc). Repeat around. - Effect: This round acts as a “buffer,” softening the jump between the vibrant center and the bold frame.
Round 3 & 4: The Anchor Frame (Color C – The “Twist”)
- The “Solid” Twist: Instead of working clusters, we will now make the frame solid.
- Join: Join Color C in any corner.
- The Sides: Work
1 dcinto every stitch of the clusters below, and2 dc, ch 2, 2 dcin every corner. - The Result: By working solid double crochets in a dark, neutral color, you create a “frame” that looks like a ceramic tile. The bright center will suddenly look crisp, intentional, and high-contrast.

✨ Pro-Tips for a “Stunning” Color Twist
1. The “Invisible” Color Change
To keep your color changes from looking messy:
- Don’t join with a slip stitch: When finishing a round, pull the new color through the final stitch instead of the old one.
- Crochet over your tails: Hold the tail of the new yarn along the edge of the previous row and crochet over it for 4–5 stitches. This eliminates the need to weave in ends later.
2. Mastering the “Graphic” Look
If you are making a full project (like a blanket or bag), try this Checkerboard Twist:
- Make half your squares with the “Pop” color in the center.
- Make the other half with the “Anchor” color in the center.
- Join them in a checkerboard pattern. The contrast creates an optical “twist” that makes the entire project look like modern art.
3. Blocking: The Final Polish
A color-twist motif relies on sharp lines.
- Pin it aggressively: You want the corners to be perfect $90^\circ$ angles.
- Steam it: Because you are using different colors, they may have slightly different tensions. Steam blocking relaxes the fibers and makes the colors sit perfectly flat against each other.
💡 Creative Color Ideas
- The “Sunset” Twist: Gold center (A), Orange middle (B), Deep Plum frame (C).
- The “Monochrome” Twist: White center (A), Light Grey middle (B), Black frame (C).
- The “Nature” Twist: Sky Blue center (A), Sage Green middle (B), Earth Brown frame (C).
Which color palette are you thinking of trying, and would you like a guide on how to join these motifs so the “twist” pattern remains unbroken across the whole piece?