by
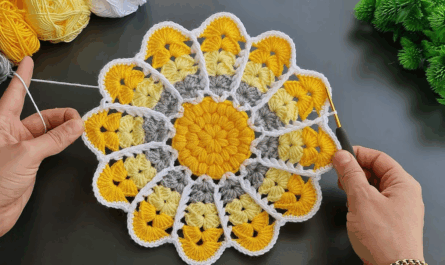
by Creating a crochet flower motif is one of the most delightful projects for a beginner. Flowers are quick to make, they use very little yarn, and they are perfect for decorating bags, hats, or joining together into a beautiful, botanical blanket.
Here is a step-by-step guide to a classic, 6-Petal Blossom, designed to be easy, satisfying, and beautiful.
🧶 The Toolkit
- Yarn: A medium-weight (DK or Worsted) cotton or acrylic yarn. Using a bright, cheerful color for the petals and a neutral color (like yellow or brown) for the center makes it look professional.
- Hook: 4.0 mm or 5.0 mm.
- Stitch Key (US Terms):
- ch (chain): Yarn over, pull through loop.
- sl st (slip stitch): Insert hook, yarn over, pull through stitch and loop on hook.
- sc (single crochet): Insert hook, yarn over, pull up loop, yarn over, pull through both loops.
- dc (double crochet): Yarn over, insert hook, pull up loop, yarn over, pull through two loops, yarn over, pull through final two loops.

🛠 The Step-by-Step Construction
Round 1: The Center
- Start:
ch 4, join with asl stto the first chain to form a small ring. - The Base:
ch 1(does not count as a stitch), then work 12 sc into the ring. - Join:
sl stto the firstscyou made. Fasten off (if you want to switch colors for the petals).
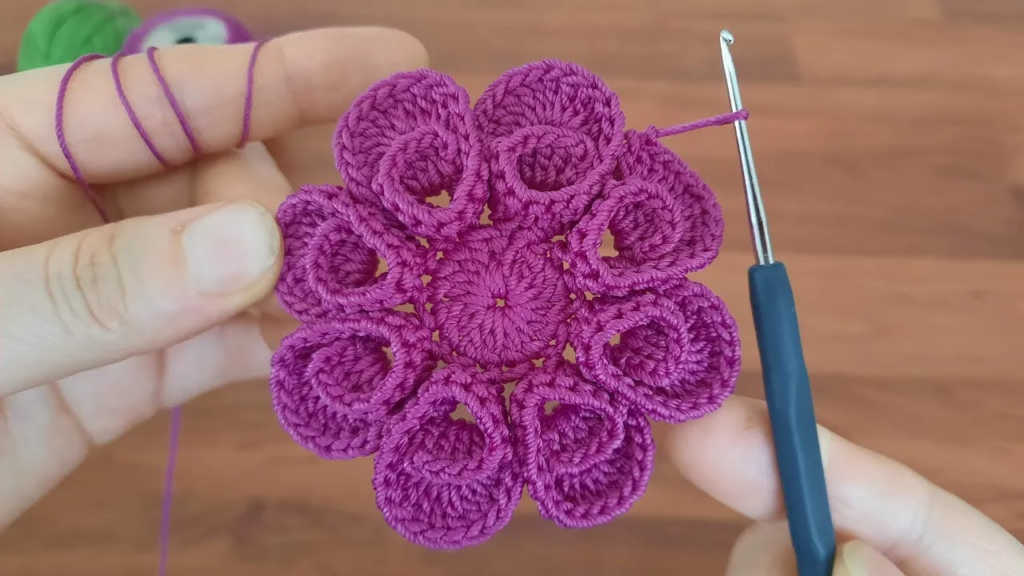
Round 2: Growing the Petals
- Attach: Join your petal color in any stitch with a
sl st. - The Petal Arc:
ch 3(this counts as the start of your petal). - The Petal Body: Work 3 dc into that same stitch. Then, work 3 dc into the next stitch.
- Closing the Petal:
ch 3andsl stinto the next stitch. (You have now finished your first petal). - Repeat:
sl stinto the next stitch, thench 3, work 3 dc in the current stitch and 3 dc in the next, thench 3andsl stto close. - Continue: Repeat this pattern until you have 6 beautiful, rounded petals around the center.

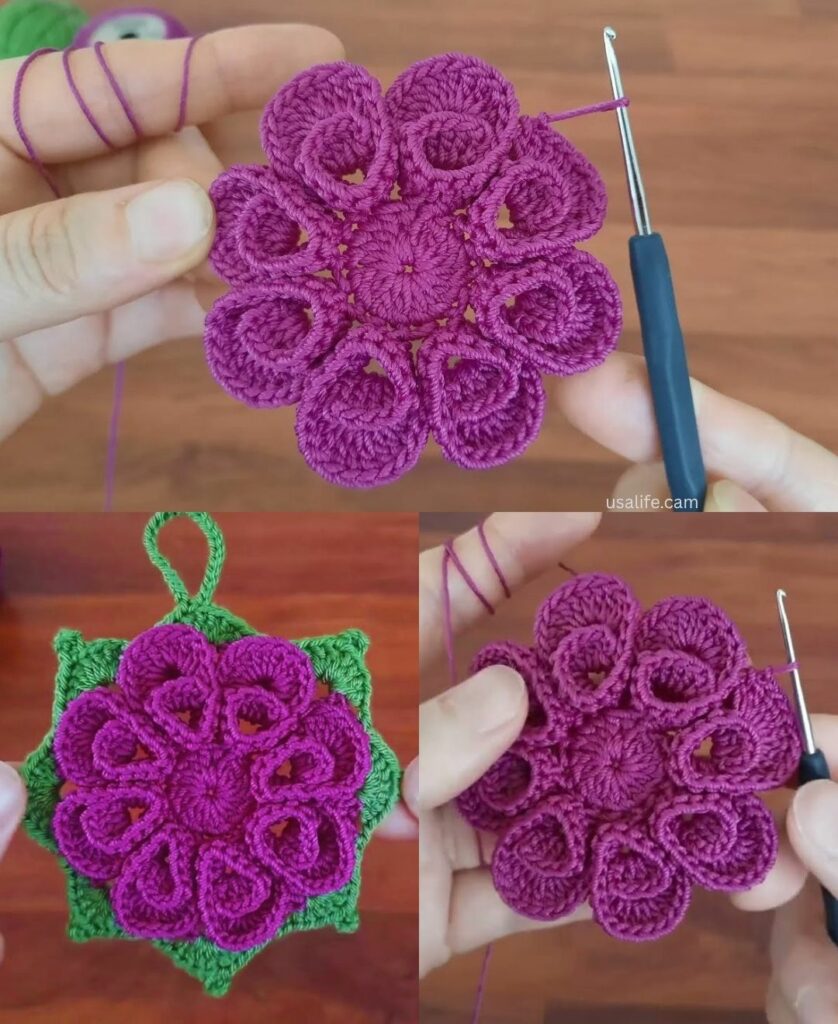
Round 3: The Finishing Touches
- Join: Once you finish your 6th petal,
sl stinto the very first stitch where you started the petals. - Secure: Fasten off, leaving a long “tail” of yarn. Use a tapestry needle to weave this tail through the back of the flower to ensure it stays tight.

🌟 Pro-Tips for Perfect Flowers
- Tension: If your flower petals look “gappy” or loose, try using a hook one size smaller than the one recommended on the yarn label. Smaller hooks create tighter, more structured petals.
- The “Pop” Technique: If you want your flower to have more dimension, work your petals into the back loops only of the stitches in the center. This creates a “ledge” of front loops that makes the flower look like it is resting on a base, adding professional depth.
- Blocking (The Secret Sauce): If your petals are a bit curled or uneven, do not worry! Lay the flower face down on a towel. Gently pull each petal into a uniform shape. You can lightly steam it with an iron (holding it 2 inches away) and let it dry in place. This will “lock” the petals into a perfect, flat, professional shape.
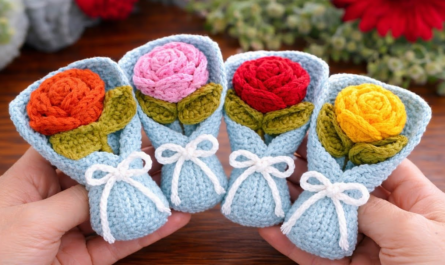
💡 Creative Ways to Use Your Flowers
- The Appliqué: Stitch your flower onto a plain tote bag or a basic beanie to instantly customize your accessories.
- The Headband: Crochet 3–5 flowers and sew them onto a simple elastic headband for a cute summer hair accessory.
- The Floral Garland: Crochet 20+ flowers in different colors, chain 200 stitches, and every 10 stitches, tie a flower onto the chain. It makes a beautiful, festive garland for a bedroom or party decor.
Would you like me to explain how to join these flowers together to create a cohesive blanket, or would you like to learn how to make a “leaf” motif to go with your flowers?