 by
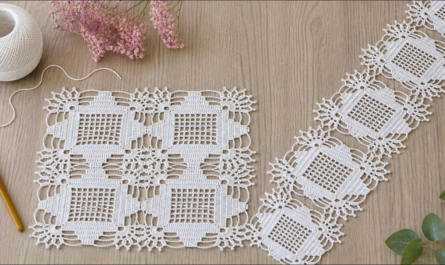
by A Granny Square Blanket is the most iconic project in crochet. It is a masterpiece of modular design: you create many small, portable squares and join them together to form a large, warm, and sentimental heirloom.
Here is your comprehensive guide to taking this project from a single square to a finished blanket.

🧶 The Blanket Toolkit
- Yarn: Worsted weight (Size 4) acrylic. It is affordable, durable, machine-washable, and soft—perfect for a blanket that will see a lot of use.
- Hook: 5.0 mm (H/8).
- The “Must-Haves”: A tapestry needle for weaving in ends and a measuring tape to ensure your squares remain uniform.
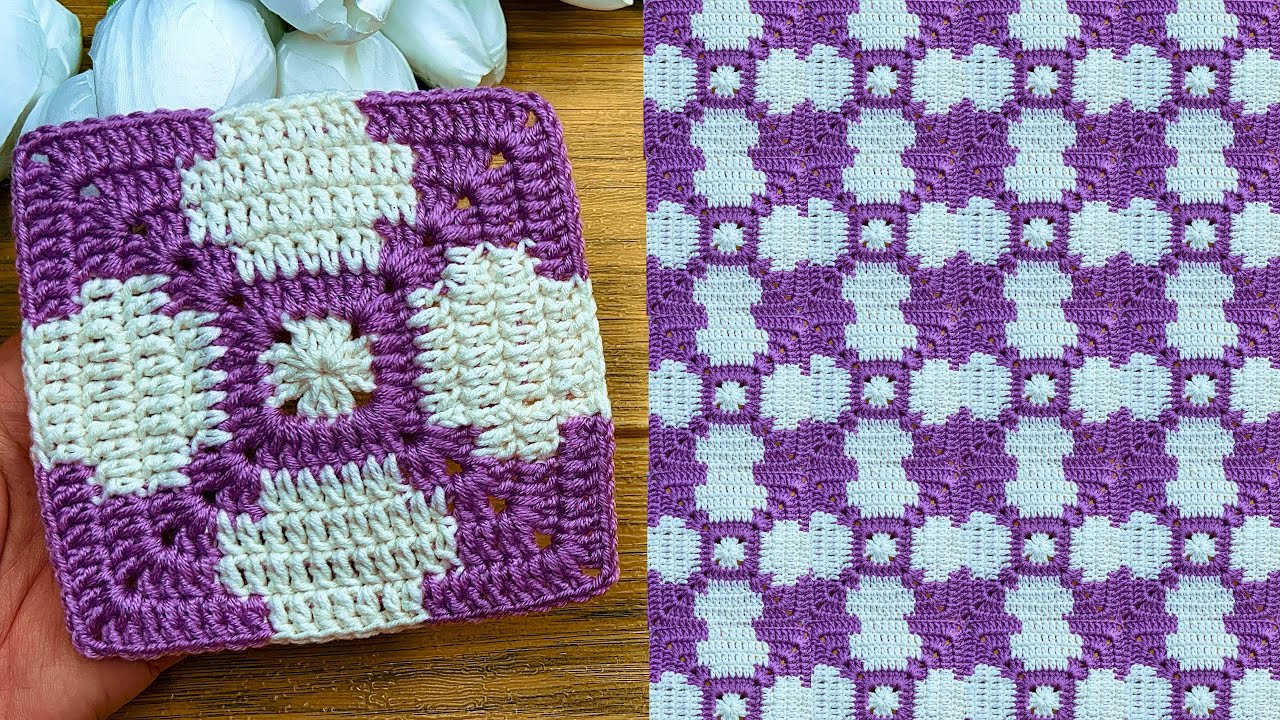
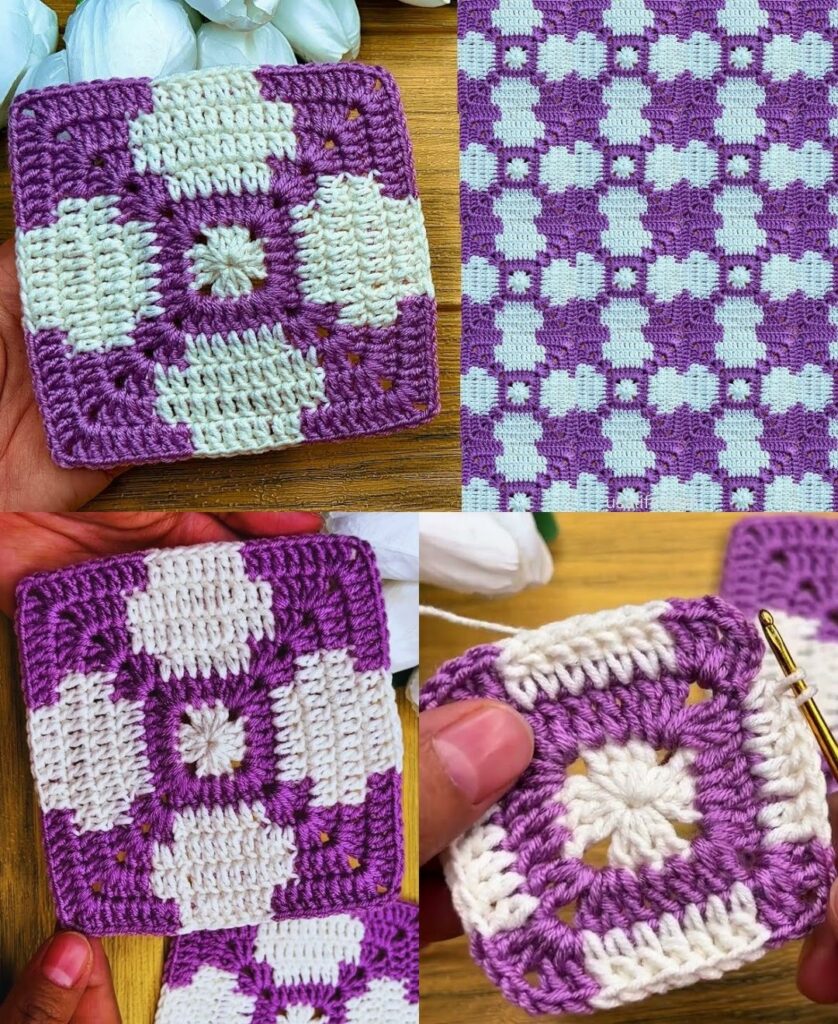
🛠 Phase 1: Creating Your Motif
The classic granny square is worked in the round, creating a beautiful geometric spiral.
- Round 1:
ch 4, join withsl stto form a ring.ch 3(counts as firstdc), work 2 dc into the ring,ch 2. Work 3 dc into ring, ch 2—repeat 3 times.sl stto join. - Round 2:
sl stto the first corner space.ch 3, 2 dc, ch 2, 3 dcin corner.ch 1. In each remaining corner, work3 dc, ch 2, 3 dc.sl stto join. - Round 3+: Continue working
3 dcinto every side gap and(3 dc, ch 2, 3 dc)into every corner. - Finish: Stop when your square reaches your desired size (usually 6–8 inches).

🧵 Phase 2: The Art of the Join
The join is what transforms a pile of squares into a unified blanket. For a professional look, choose one of these two methods:
- The Flat Slip Stitch Join (Invisible): Hold two squares together with wrong sides touching. Working through the back loops only,
sl stthem together. This creates a smooth, flat seam that looks like a woven line. - The “Join-As-You-Go” Method: Instead of sewing later, you attach your new square to the previous one while crocheting the final round. This is the most time-efficient method.
🌟 Phase 3: Professional Finishing Touches
1. The Border
A blanket without a border looks “unfinished.”
- Simple Border: Work 2–3 rounds of
dcaround the entire perimeter of the joined blanket. In each corner, work(dc, ch 2, dc)to keep the corners from curling. - Scallop Border (Decorative): After your solid rounds, add a final round of shells: Skip 2 stitches, work 5 dc in the next stitch, skip 2, sl st in the next. This adds a romantic, “boutique” touch.

2. Blocking (The Secret to Quality)
Before you sew them together, block your squares.
- Lay them on a towel, pin the corners into perfect $90^\circ$ angles, and steam them.
- This forces every square to be the exact same size, which makes joining them significantly easier and ensures your blanket doesn’t look “lumpy.”
3. Weaving Ends
Don’t tie knots! Use your tapestry needle to weave your yarn tails back and forth through the stitches at least three times in different directions. This ensures your ends won’t pop out after the blanket is washed.
💡 Pro-Planning: How Many Squares?
To plan your blanket, decide on your total width and length (e.g., a standard throw is 50″ x 60″).
- If your square is 6 inches:
- Width: 50 / 6 = 8-9 squares across.
- Length: 60 / 6 = 10 squares down.
- Total: 80–90 squares.
🌈 Color Strategy
- The Scrappy Blanket: Use every color of the rainbow. It creates a vibrant, joyful blanket and helps use up all your “leftover” yarn from other projects.
- The Ombré: Use five shades of one color (e.g., light blue to dark navy) and arrange them in rows to create a sophisticated, modern gradient.
- The Neutral Frame: If you have many multicolored squares, join them using a neutral yarn (like cream or charcoal). The solid border around each square will turn your chaotic color collection into a structured, artistic design.
Would you like me to help you calculate the exact number of squares you need for a specific blanket size, or are you looking for a specific, decorative border pattern to finish your edges?