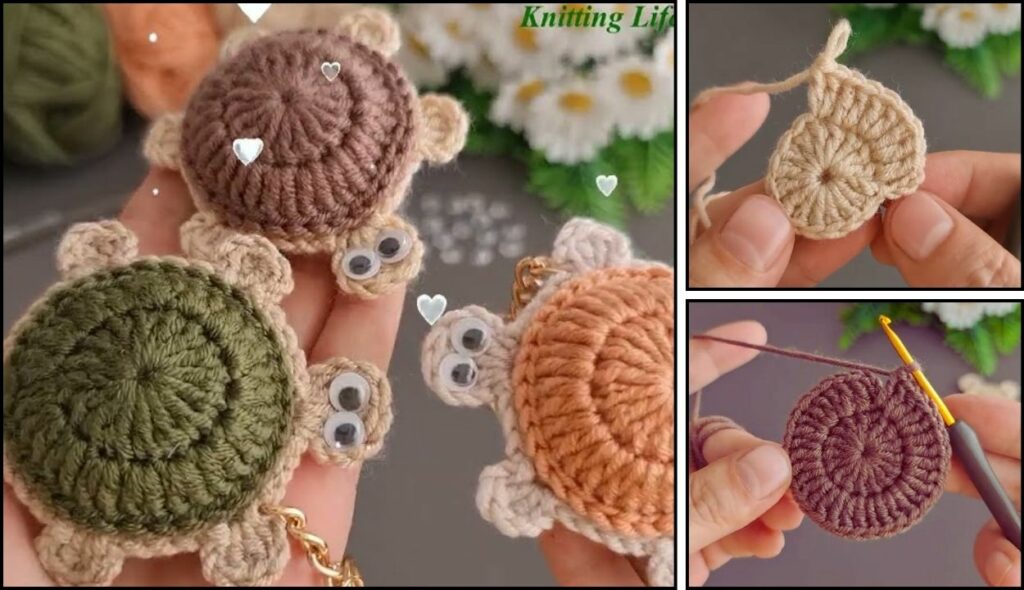
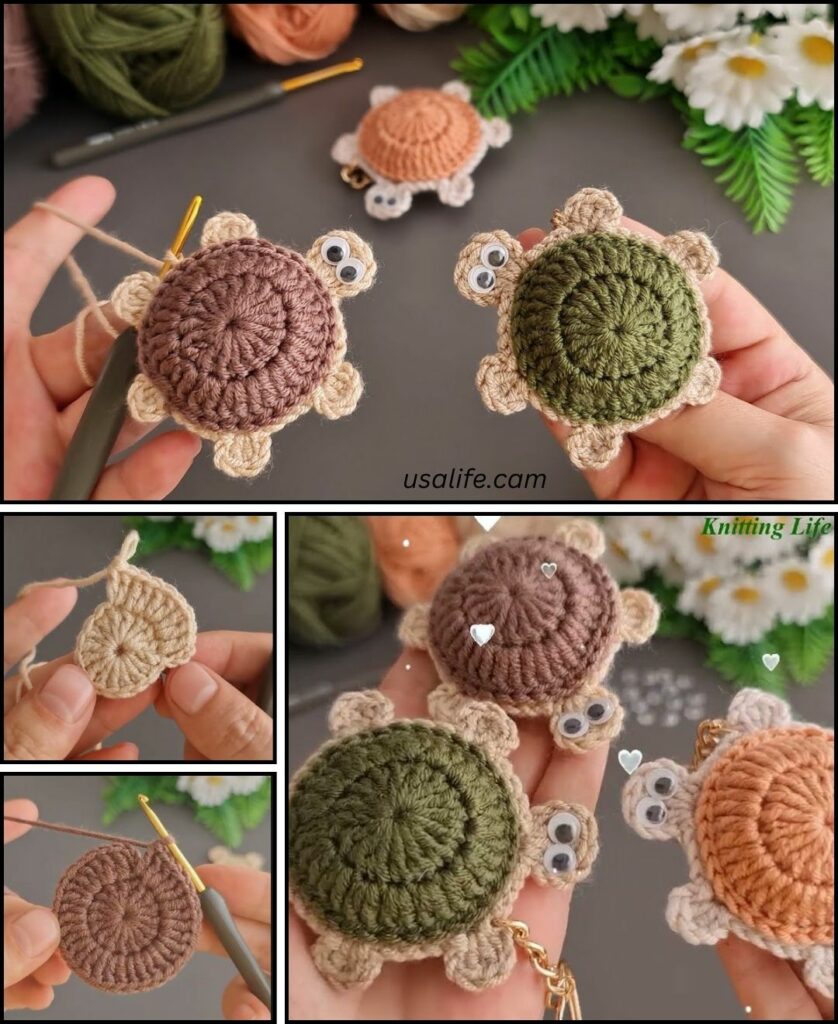
Creating a crochet turtle is a fun and rewarding project, and it’s a great way for beginners to practice basic stitches and shaping. This pattern will guide you through making a simple, adorable turtle using two main pieces: the shell and the body.

Materials Needed
- Yarn: Medium-weight yarn in two colors: one for the shell (e.g., green) and one for the body (e.g., light brown or tan).
- Crochet Hook: The size that matches your yarn.
- Stuffing: Polyester fiberfill is a common choice.
- Safety Eyes (optional): Small plastic eyes that snap into place. You can also embroider the eyes later.
- Scissors
- Tapestry Needle: For sewing the pieces together and weaving in ends.
Abbreviations
- ch: chain
- sc: single crochet
- sl st: slip stitch
- inc: increase (work two single crochet stitches in the same stitch)
- dec: decrease (work a single crochet two together, or sc2tog)
- st(s): stitch(es)
- [ ]: repeat instructions in brackets the specified number of times
How to Make the Turtle
The turtle is made in three main parts: the shell, the body, and the flippers/head. We’ll be working in continuous rounds, which means you won’t join with a sl st at the end of each round unless otherwise stated. It’s a good idea to use a stitch marker to mark the first stitch of each round.
Part 1: The Shell (in a solid color)
- Round 1: Start with a magic ring. Work
6 scinto the ring. (6 sts) - Round 2:
incin each stitch around. (12 sts) - Round 3:
[sc in the next st, inc]6 times. (18 sts) - Round 4:
[sc in the next 2 sts, inc]6 times. (24 sts) - Round 5:
[sc in the next 3 sts, inc]6 times. (30 sts) - Round 6:
[sc in the next 4 sts, inc]6 times. (36 sts) - Round 7:
scin each stitch around. (36 sts) - Round 8: Working in the back loop only for this round,
scin each stitch around. (36 sts) - Fasten off and leave a long tail for sewing.

Part 2: The Body (in your second color)
- Round 1: Start with a magic ring. Work
6 scinto the ring. (6 sts) - Round 2:
incin each stitch around. (12 sts) - Round 3:
[sc in the next st, inc]6 times. (18 sts) - Round 4:
[sc in the next 2 sts, inc]6 times. (24 sts) - Round 5:
[sc in the next 3 sts, inc]6 times. (30 sts) - Round 6:
[sc in the next 4 sts, inc]6 times. (36 sts) - Round 7:
[sc in the next 4 sts, dec]6 times. (30 sts) - Round 8:
[sc in the next 3 sts, dec]6 times. (24 sts) - Stuff the body firmly with fiberfill. Continue to stuff as you decrease.
- Round 9:
[sc in the next 2 sts, dec]6 times. (18 sts) - Round 10:
[sc in the next st, dec]6 times. (12 sts) - Round 11:
dec6 times. (6 sts) - Fasten off, leaving a tail. Use a tapestry needle to weave the tail through the remaining 6 stitches and pull tight to close the hole. Weave in the end.

Part 3: Flippers and Head (in your second color)
Make four flippers and one head.
Flippers (Make 4):
- Round 1: Start with a magic ring. Work
4 scinto the ring. (4 sts) - Round 2:
[sc in the next st, inc]2 times. (6 sts) - Round 3:
scin each stitch around. (6 sts) - Fasten off, leaving a tail for sewing. Do not stuff the flippers.
Head (Make 1):
- Round 1: Start with a magic ring. Work
6 scinto the ring. (6 sts) - Round 2:
incin each stitch around. (12 sts) - Rounds 3-4:
scin each stitch around. (12 sts) - Round 5:
[sc in the next 2 sts, dec]3 times. (9 sts) - Stuff the head firmly.
- Round 6:
[sc in the next st, dec]3 times. (6 sts) - Fasten off, leaving a tail. Weave the tail through the remaining stitches and pull tight to close.

Assembly
- Attach the Shell: Place the shell piece over the body. Using the long tail you left on the shell, sew the two pieces together, matching up the stitches from the back loop only round of the shell to the top of the body.
- Attach the Flippers and Head: Use a tapestry needle to sew the flippers to the underside of the shell and the head to the front. You can sew them on securely using the tails you left.
- Add the Face: If you’re using safety eyes, insert them into the head before sewing it on. If you prefer to embroider, use black yarn and a tapestry needle to create two small dots for eyes and a smile.
- Weave in All Ends: Neatly weave in any remaining loose ends to finish your turtle.
Now you have a finished, adorable crochet turtle! This is a simple amigurumi project that helps you master the skills of working in the round, increasing, and decreasing.

Video tutorial


