 by
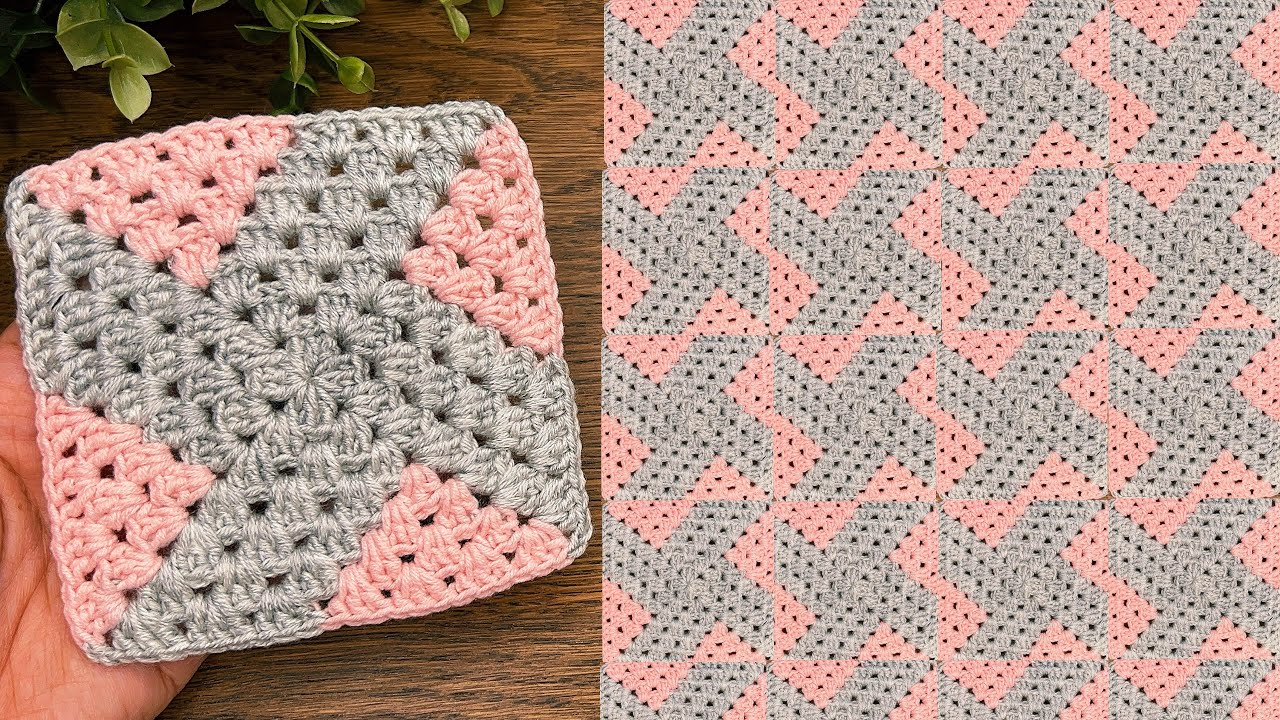
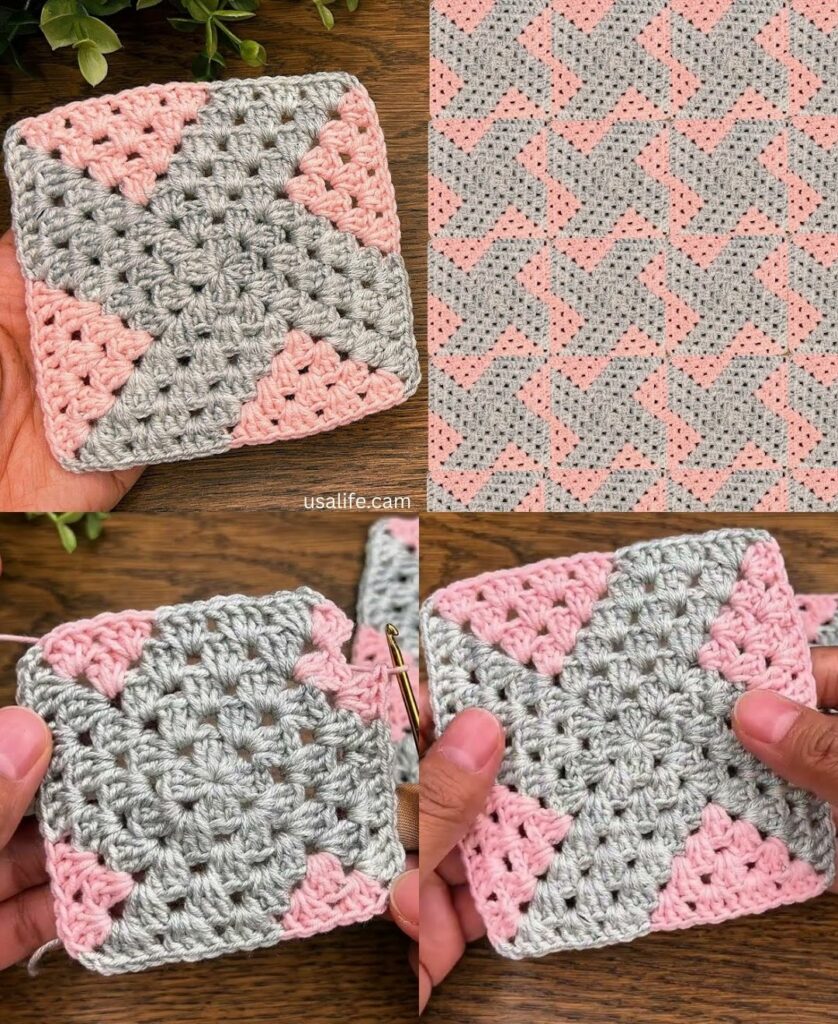
by The Zigzag Square (sometimes called a Chevron Square or Ripple Square) is a modern twist on the classic granny square. Instead of flat rows, it creates a geometric “pulsing” effect that looks like a star or a ripple frozen in time.
This pattern is particularly “magnificent” when you use two or three contrasting colors, as the zigzags become much more visible.

⚡ The Zigzag Geometric Square Tutorial
This square is worked in the round. The “zigzag” is created by making peaks (clusters of stitches) and valleys (skipped stitches).
Materials You’ll Need
- Yarn: Two or more colors of the same weight (DK or Worsted).
- Hook: 4.0mm or 5.0mm (standard for your yarn).
- Tools: Scissors and a tapestry needle.
Stitch Key (US Terms)
- dc: Double crochet.
- ch-sp: Chain space.
- Peak: (2 dc, ch 2, 2 dc) worked into the same space.
- Valley: Skipping stitches to create a “dip.”

Step-by-Step Instructions
Round 1: The Foundation
- Start: Make a Magic Ring.
- Stitches: ch 3 (counts as dc). Work 11 dc into the ring.
- Join: sl st to the top of the ch 3. (12 dc total).
Round 2: Setting the Zigzag Points
In this round, we establish the 4 corners that will become our peaks.
- First Peak: ch 3, (1 dc, ch 2, 2 dc) in the same stitch.
- The Side: skip 2 stitches. (This skip creates your first Valley).
- Repeat: [In the next stitch, work a Peak (2 dc, ch 2, 2 dc). Skip 2 stitches.] 3 more times.
- Join: sl st to the top of the ch 3.
Insight: You should now see a small cross or star shape. The holes where you skipped stitches are the valleys.

Round 3: Expanding the Zigzags
This is where the pattern becomes clear. We always work into the peaks and leave the valleys open.
- Move Hook: sl st to the ch-2 corner (Peak).
- Peak: ch 3, (1 dc, ch 2, 2 dc) in the ch-2 space.
- The Side: Work 1 dc in each of the next 2 dc stitches.
- The Valley: Skip 4 stitches (the 2 dc from the first side and the 2 dc from the next side). This “jumps” the gap.
- The Side: Work 1 dc in each of the next 2 dc stitches.
- Repeat: Work a Peak in every corner and skip the 4 dc stitches in every Valley.
- Join: sl st to the top of the ch 3.
Round 4 & Beyond: The Rhythm
- Peak: Always work (2 dc, ch 2, 2 dc) in the ch-2 space.
- Sides: Work 1 dc in every dc stitch until you reach the center valley.
- Valley: Always skip the last 2 dc of the current side AND the first 2 dc of the next side.
- Color Change: For a stylish look, change colors every 2 rounds.
📐 How to Model the Zigzag Square
1. The Magnificent Runner
The zigzag square has a naturally “pointy” edge. If you join them side-by-side, the top and bottom of your runner will have a beautiful sawtooth edge.
- Tip: Don’t add a border! Let the zigzag points be the decorative edge of the runner.
2. The Zigzag Blouse/Tunic
Because the valleys “pull” the fabric in, these squares have a slight 3D elasticity.
- Style: Use these squares for the waistline of a blouse. The zigzag pattern naturally draws the eye inward, creating a very flattering, slimming silhouette.
3. The Modern Sweater
Join these squares to create a “Chevron Patchwork” sweater.
- Transparency: Because of the skipped stitches in the valleys, this motif is more “holey” than a solid square. If you are making a winter sweater, you may want to wear a camisole underneath!
💡 A Quick “Peer” Correction
When you first start Round 3, the square might look like it’s “ruffling” or not laying flat. Don’t panic! This is normal for a zigzag pattern. Once you finish Round 4 and give it a light block (pinning it down), the peaks and valleys will balance each other out, and it will lay perfectly flat.
Would you like me to show you how to crochet a “filler triangle” to turn the zigzag sawtooth edge into a straight line for a hem?
Video tutorial: