 by
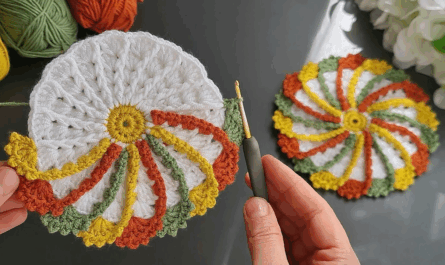
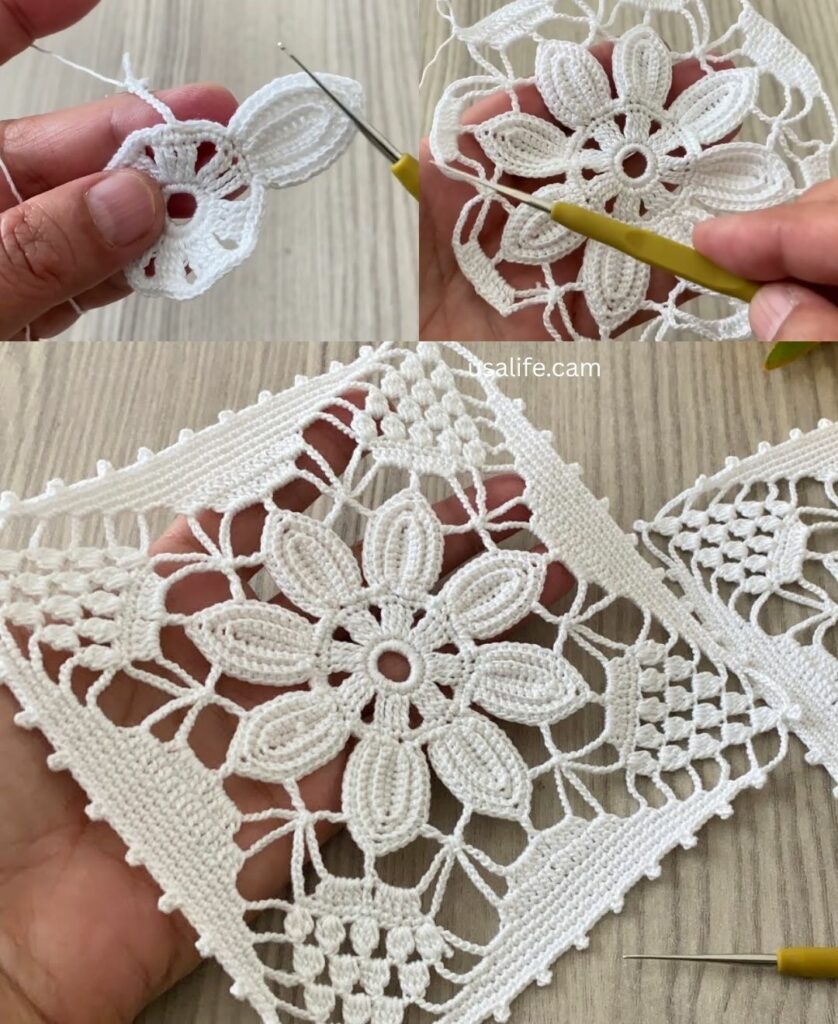
by That’s a great request! The square motif is the most popular unit in crochet, used for blankets, garments, bags, and more. While the Classic Granny Square is the most famous, there are many variations that offer different textures and styles.
Here is a detailed guide on how to crochet two different Square Motif Patterns—the classic and a more solid, dense version.

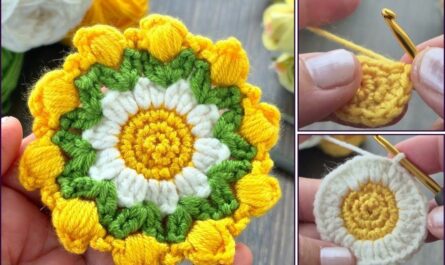
1. The Classic Granny Square Motif (Lacy & Timeless)
This is the foundational square pattern, worked in rounds from the center out.
Materials and Abbreviations
- Yarn: Medium-weight yarn is easy to practice with.
- Hook: Size appropriate for your yarn.
- dc: Double Crochet
- ch: Chain
- sl st: Slip Stitch
- sp: Space

Step-by-Step Instructions
Round 1: The Center
- Start: Make a Magic Ring (or ch 4 and sl st to join).
- Cluster 1: ch 3 (counts as first dc). Work 2 dc into the ring.
- Corner: ch 2.
- Repeat: [3 dc into the ring, ch 2] 3 times. (You will have 4 clusters and 4 corner spaces).
- Finish: Join with a sl st to the top of the beginning ch 3.
Round 2: Building the Corners
We work into the spaces, not the stitches, to create the open look.
- Move: sl st into the next two dc’s, and sl st into the first ch-2 corner sp.
- Corner 1: ch 3 (counts as dc). Work (2 dc, ch 2, 3 dc) into the same corner sp. (This is a complete corner).
- Side Space: ch 1 (separates clusters on the side).
- Repeat: [3 dc, ch 2, 3 dc] into the next corner sp, ch 1. Repeat this sequence around.
- Finish: Join with a sl st to the top of the beginning ch 3.

Round 3 and Beyond: Expansion
- Move: sl st to the next corner sp.
- Corner: Work the full corner cluster: (ch 3, 2 dc, ch 2, 3 dc) into the corner sp.
- Side: ch 1. Work 3 dc into the next ch-1 side sp. ch 1.
- Next Corner: Work the full corner cluster into the next corner sp.
- Repeat the corner and side sequence around.
- Continue repeating this round until the square is the size you desire.
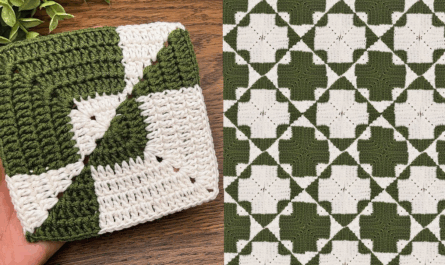
2. The Solid Square Motif (Dense & Warm)
This pattern is useful when you need a square with warmth and minimal gaps, like for potholders or dense blankets. It uses double crochet (dc) worked into every stitch.
Materials and Abbreviations
- dc: Double Crochet
- ch: Chain
- sl st: Slip Stitch
Step-by-Step Instructions
Round 1: Center Foundation
- Start: Make a Magic Ring. ch 3 (counts as dc). Work 11 dc into the ring. Join with a sl st to the top of the ch 3. (12 sts).

Round 2: Defining Corners
The increases are made by working into specific stitches, not spaces.
- Start: ch 3 (counts as dc). Work dc in the next stitch.
- Corner 1: Work (2 dc, ch 2, 2 dc) into the next stitch.
- Side: Work dc in the next 2 stitches.
- Repeat: Repeat the sequence [(2 dc, ch 2, 2 dc) in the next st, dc in the next 2 sts] two more times.
- Finish: You should have one stitch remaining. Work dc into that final stitch. Join with a sl st to the top of the beginning ch 3.
Round 3 and Beyond: Expansion
This is the repeating formula for the solid square: DC into every DC, and increase at the corner space.
- Start: ch 3 (counts as dc). dc in every stitch along the side until you reach the corner space.
- Corner: Work (2 dc, ch 2, 2 dc) into the corner space.
- Repeat: dc in every stitch along the next side. Work the (2 dc, ch 2, 2 dc) corner sequence.
- Finish: Continue around and join with a sl st to the top of the beginning ch 3.
Continue repeating this round until the square is the desired size.

Final Step: Finishing
Always fasten off your yarn, leaving a long tail, and use a tapestry needle to weave in the ends securely on the back of the square. For a very neat, flat finish, blocking (wetting and pinning the square) is highly recommended.
Would you like a tutorial on how to join these squares together to make a larger item?
Video tutorial: