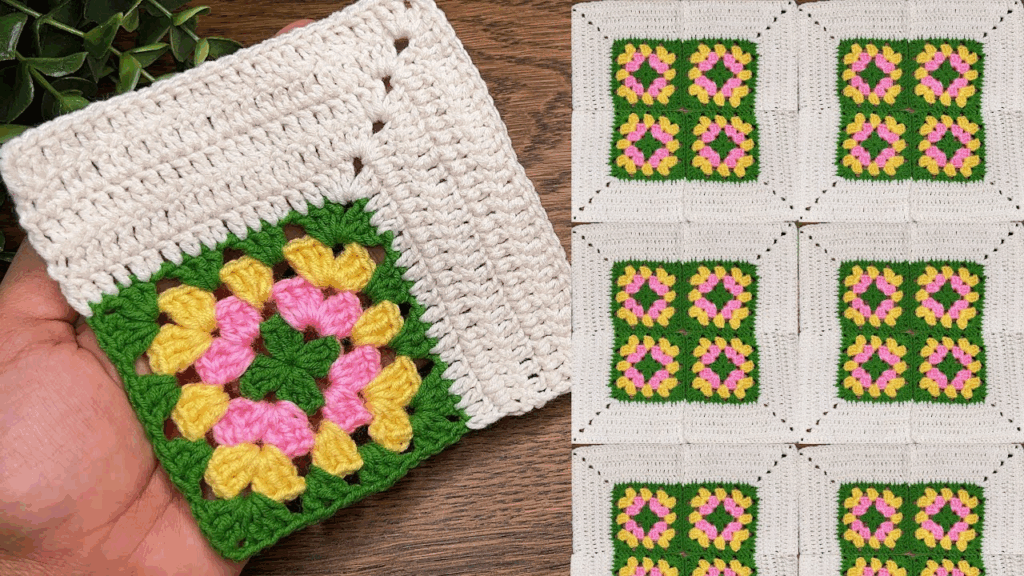
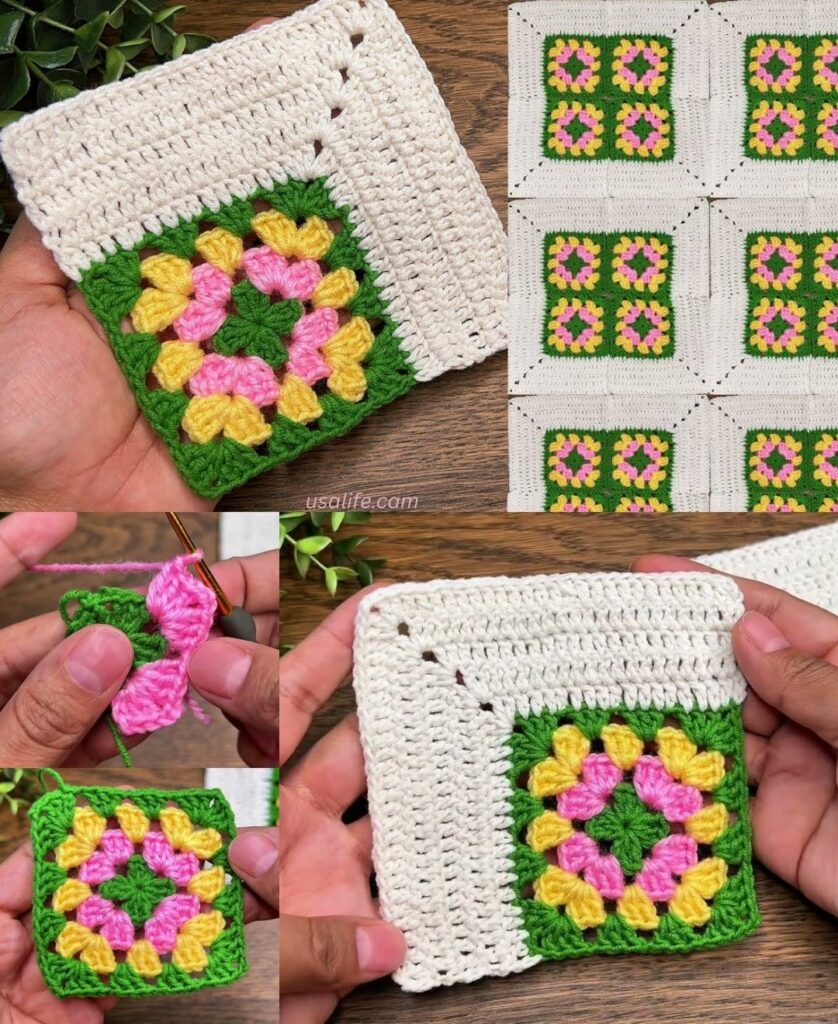
That is a fantastic project to start with! The Traditional Granny Square is the most iconic and versatile motif in crochet, making it the perfect choice for beginners. It teaches fundamental skills like working in the round, joining, and defining corners.
Here is a detailed, step-by-step tutorial for a classic Granny Square.

🟩 Traditional Granny Square Tutorial for Beginners
This pattern is worked in rounds and uses clusters of double crochet (dc) stitches separated by chain spaces to create a flexible, square motif.
Materials You’ll Need
- Yarn: Medium-weight yarn (worsted/size 4) is highly recommended. It’s easy to handle, and the stitches are clearly visible.
- Tip: Use a light color to help you see the stitches clearly.
- Crochet Hook: The size appropriate for your yarn (check the yarn label, typically 5.0 mm or H/8).
- Scissors
- Tapestry Needle (for weaving in ends).
Key Crochet Terms (Stitches You Need to Know)
| Abbreviation | Stitch Name | How to Execute |
| ch | Chain | Yarn over, pull through loop on hook. |
| sl st | Slip Stitch | Insert hook, yarn over, pull through stitch and loop on hook. |
| dc | Double Crochet | Yarn over, insert hook, yarn over, pull through stitch (3 loops), yarn over, pull through 2 loops (2 loops), yarn over, pull through last 2 loops (1 loop). |
| Cluster | 3 dc | Three double crochet stitches worked into the same space. |
| Corner | (Cluster, ch 2, Cluster) | (3 dc, ch 2, 3 dc) worked into the same space. |
Step-by-Step Instructions
Round 1: Creating the Center
We establish the four corner spaces that define the square.
- Start the Ring: Make a Magic Ring (or chain 4 and sl st into the first chain to form a ring).
- First Cluster: ch 3 (This counts as your first dc). Work 2 dc into the center ring. (3 dc total).
- First Corner: ch 2.
- Repeat: Work [3 dc into the ring (Cluster), ch 2 (Corner)] 3 more times. (You will have 4 clusters and 4 corner spaces).
- Finish: Gently pull the yarn tail to close the center hole. Join the round with a sl st to the top of the beginning ch 3.

Round 2: Expanding the Corners
We begin to fill the straight sides by working into the chain spaces.
- Move to Corner: sl st into the next two dc stitches, and then sl st into the first ch-2 corner space.
- First Corner: ch 3 (counts as dc). Work (2 dc, ch 2, 3 dc) into the same corner space. (This creates a full corner).
- Side Space: ch 1.
- Repeat: Skip the next 3 dc cluster. Work [Corner Shell (3 dc, ch 2, 3 dc) in the next ch-2 corner sp, ch 1] 3 more times.
- Finish: Join the round with a sl st to the top of the beginning ch 3.

Round 3: Building the Sides
The space between the corners is now filled with a side cluster.
- Move to Corner: sl st over to the next ch-2 corner space.
- First Corner: ch 3. Work (2 dc, ch 2, 3 dc) into the corner space.
- Side Cluster: ch 1. Work 3 dc into the next ch-1 side space. ch 1.
- Repeat: Work the sequence [Corner Shell in the ch-2 corner sp, ch 1, 3 dc in the ch-1 side sp, ch 1] 3 more times.
- Finish: Join the round with a sl st to the top of the beginning ch 3.

Continuing to Grow
To make the square larger, simply repeat the pattern established in Round 3:
- Corners: Always work the full (3 dc, ch 2, 3 dc) Corner Shell into the corner’s ch-2 space.
- Sides: Always work a (3 dc) Cluster into every ch-1 side space.
Finishing the Motif
- Fasten Off: Cut the yarn, leaving a 6-inch tail. Pull the tail completely through the last loop on your hook to knot it securely.
- Weave in Ends: Thread the tails onto a tapestry needle and weave them securely into the back of the corresponding stitches to hide them.

Your Traditional Granny Square Motif is complete and ready to be joined with others!
Video tutorial:


