 by
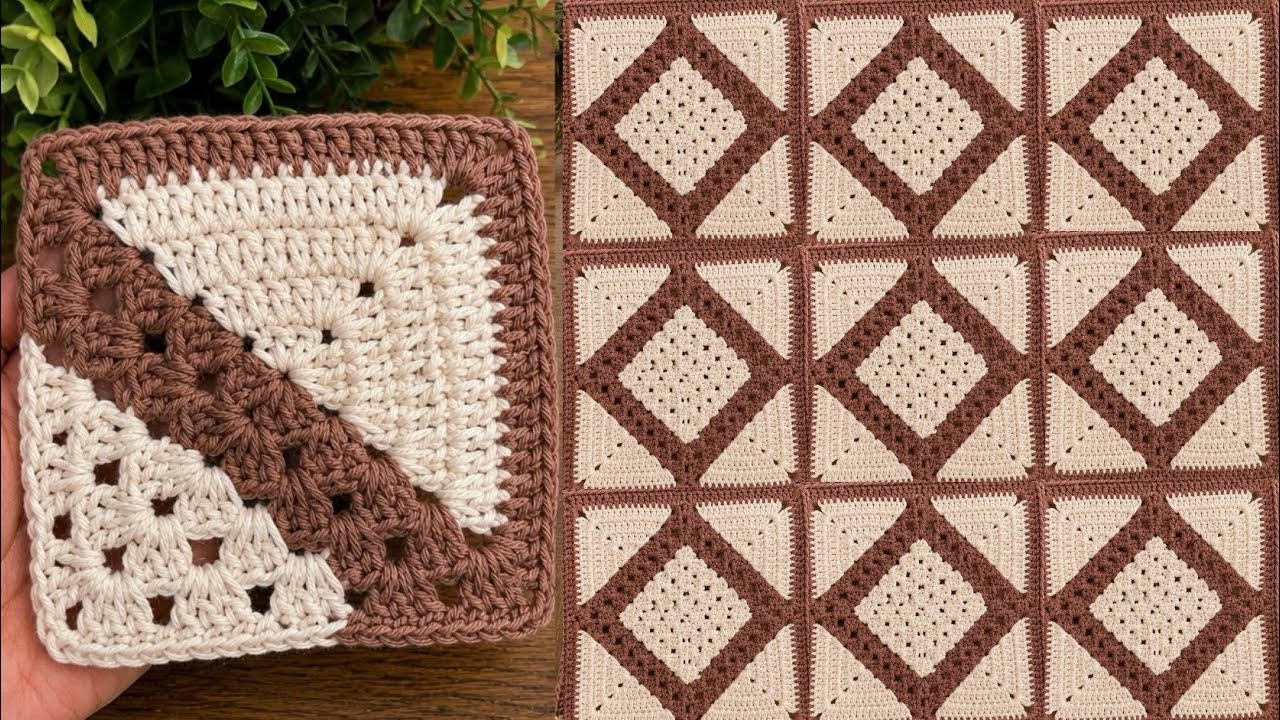
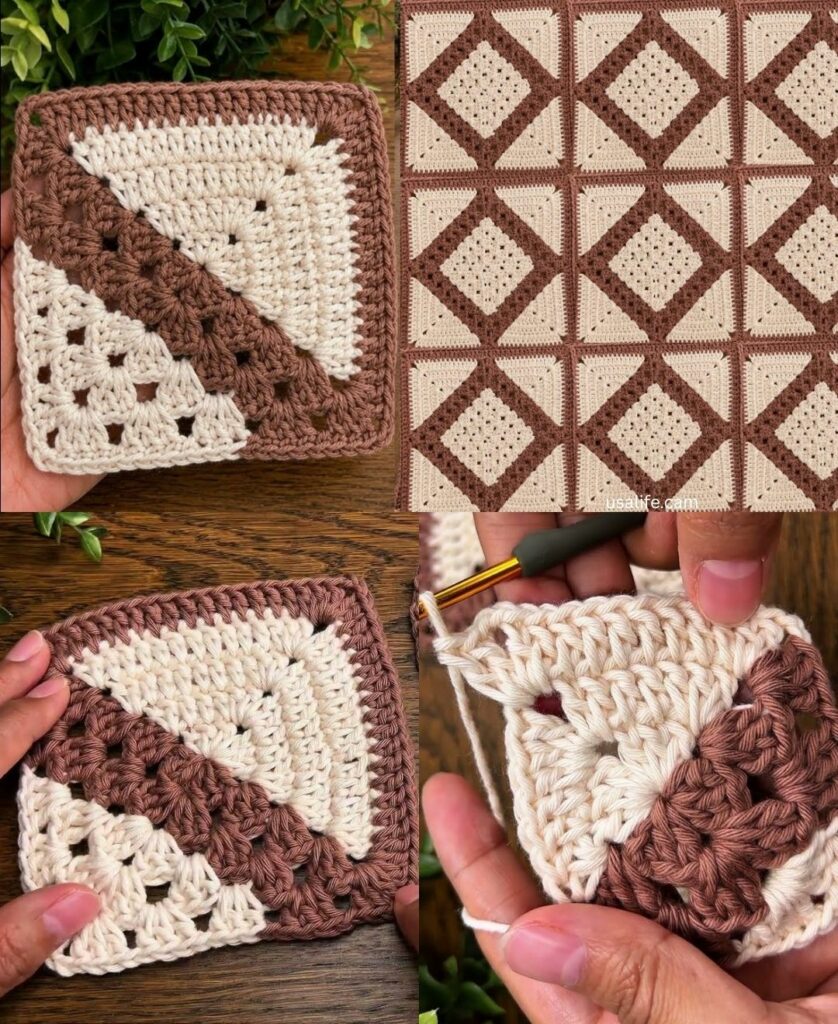
by To elevate the classic granny square into an Elegant Geometric Blanket, we must move away from the traditional, loose “loopy” cluster and toward a Solid Geometric Tile. This creates a sophisticated, modern texture that feels less like a rustic afghan and more like a high-end, woven designer piece.
This tutorial focuses on the “Solid Architectural Square.”
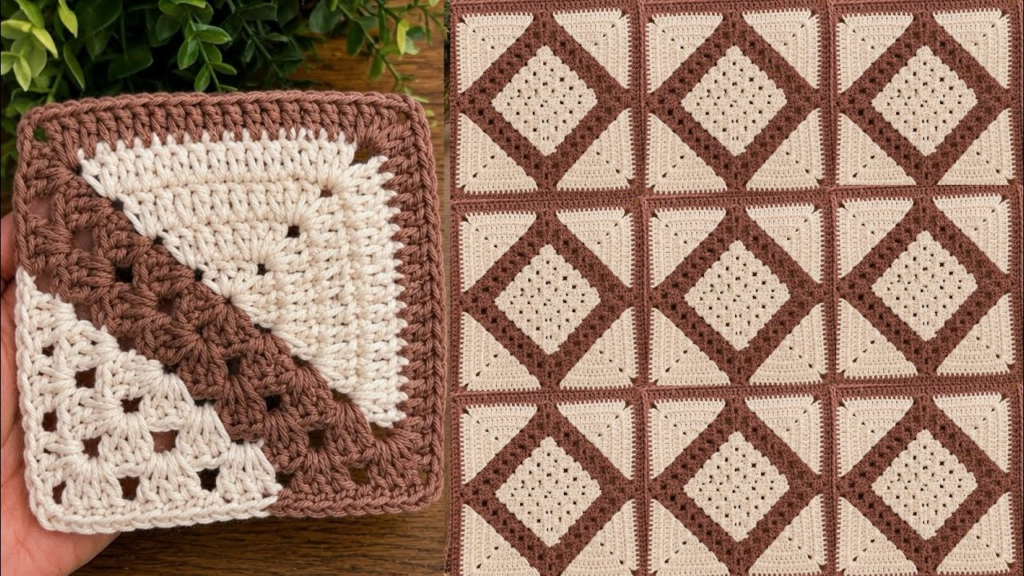
🧶 The Designer’s Toolkit
| Item | Recommendation | Why? |
| Yarn | Worsted Weight (Size 4) Wool or High-Quality Acrylic | Provides warmth and structure; doesn’t “stretch” out of shape. |
| Hook | 4.5 mm (G+) | A smaller hook keeps the stitches tight, preventing the “gapping” seen in traditional squares. |
| Colors | “Tonal” Palette (e.g., 3 shades of Blue or Earth tones) | A monochromatic/tonal palette makes the geometric pattern look cohesive and expensive. |
🛠 Stitch Key (US Terms)
- ch / sl st: Chain / Slip Stitch.
- dc: Double Crochet.
- Corner: (2 dc, ch 2, 2 dc) in the same space.
🚀 Step-by-Step: The Solid Geometric Square
Round 1: The Foundation
- Start: Magic Ring.
- Stitches: ch 3 (counts as dc). Work 2 dc, ch 2.
- Repeat: [3 dc, ch 2] three more times.
- Join: sl st to the top of the ch 3 and pull the ring tight.
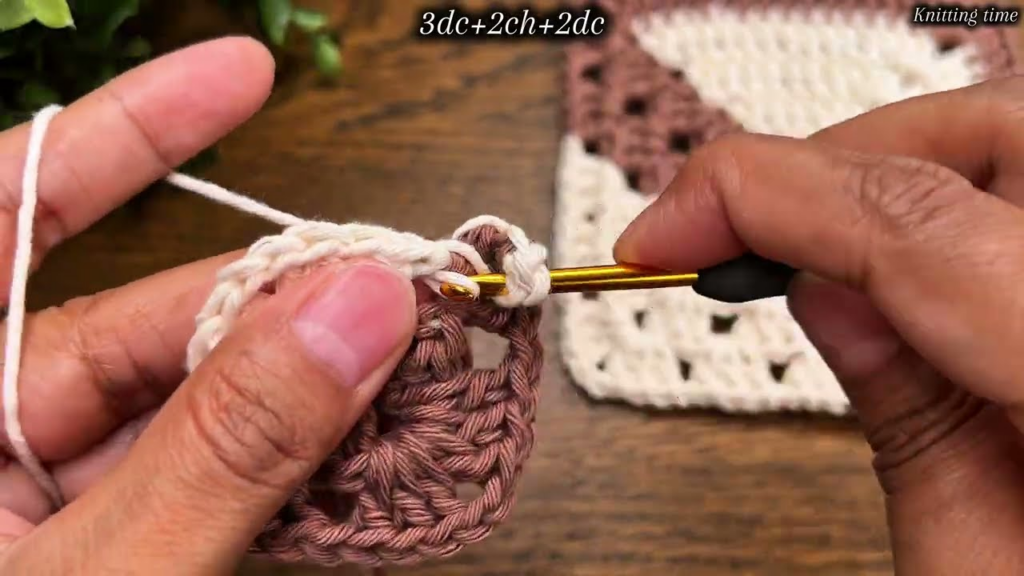
Geometric Tip: This solid center ensures your blanket has no “sunken” holes in the middle of every square.
Round 2: Defining the Shape
- Travel: sl st into the first corner space.
- Corner: ch 3, 1 dc, ch 2, 2 dc.
- The Side: Work 1 dc into each of the 3 dc from the round below.
- Repeat: Work (2 dc, ch 2, 2 dc) in every corner and 1 dc in every stitch along the side.
- Join: sl st to the top of the ch 3.
Round 3+: Growing the Tile
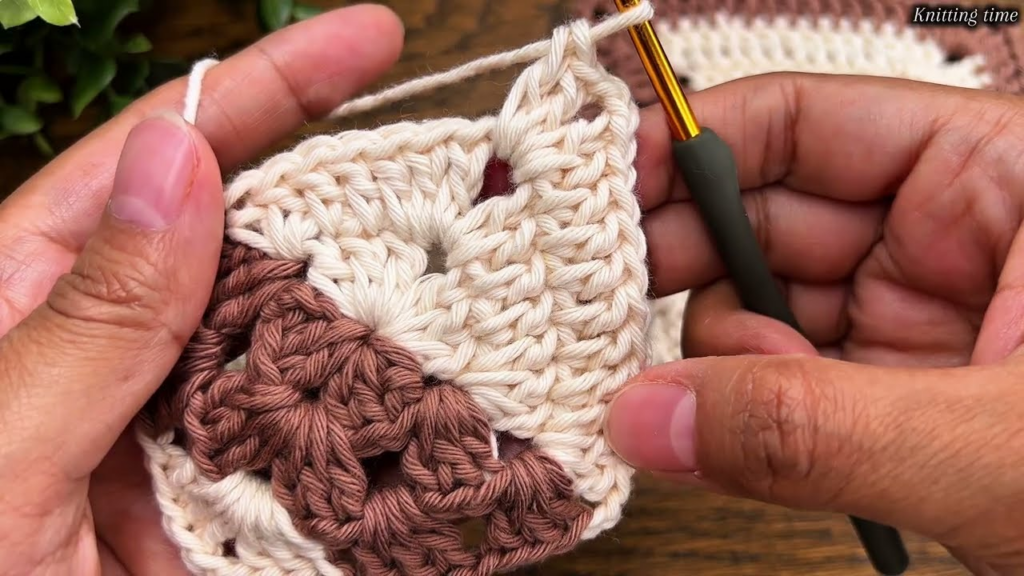
- Pattern: Always work (2 dc, ch 2, 2 dc) in every corner.
- Sides: Work 1 dc into every dc of the round below.
- The Formula: By working into every stitch instead of just the spaces, you create a solid, woven-look fabric. Your square will grow naturally and stay perfectly flat.
📐 The Elegant Layout: “The Tonal Gradient”
To give your blanket a truly “elegant” look, do not join your squares randomly. Use an Ombre or Gradient Layout:
- Row 1: Squares in the lightest shade.
- Row 2: Squares in the mid-tone shade.
- Row 3: Squares in the darkest shade.
This transitions the eye across the blanket, turning simple geometric squares into an artful statement piece.
🔗 The Join: Flat Slip Stitch Seam
To keep the geometric look, you must avoid the thick, bumpy “whip stitch” join. Use the Flat Slip Stitch Join:
- Place two squares right sides together.
- Insert your hook through the Back Loop Only (BLO) of both squares.
- Pull up a loop and slip stitch through.
- Repeat this along the entire edge.
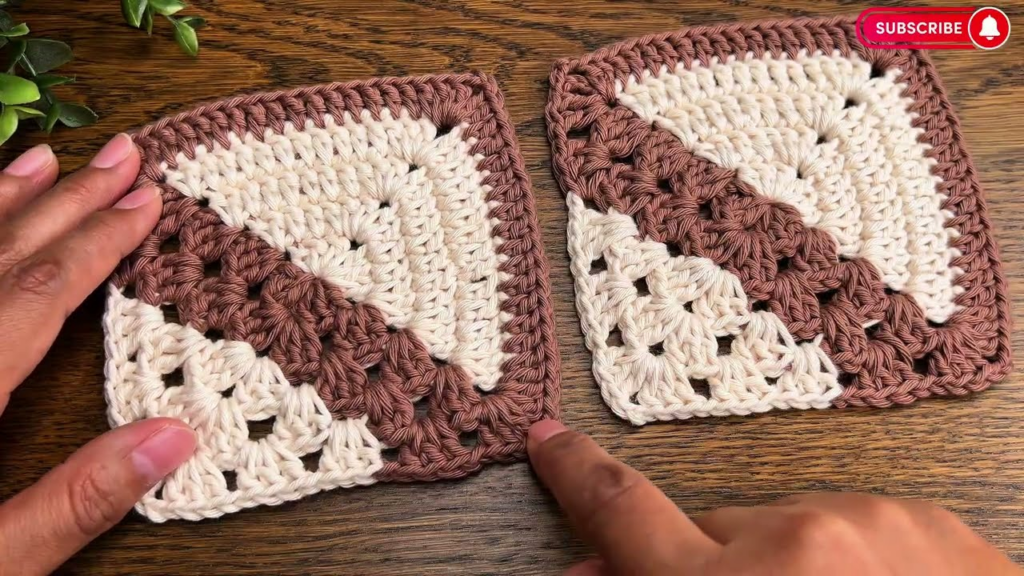
Result: This creates a recessed, “ditch-like” seam that lies completely flat, mimicking the look of professionally sewn quilting.
✨ 3 Secrets for an Heirloom Finish
- The “Border” Frame: Once all your squares are joined, do not leave the edges raw. Work 4 rounds of half-double crochet around the entire perimeter of the blanket. This “frames” the geometry and gives the blanket a professional, finished weight.
- Steam Blocking: This is the difference between “homemade” and “handmade.” Pin your blanket to a bed or blocking mats. Use a steamer to relax the fibers. This process “locks” the geometric shape of the squares, ensuring they won’t warp or stretch over time.
- The “Invisible” End: For an elegant blanket, never knot your ends. Use a tapestry needle to weave your ends back and forth through the base of the stitches for at least 5 cm. This makes the ends impossible to find and prevents them from ever popping out.
💡 A Designer’s Note
The most elegant blankets are those that don’t try too hard. Stick to a simple, monochromatic color palette and let the texture of the solid stitches provide the interest. If you want to add a “pop,” consider using a single, contrasting color for the final round of every square—this acts as a “grout” line, making the geometric design stand out even more.
Would you like me to help you calculate the yarn yardage for a standard queen-sized geometric throw based on these solid squares?