 by
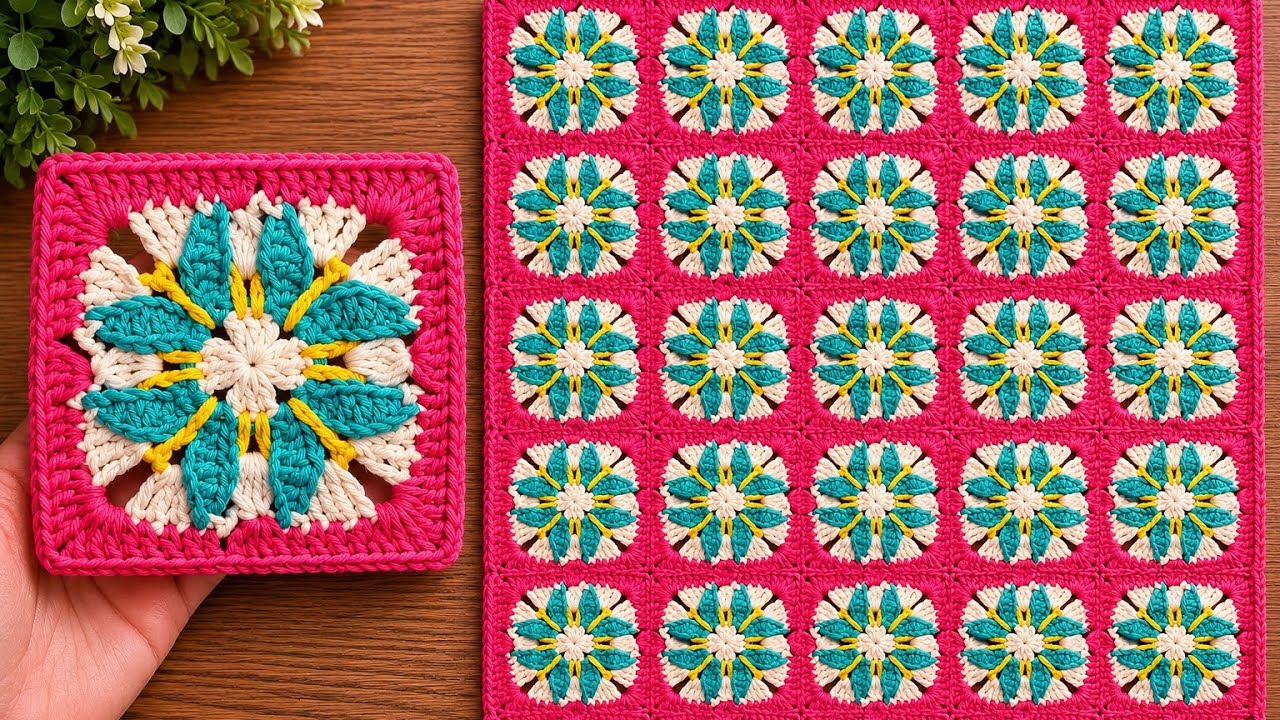
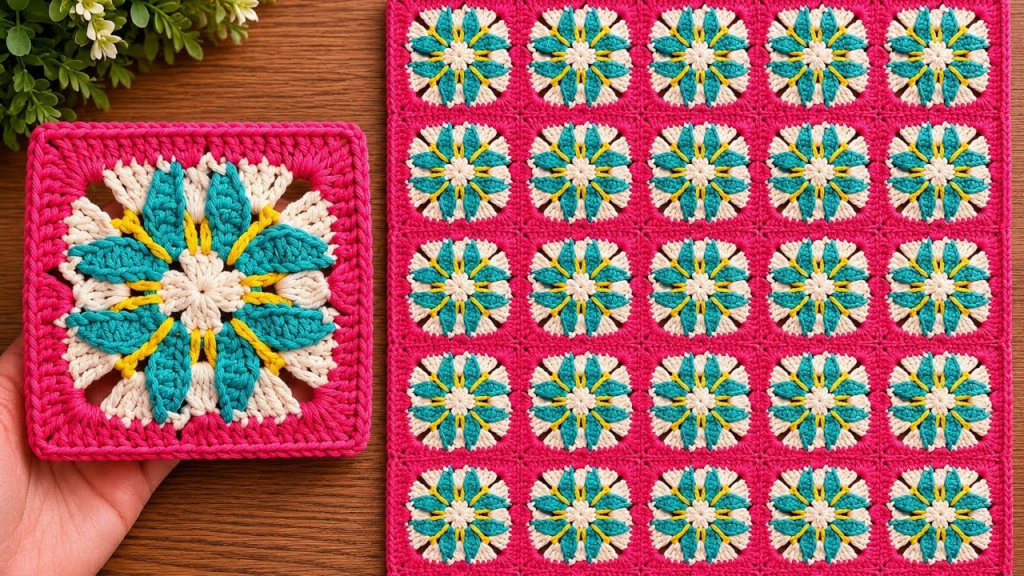
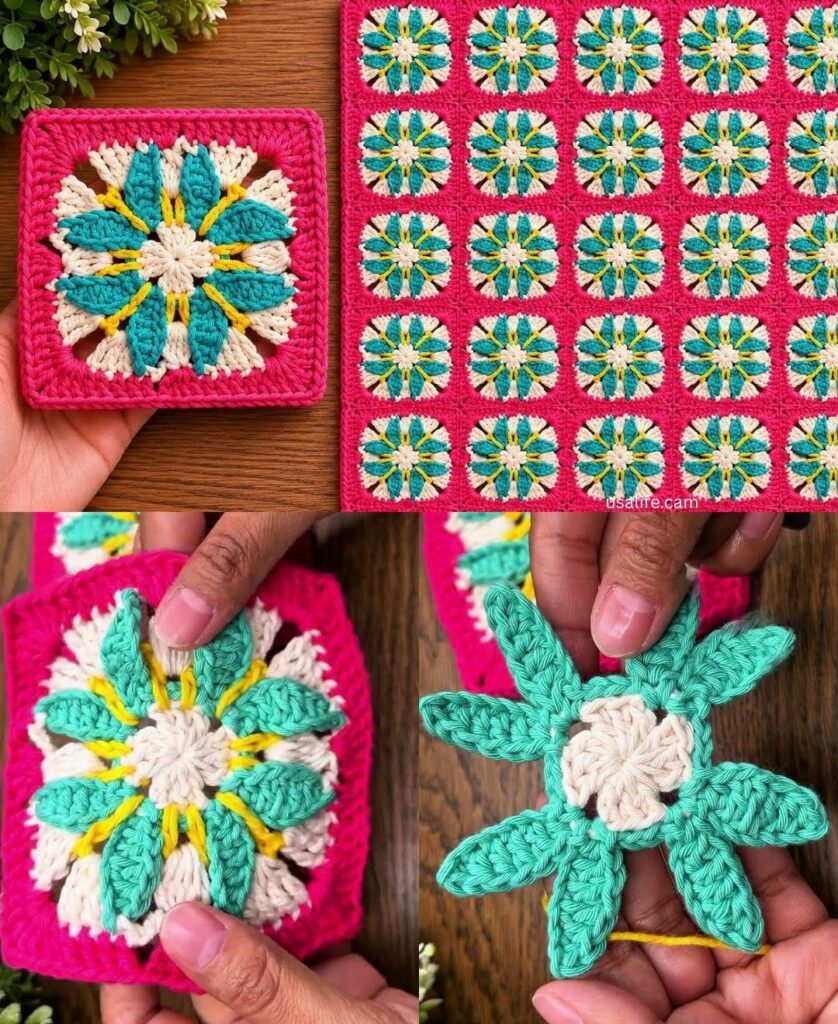
by The Elegant Bloom Square is a sophisticated motif that strikes a perfect balance between organic, floral beauty and geometric structure. By using Raised Post Stitches, we create a petal texture that sits proudly on the surface, while the “squaring-off” rounds ensure the final piece remains a crisp, professional tile.
This motif is ideal for heirloom-quality blankets or elegant, textured throw pillows.
🧶 The Designer’s Toolkit
To achieve an “elegant” look, the key is high-definition yarn. You want a fiber that holds a crisp edge.
| Item | Recommendation | Why? |
| Yarn | DK Weight Cotton or Silk-Bamboo Blend | Provides a subtle, expensive-looking sheen and excellent stitch definition. |
| Hook | 3.5 mm (E/4) | A tighter hook ensures the “bloom” petals remain firm and don’t sag. |
| Color | Cream/Ivory or “Moody” jewel tones | Keeps the design timeless and architectural. |
Stitch Key (US Terms)
- ch / sl st: Chain / Slip Stitch.
- dc: Double Crochet.
- tr: Treble Crochet.
- fpdc (Front Post Double Crochet): Work a dc around the post of the stitch below (from front-to-back-to-front).
🚀 Step-by-Step: The Elegant Bloom Square
Round 1: The Heart of the Bloom
- Start: Make a Magic Ring.
- Stitches: ch 3 (counts as dc). Work 11 dc into the ring (12 dc total).
- Join: sl st to the top of the starting ch 3. Tighten the ring completely.
Round 2: The Petal Foundation
- Pattern: ch 3 (counts as dc), dc in same stitch. Work 2 dc in every stitch around.
- Join: sl st to the top of the ch 3. (24 dc total).

Pro-Tip: Ensure these stitches are even. This round provides the “base” for the petals to sit upon.
Round 3: Raising the Petals
This is where the texture begins.
- Pattern: ch 3. Work 1 fpdc around the post of the same stitch.
- Continue: In every stitch around, work (1 dc, 1 fpdc).
- Join: sl st to the top of the ch 3.
Result: You will see 24 stitches, with every other stitch “popping” forward. These are your petal ribs.
Round 4: Squaring the Bloom
- Transition: sl st over to a fpdc (petal) stitch.
- Corner 1: ch 4 (counts as tr). Work (1 tr, ch 2, 2 tr) into the same stitch.
- The Side: * Skip 1 stitch, 1 dc in next 3 stitches, skip 1 stitch.
- Corner 2: In the next fpdc, work (2 tr, ch 2, 2 tr).
- Join: sl st to the top of the starting ch 4.

Geometric Tip: Use the fpdc stitches as your “anchor points” for the corners to keep the square perfectly symmetrical.
📐 Precision Planning
To keep this project elegant, your joining technique must be seamless. Use the Invisible Join (Join-As-You-Go):
- On your final round, when you reach a corner chain space, work ch 1, sl st into the corner of the adjacent square, ch 1.
- This creates a refined, “chain-like” seam that adds to the geometric aesthetic rather than creating a bulky, amateur-looking ridge.

✨ 3 Secrets for an Heirloom Finish
1. The “Weighty” Border
Once all your squares are joined, add a final border around the entire blanket of 3 rounds of half-double crochet. This adds physical weight to the perimeter, ensuring the blanket hangs off the edge of a bed or sofa with a “drape” that feels luxurious and heavy.
2. Blocking is Mandatory
Because of the fpdc (post stitches), this square will want to “bow” or curve slightly.
- The Technique: Pin the square to a foam board using rust-proof pins, pulling the corners taut.
- The Treatment: Lightly mist with water or use a handheld steamer. Let it dry completely in its pinned state. This “sets” the architecture of the bloom so it stays perfectly flat.
3. Surface Crochet Detailing (Optional)
If you want to take it to a “boutique” level, use a tapestry needle and a contrasting silk thread to add a tiny French knot or a simple cross-stitch in the center of the bloom. This “jewel” detail makes the square look like a piece of high-end embroidery.
Would you like me to suggest a color combination that would highlight the textured petals for a decorative pillow project?