 by
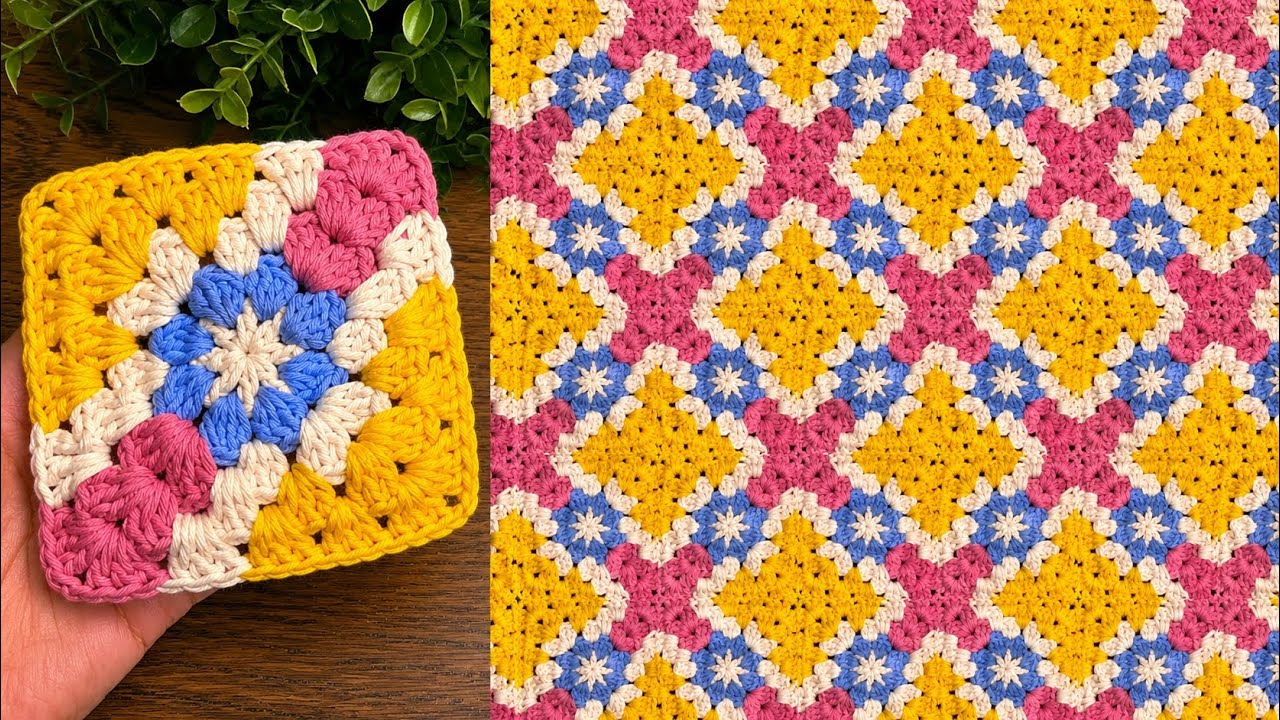
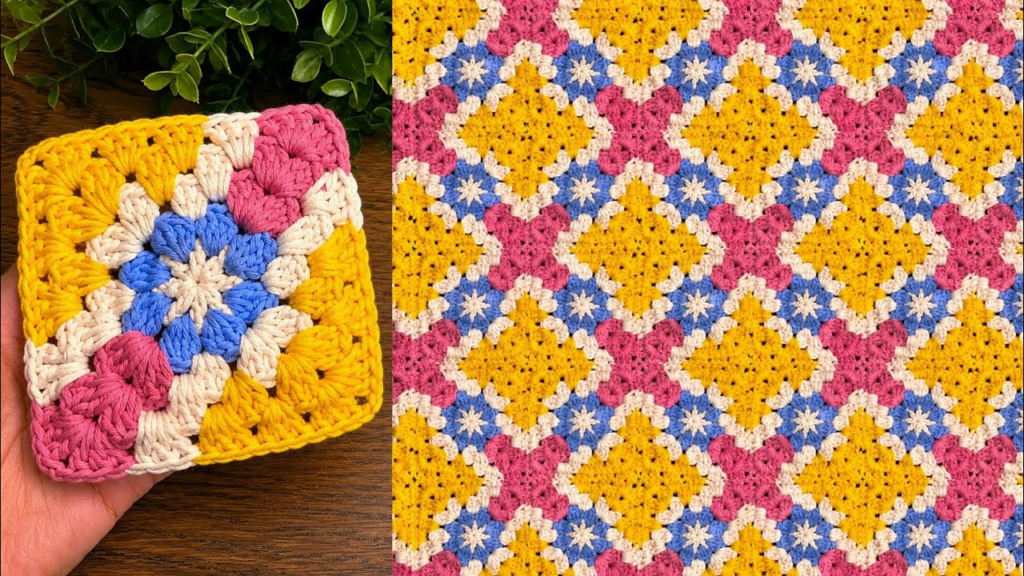
by The “Infinite Motif” is the cornerstone of crochet design—one single square pattern that acts as the DNA for three entirely different projects. The key to making a motif that works for a delicate pillow, a cozy blanket, and a sturdy bag is “Stitch Density.”
We will build a “Dense Lattice Square.” It is airy enough for a blanket, structured enough for a bag, and soft enough for a pillow.
🧶 The Motif Builder’s Toolkit
| Project | Yarn Strategy | Why? |
| Blanket | Worsted Weight (Size 4) Wool | Warmth and loft. |
| Pillow | Cotton/Acrylic Blend | Washability and soft touch. |
| Bag | 100% Mercerized Cotton | Minimal stretch; prevents the bag from sagging. |
The Stitch Key (US Terms)
- ch / sl st: Chain / Slip Stitch.
- dc: Double Crochet.
- V-Stitch: (dc, ch 1, dc) in the same space.
- Corner: (2 dc, ch 2, 2 dc) in the same space.
🛠 Step-by-Step: The Dense Lattice Square
Round 1: The Foundation
- Start: Make a Magic Ring.
- Stitches: ch 3 (counts as dc). Work 11 dc into the ring.
- Join: sl st to the top of the ch 3. Tighten ring. (12 dc total).
Round 2: Setting the Structure
- Pattern: ch 4 (counts as dc + ch 1), 1 dc in next stitch.
- Repeat: Repeat the (dc, ch 1) sequence in every stitch around.
- Join: sl st to the 3rd ch. (12 dc and 12 ch-1 spaces).

Round 3: The Lattice Corner
- Move: sl st into the first ch-1 space.
- Corner: ch 3, 1 dc, ch 2, 2 dc (all in same space).
- The Side: * ch 1, skip 1 space, work V-Stitch (dc, ch 1, dc) in next space. ch 1.
- Repeat: Work (2 dc, ch 2, 2 dc) in every corner space, and V-stitches in the side spaces.
- Join: sl st to the top of the ch 3.
Round 4: The Solid Frame
- Pattern: Work 1 dc into every dc and every ch-1 space around.
- Corner: In every ch-2 corner space, work (2 dc, ch 2, 2 dc).
- Join: sl st to the start. Fasten off.

📐 Adapting the Motif for Your Project
1. The Blanket (The “Join-As-You-Go”)
For blankets, use the Join-As-You-Go (JAYG) method. On your final round, when you hit a corner, replace the “ch 2” with “ch 1, sl st to the adjacent square’s corner, ch 1.” This creates a continuous, strong blanket without the need for manual sewing.
2. The Pillow (The “Double-Sided” Layout)
For a pillow, you need two large panels.
- Pro Tip: Crochet one side slightly smaller than the other. When you join them (using a simple single crochet border), the slight “stretch” of the smaller square creates a “full” look, so the pillow doesn’t look flat or empty.
3. The Bag (The “Structure” Reinforcement)
A bag needs to hold weight.
- The Modification: For bag motifs, work your final round in Single Crochet (sc) instead of Double Crochet (dc). This makes the fabric much tighter and less prone to “stretching” when you fill the bag with items.

✨ 3 Secrets for a Professional Finish
1. The “Border” Secret
Never leave your squares with a “raw” edge. For a blanket or bag, work 3 rounds of Single Crochet around the entire finished piece. It acts as a structural frame, “locking” the motifs into place and preventing them from distorting over time.
2. The Blocking Board
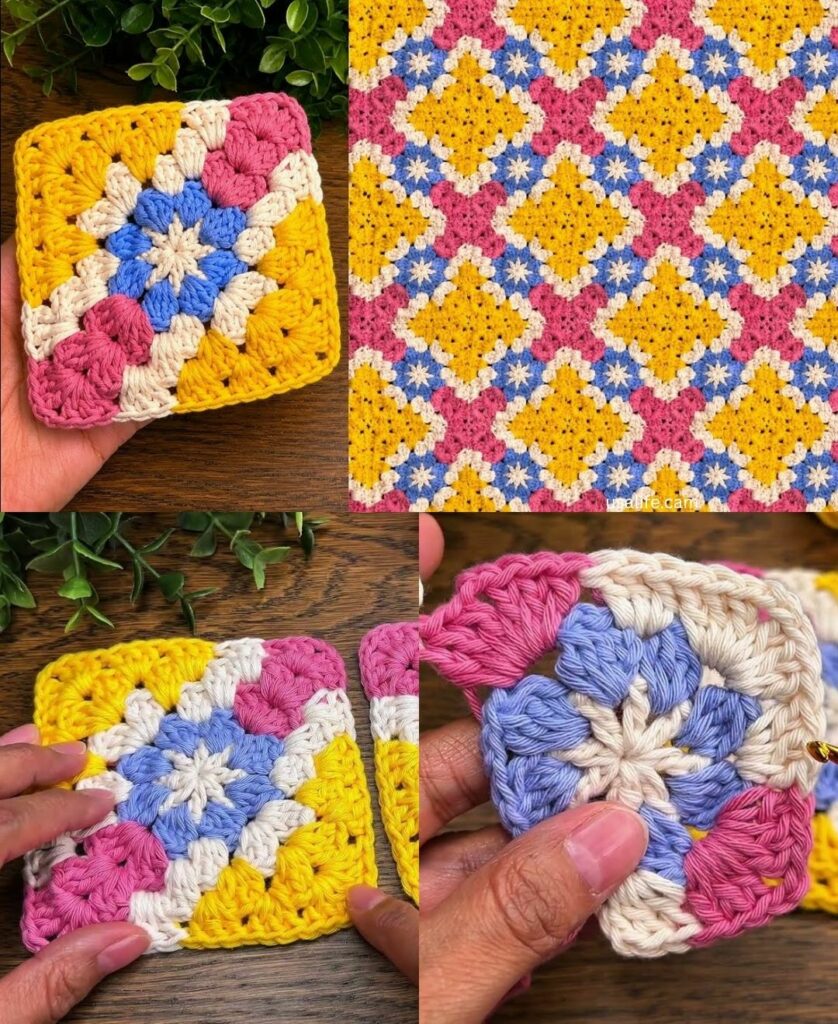
This motif has a “lattice” (the V-stitches), which means it will naturally want to pull into a circle. Blocking is mandatory. Pin your squares to a board, stretch them into a perfect 90-degree square, and use steam. This “sets” the geometry and makes joining a dream.
3. The “Yarn Chicken” Strategy
When making large-scale projects (especially blankets), buy one extra skein of your main color than the pattern calls for. Dye lots can change—if you run out and the store is sold out of your specific lot, your blanket will have a visible color shift.
Would you like me to create a “joining diagram” showing how to lay out these squares specifically for a medium-sized tote bag?