by
by Crochet squares are the building blocks of the craft. While many beginners start with the traditional “holey” Granny Square, there is a vast world of squares that offer different textures, levels of structure, and visual appeal.
Here is a guide to the three core “architectures” of crochet squares and how to choose the right one for your next project.

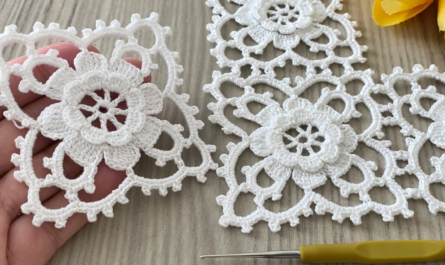
1. The Classic Granny Square (The “Open” Motif)
This is the most iconic, airy, and lightweight square. It is created by working clusters of double crochet into chain spaces.
- Best For: Classic blankets, breezy summer shawls, and nostalgic home decor.
- The “Pro” Secret: To prevent the square from spiraling, turn your work after every round. This keeps the stitches perfectly vertical and ensures the corners remain sharp.
- Structure: Very stretchy and lightweight. Not recommended for bags that carry heavy items, as they will sag.

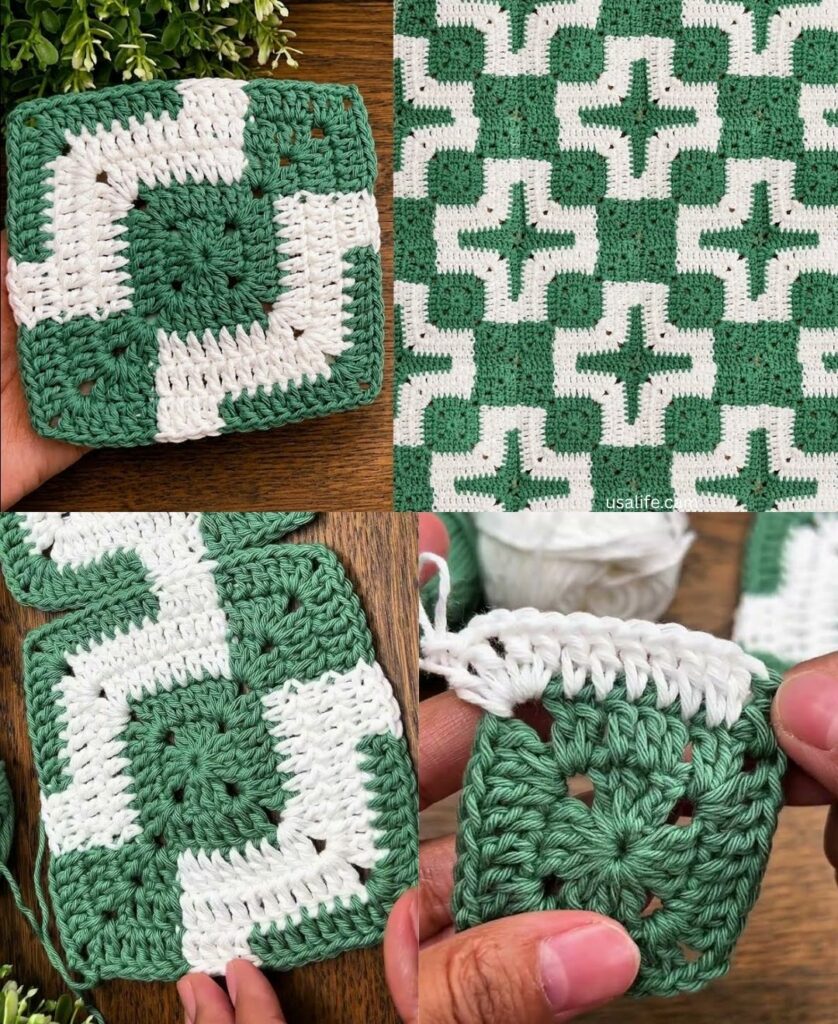
2. The Solid Square (The “Architectural” Motif)
This square is worked by placing double crochets into every available stitch, with no skipped stitches or chain-1 spaces along the sides (except at the corners).
- Best For: Structural home items (pillows, table runners), sturdy bags, and cardigans.
- The “Pro” Secret: Use Mercerized Cotton for this square. Because there are no holes, the yarn density is high; cotton provides excellent stitch definition that highlights the “tile” look of the square.
- Structure: Very firm and non-stretchy. It holds its shape beautifully over time.
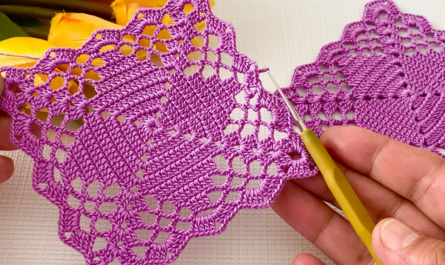
3. The Mosaic/Tapestry Square (The “Graphic” Motif)
These squares use specialized techniques—like dropping down trebles or carrying multiple colors—to create sharp, geometric shapes like stars, diamonds, or stripes.
- Best For: Statement pieces, modern wall hangings, and high-impact home decor.
- The “Pro” Secret: Blocking is mandatory. Because you are working with long “dropped” stitches or carrying yarn, the fabric tension will be uneven. Aggressively pinning and steaming these squares is what forces them into a perfect, professional square shape.
- Structure: Dense and thick. Because you are often working with two strands of yarn simultaneously, these squares are the warmest and thickest of the three.

Comparison Table: Choosing Your Motif
| Feature | Classic Granny | Solid Square | Mosaic/Tapestry |
| Texture | Airy/Open | Dense/Smooth | Thick/Graphic |
| Difficulty | Beginner | Beginner/Intermediate | Advanced |
| Primary Use | Blankets | Garments/Bags | Wall Art/Pillows |
| Stretch | High | Low | Very Low |

Expert Tips for Any Square
- The “Border Frame”: No matter which square you choose, adding one final round of Single Crochet around the perimeter before joining creates a “frame.” This locks the edges, making them much easier to sew together later.
- The Invisible Join: Avoid using a slip stitch join for your squares if you want a professional look. Use a tapestry needle to sew the squares together using the “Mattress Stitch” or “Flat Slip Stitch Join” (working only into the back loops). This makes the seam look recessed, as if it were machine-stitched.
- Standardize Your Gauge: If you are planning a large blanket, do not make all your squares at once. Crochet five, block them, and measure them. If your size is off, you can adjust your hook size for the next batch. Nothing is more frustrating than having 20 squares of different sizes when it comes time to join them.
Which style would you like to explore next?
I can provide a deep-dive pattern for a specific Mosaic Star design, a Solid 3D-textured square, or a classic openwork lace square if you’re interested in something more delicate.