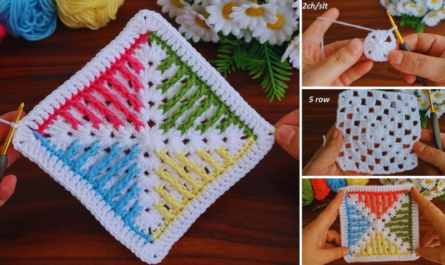
by
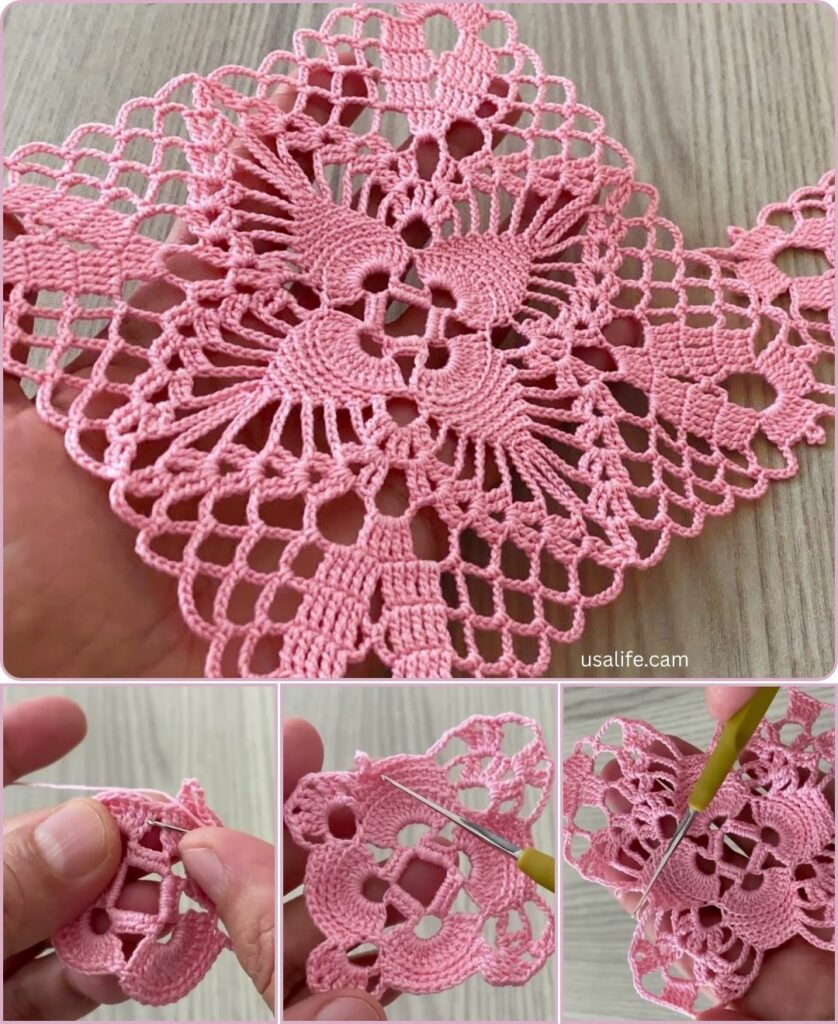
by That is a wonderful choice! The Pineapple Motif is one of the most classic and admired lace patterns in crochet. When framed within a square, it becomes a versatile block perfect for joining into elaborate blankets or beautiful shawls.
I will detail a step-by-step tutorial for the Pineapple Square Motif, focusing on how the circular lace pattern is elegantly contained within the sharp, square frame.
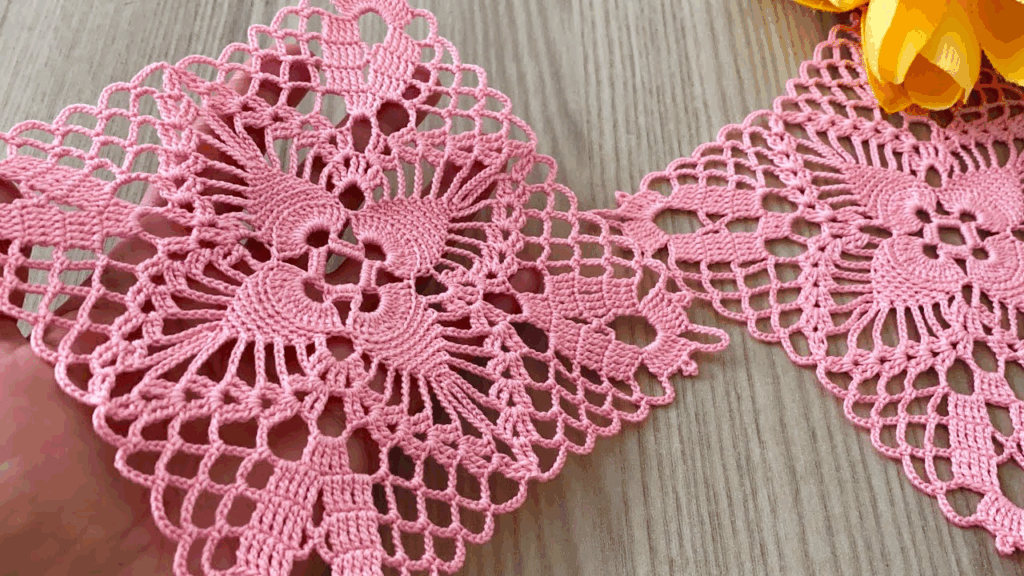
🍍 Elegant Pineapple Square Motif Tutorial
This pattern is worked from the center outward, first establishing the lace pineapple shape, and then squaring off the corners in the final rounds.
Materials You’ll Need
- Yarn/Thread: Fine cotton thread (Size 10 or 20) for a classic lace effect, or DK/Sport weight yarn for a soft, larger project.
- Crochet Hook: The size appropriate for your material (e.g., 3.0 mm – 4.0 mm).
- Scissors, Tapestry Needle.
Key Crochet Terms
| Abbreviation | Stitch Name |
| ch | Chain |
| sl st | Slip Stitch |
| sc | Single Crochet |
| dc | Double Crochet |
| tr | Treble Crochet (Triple Crochet) |
| Shell | A group of stitches worked into one space/stitch |
Part 1: Establishing the Circular Pineapple Motif
Round 1: Foundation
- Start: Make a Magic Ring. ch 4 (counts as 1 tr). Work [3 tr, ch 3, 4 tr] into the ring.
- Finish: Pull tail tight. Sl st to the top of the beginning ch 4. (8 tr total).

Round 2: Setting the Spokes
- ch 1. sc in the same st. ch 4. Skip 3 tr.
- Work [sc in the ch-3 peak, ch 4, skip 3 tr, sc in the next tr]. ch 4.
- Finish: Sl st to the first sc. (3 ch-4 loops created).
Round 3: Building the Shell Fan
The central ch-4 loop will become the large pineapple fan.
- sl st into the first ch-4 loop. ch 3 (counts as dc). Work 6 dc into the same loop. (7 dc total).
- Anchor: ch 1. Work sc into the next ch-4 loop. ch 1.
- Pineapple Fan: Work 12 tr into the next ch-4 loop.
- Anchor: ch 1. Work sc into the next ch-4 loop. ch 1.
- Finish: Work 7 dc into the first ch-4 loop (completing the anchor shell). Join with a sl st to the top of the ch 3. (14 dc total anchor stitches).

Round 4: Starting the Lace Netting
This is the first round of the characteristic pineapple mesh.
- sl st over the next 7 dc stitches (to move past the first anchor shell).
- Anchor: ch 1. sc in the ch-1 space.
- Netting: ch 3. Skip 1 tr. Work sc in the next tr.
- Repeat: [ch 3, skip 1 tr, sc in the next tr] 5 more times. (6 ch-3 loops created across the fan).
- Anchor: ch 3. Work sc in the ch-1 space.
- Repeat: ch 3. sc in the ch-1 space on the opposite side.
- Finish: Sl st to the first sc.
Round 5: Tapering the Pineapple
We decrease the chain loops to narrow the pineapple shape.
- ch 1. sc in the same st.
- Netting: ch 3. Work sc into the next ch-3 loop.
- Repeat: [ch 3, sc in the next ch-3 loop] across the top of the fan. (You will have 5 loops).
- Anchor: ch 3. Work sc in the next sc anchor. ch 3.
- Finish: Sl st to the first sc.

Part 2: Squaring the Motif
Round 6: Introducing Corners
We use the taller tr stitches in four points to pull the circle into a square.
- sl st into the first ch-3 loop. ch 1. sc in the loop.
- Side: Work sc in the next sc. ch 3. sc in the next ch-3 loop.
- Corner Side: Work sc in the next 3 ch-3 loops (across the top).
- First Corner: Work [tr, ch 2, tr] into the center (3rd) ch-3 loop.
- Repeat: Now reverse the pattern to create the remaining three sides and corners, placing the corner
(tr, ch 2, tr)into the corresponding center loop on each quadrant. - Finish: Sl st to the first sc.
Round 7: Final Frame
This round stabilizes the square using DC stitches across all sides.
- ch 3 (counts as dc). Work dc in every sc, and work 1 dc into every ch stitch along the sides until you reach the corner space.
- Corner: Work (2 dc, ch 2, 2 dc) into the ch-2 corner space.
- Repeat: Work [dc in every stitch/chain across the side, Corner (2 dc, ch 2, 2 dc)] 3 more times.
- Finish: Join with a sl st to the top of the beginning ch 3. Fasten off.
Final Steps: Blocking
Blocking is mandatory for the Pineapple Square Motif. Wet the finished piece, pin the lace netting to open it up, and firmly pin all four corners into a sharp 90-degree angle. Allow it to dry completely. This process will beautifully define the intricate pineapple lace within the stable square frame.
Video tutorial: