by
by That is a wonderful and sophisticated request! To create a truly Magnificent Blouse and a coordinating Runner from a single motif, we need a pattern that is both elegant and substantial.
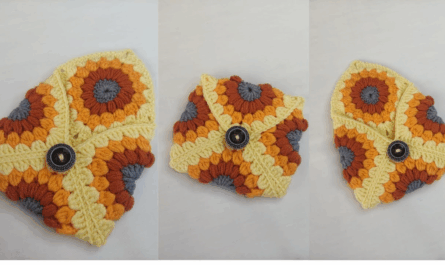
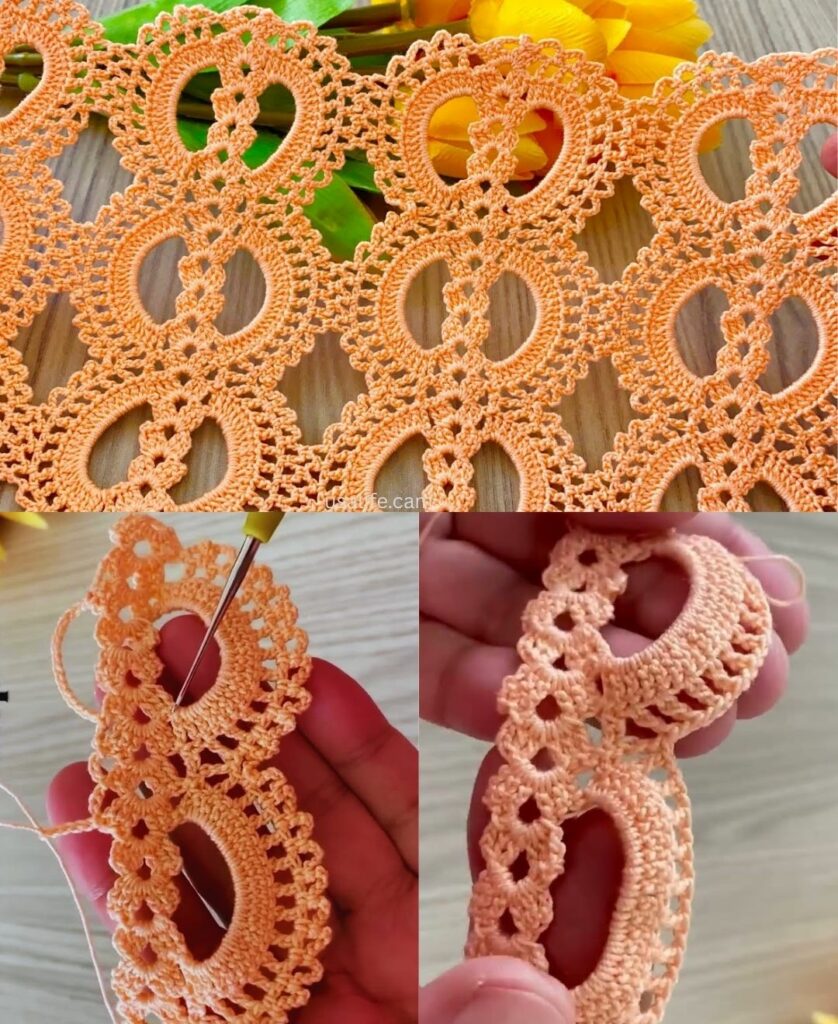
I will detail the pattern for the “Baroque Starburst Motif,” which uses layered texture (shells and clusters) and V-stitches to create a highly decorative, slightly dense motif that is perfect for a luxurious runner and a beautifully draping blouse.
🌟 Baroque Starburst Motif Tutorial
This square combines a dimensional, dense center (the “starburst”) with a final round that uses V-stitches and chains, making it suitable for both flat assembly and flowing garments.
Materials You’ll Need
- Yarn: DK Weight (Size 3) or Sport Weight (Size 2) cotton or a blend is highly recommended for the best drape in the blouse.
- Crochet Hook: The size appropriate for your yarn (e.g., 3.5 mm – 4.0 mm).
- Scissors, Tapestry Needle, Blocking Pins.
Key Crochet Terms
| Abbreviation | Stitch Name |
| ch | Chain |
| sl st | Slip Stitch |
| sc | Single Crochet |
| dc | Double Crochet |
| Shell | 5 dc worked into the same space |
| V-st | V-Stitch (dc, ch 1, dc) |
Part 1: Crocheting the Motif
Round 1: Foundation (Inner Disk)
- Start: Make a Magic Ring. ch 3 (counts as dc). Work 11 dc into the ring.
- Finish: Pull the tail tight. Join with a sl st to the top of the ch 3. (12 sts).
Round 2: Creating the Raised Shells
- ch 3 (counts as dc). Work 4 dc in the same stitch (First Shell).
- Repeat: Work Shell (5 dc) in every stitch around the circle.
- Finish: Join with a sl st to the top of the ch 3. (12 Shells, 60 sts).

Round 3: Setting the Corner Anchors
This round uses sc and long chains to define the square points.
- sl st over the first 2 dc of the shell to reach the center stitch. ch 1. Work sc in that center dc.
- Side Chain: ch 4. Work sc in the center (3rd) dc of the next shell.
- Corner Chain: ch 6. Work sc in the center (3rd) dc of the next shell.
- Repeat: Continue the sequence [ch 4, sc in center dc, ch 6 (Corner), sc in center dc] 3 more times.
- Finish: Join with a sl st to the first sc. (4 ch-6 corners established).
Round 4: Final Decorative Edge and Joining
We stabilize the corners with decorative V-stitches.
- sl st into the ch-4 space. ch 3 (counts as dc). Work (dc, ch 1, dc) into the ch-4 space (First V-stitch cluster). ch 1.
- Side: Work 3 dc into the next sc anchor. ch 1.
- Corner V-Shell: Work (V-st, ch 3, V-st) into the ch-6 corner space. ch 1.
- Repeat: Continue the sequence [3 dc in next sc anchor, ch 1, V-st in next ch-4 sp, ch 1, 3 dc in next sc anchor, ch 1, Corner V-Shell] around.
- Finish: Join with a sl st to the top of the ch 3. Fasten off.

Part 2: Assembly and Model Construction
1. Joining the Motifs
Use the Join-as-You-Go (JAYG) method while working the final Round 4.
- Side Join: Replace the
ch 1with asl stinto the corresponding ch-1 space of the finished motif. - Corner Join: Replace the
ch 3in the Corner V-Shell withch 1, sl st into the finished motif's ch-3 corner space, ch 1.
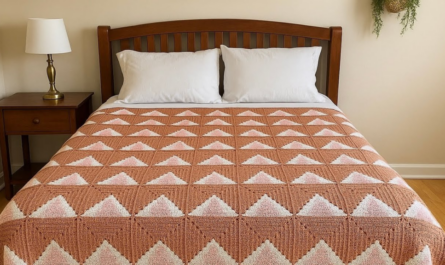
2. Magnificent Runner Model
- Construction: A long, narrow rectangle (e.g., 2 motifs wide by 8–10 motifs long).
- Yarn: Size 3 or 4 yarn.
- Finishing: Once joined, add 1-2 rounds of Single Crochet (sc) or Reverse Single Crochet (Crab Stitch) evenly around the entire perimeter to give it a luxurious, sturdy edge. Block aggressively for a crisp, flat finish.
3. Magnificent Blouse Model
- Construction: Two large rectangular panels (Front and Back) joined at the shoulders and partially down the sides.
- Sizing: Determine the required width (Bust + Ease / 2) and build your panel to that width.
- Assembly:
- Shoulders: Join the top edges, leaving a wide Neckline Gap (usually 8–10 inches).
- Sides: Join the side edges, leaving a Armhole Opening (7–9 inches) at the top.
- Finishing: Work 1–2 rounds of sc or a simple Picot edge around the neckline and armholes. The dense center and open edges ensure the blouse has excellent drape and breathability.
Final Step: Blocking (Essential)
Wet the finished project, gently stretch and pin it to the correct shape (straight edges for the runner, curved shape for the blouse), and allow it to dry completely. This step is crucial for defining the starburst texture and ensuring the overall fabric lies flat and elegantly.
Would you like a tutorial on how to crochet a small triangle half-motif to fill in the side gaps of the runner or blouse?
Video tutorial: