 by
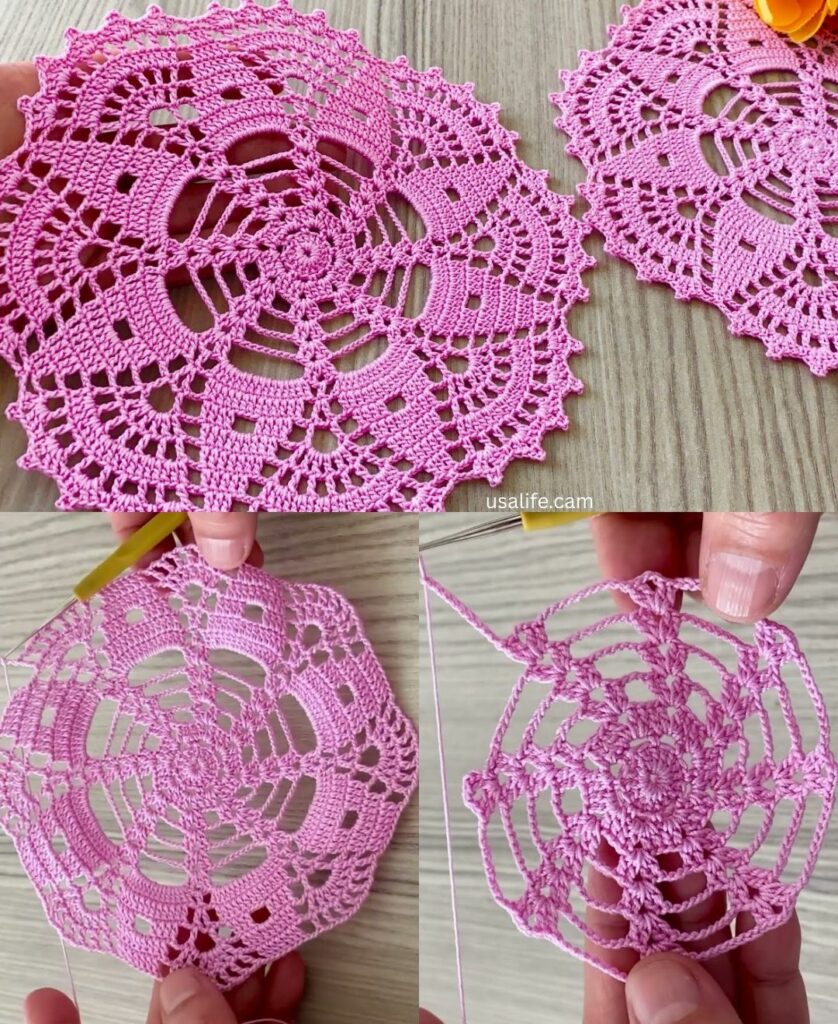
by This “Multi-Purpose Lattice Star” motif is a favorite among designers because it is mathematically balanced. It is solid enough to be a warm Sweater, lacy enough to be a summer Blouse, and flat enough to serve as a Table Runner.
By changing your yarn weight, you change the purpose of this single pattern.
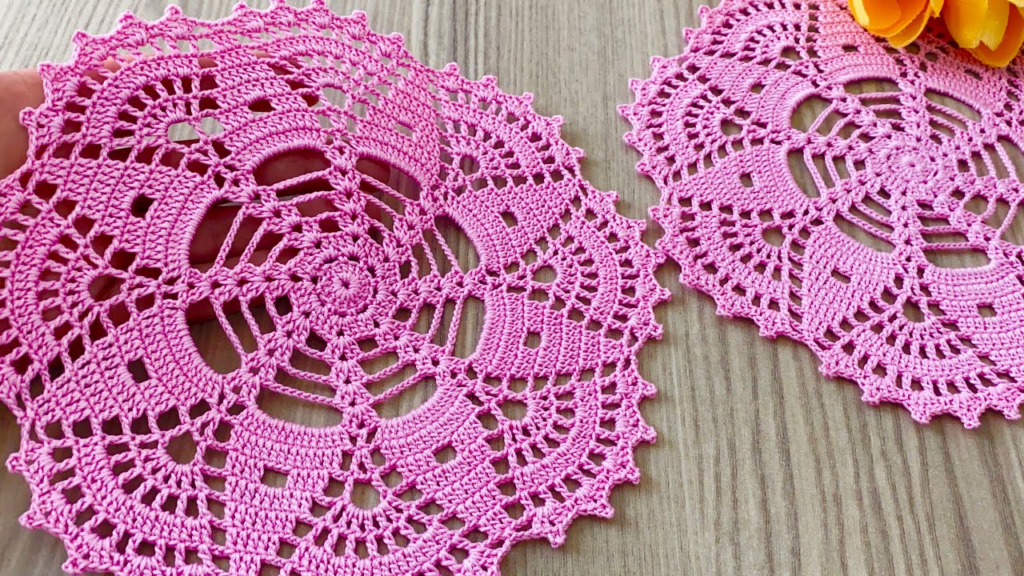
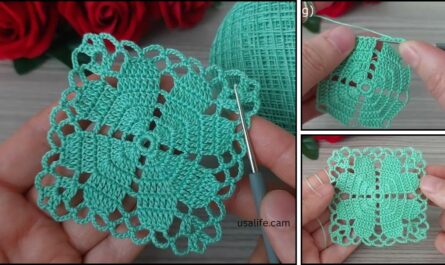
🧶 The Multi-Purpose Lattice Star Motif
This motif is worked in 5 rounds. It features a floral center that transitions into a “granny-style” lattice, making it very easy to join to other squares.
Materials & Purpose Guide
| If you want to make a… | Use this Yarn | Use this Hook |
| Elegant Table Runner | Mercerized Cotton (Size 10 or 3) | 2.5mm – 3.0mm |
| Summer Blouse/Tunic | Bamboo or Linen Blend (DK) | 3.5mm – 4.0mm |
| Winter Sweater/Blanket | Wool or Acrylic (Worsted) | 5.0mm – 5.5mm |
Step-by-Step Instructions (US Terms)
Round 1: The Core
- Start: Make a Magic Ring.
- Stitches: ch 3 (counts as dc), work 15 dc into the ring.
- Join: sl st to the top of ch 3. (16 dc total).
Round 2: The “Star” Eyelets
- ch 5 (counts as 1 dc + ch 2).
- Repeat: [dc in next stitch, ch 2] in every stitch around.
- Join: sl st to the 3rd chain of the starting ch 5.
Result: You should have 16 “spokes” with ch-2 spaces between them.

Round 3: Squaring the Design
We now turn the 16 spokes into 4 sides and 4 corners.
- sl st into the first ch-2 space.
- First Corner: ch 3, 2 dc, ch 3, 3 dc (all in the same space).
- The Side: * ch 1, skip one space.
- 3 dc in the next space.
- ch 1, skip one space.
- Repeat: [Corner (3 dc, ch 3, 3 dc), ch 1, skip space, 3 dc in next, ch 1, skip space] around.
- Join: sl st to the top of ch 3.
Round 4: The Lattice Layer
- sl st across the dc stitches until you reach the ch-3 corner space.
- Corner: ch 3, 2 dc, ch 3, 3 dc. ch 1.
- The Side: * 3 dc in the next ch-1 space. ch 1.
- 3 dc in the next ch-1 space. ch 1.
- Repeat: Corner in every corner, and two 3-dc clusters on every side.
- Join: sl st to top of ch 3.
Round 5: The Finishing Edge (Joining Round)
If you are making a garment, this is where you connect to other squares.
- sc in every dc stitch around.
- In the Corners: Work (2 sc, ch 2, 2 sc).
- Fasten off and weave in ends.

📐 Assembly Guide for Different Models
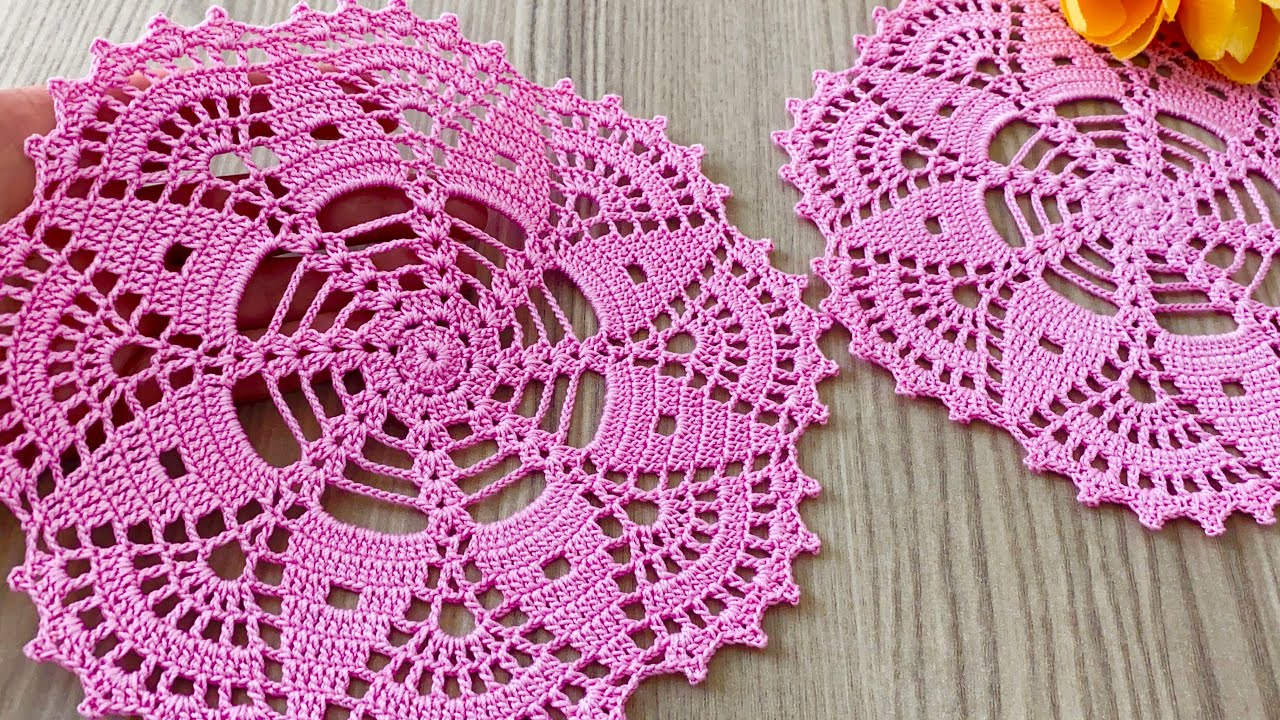
1. The Table Runner
- Layout: Arrange motifs in a 2 x 10 grid.
- Tip: Use a “Whip Stitch” to join them so the runner lies perfectly flat on your table. Add a tassel to the four outer corners for a “Magnificent” look.
2. The Magnificent Blouse
- Layout: Create two large panels (Front and Back). A standard medium blouse is usually 4 motifs wide by 4 motifs high.
- Assembly: Join the shoulders, leaving the center 2 motifs open for the head. Join the sides, leaving the top 1.5 motifs open for the arms.
- Drape: Because of the ch-2 spaces in Round 2, the blouse will breathe well and move with your body.
3. The Cozy Sweater
- Layout: Same as the blouse, but add Sleeves.
- Sleeves: Create a tube of motifs (usually 3 motifs wide) and attach them to the armholes.
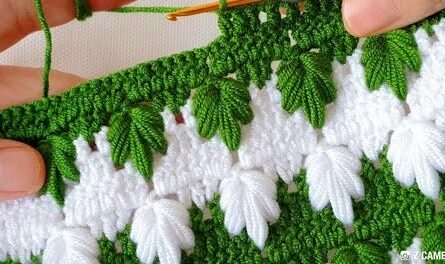
- Tip: Use a fuzzy wool yarn. The “holes” in the motif will trap warm air, making it very insulating despite the lacy look.
✨ Design Secret: The “Color Melt”
To make this motif look professional, try Ombré Shading:
- Round 1-2: Darkest Color.
- Round 3-4: Medium Color.
- Round 5: Lightest Color.
This creates a “glow” effect from the center of each square, making your finished garment look high-end.
Would you like me to calculate exactly how many motifs you need based on your specific body measurements for a blouse?
Video tutorial: