 by
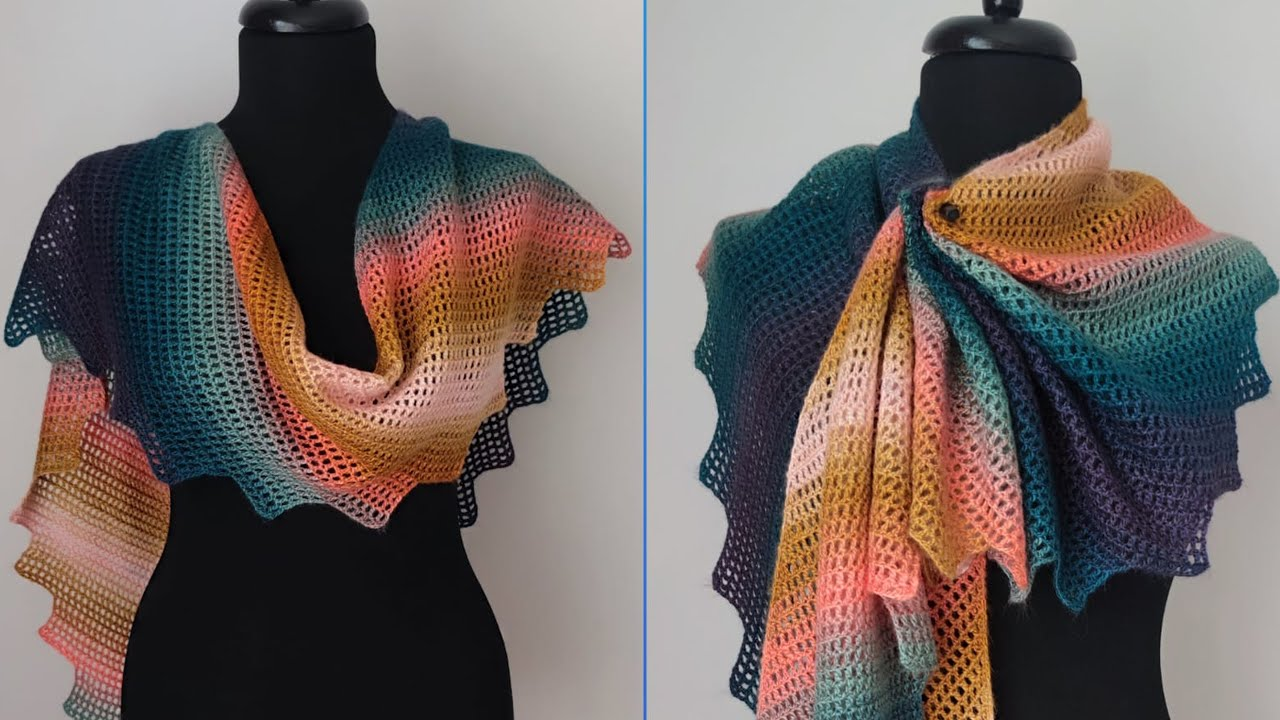
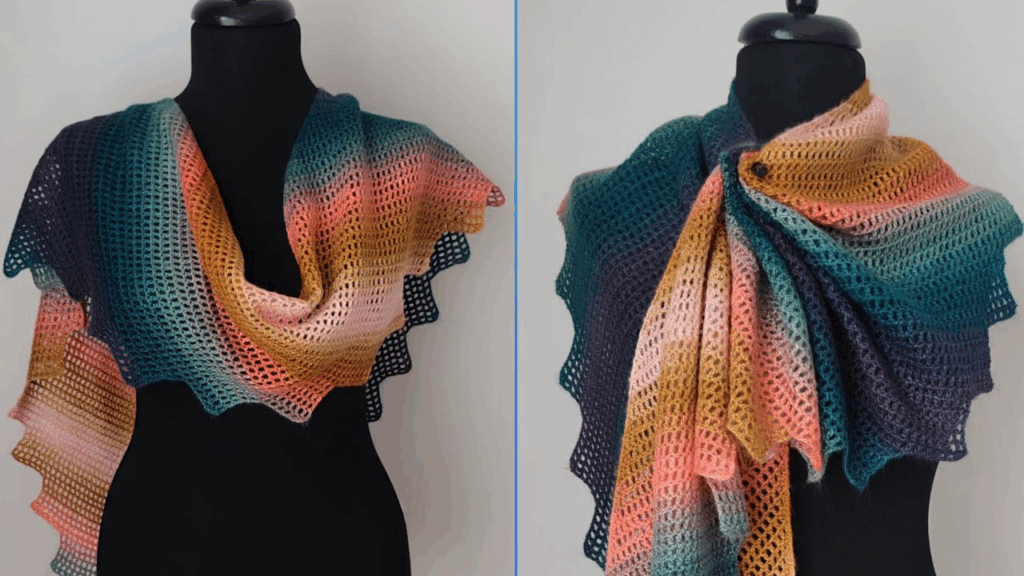
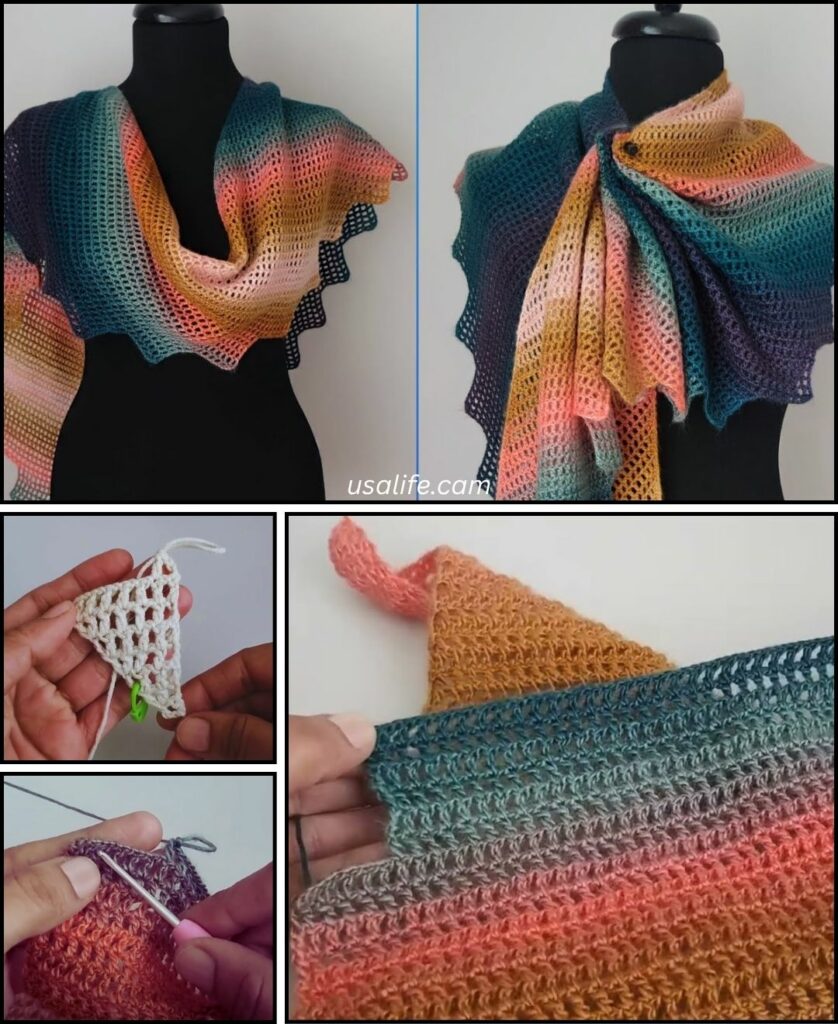
by Crocheting a scarf is the quintessential beginner project, and for good reason! It’s an excellent way to practice basic stitches, achieve consistent tension, and create a useful, beautiful item all at once. Even in Phnom Penh’s warm climate, a lightweight, open-weave scarf can be a stylish accessory or a lovely handmade gift for someone in a cooler region.
For a beginner scarf, your yarn choice is important for ease of use and comfort.
Choosing the Right Yarn for a Beginner Scarf
When you’re just starting out, picking a yarn that’s easy to work with can make all the difference.
- Yarn Weight:
- Worsted Weight (Aran / Medium / Category 4): This is highly recommended for beginners. It’s thick enough to see your stitches clearly, works up relatively quickly, and is widely available.
- DK (Double Knitting) Weight (Light Worsted / Category 3): This can also work well, creating a slightly lighter scarf.
- Fiber Content:
- Acrylic: An excellent choice for beginners. It’s affordable, widely available in countless colors, easy to care for (machine washable and dryable), and smooth, which helps your hook glide easily through stitches without splitting.
- Cotton or Cotton Blends: If you prefer natural fibers or want a lighter scarf for the Phnom Penh climate, cotton is a great option. It has good stitch definition and is breathable. Just be aware that some cottons can be a bit less elastic than acrylic, which might feel different on your hands.
- Avoid: Very fuzzy yarns (like mohair), super bulky yarns (can be hard to see stitches), or very thin yarns (take longer and can be fiddly).
How to Crochet a Scarf Pattern for Beginners (Simple HDC Scarf)
This pattern uses the half double crochet (hdc) stitch, which is a perfect balance for a beginner scarf: it’s taller than a single crochet (so the scarf works up faster), but denser than a double crochet (giving it a bit more body and warmth without being too open).
1. Essential Materials You’ll Need
- Yarn:
- Worsted Weight Acrylic or Cotton Yarn: About 200-300 grams (1 to 2 skeins, depending on yardage). Choose a color you love!
- Crochet Hook:
- A 5.0mm (US H/8) or 5.5mm (US I/9) hook. This size is typically recommended for worsted weight yarn and creates a comfortable fabric that’s not too stiff or too loose.
- Scissors: For cutting yarn.
- Yarn Needle (Tapestry Needle): Essential for weaving in your starting and ending yarn tails.

2. Basic Crochet Stitches You’ll Use
You’ll only need to master a couple of basic stitches for this project:
- Chain (ch): The very first step of any crochet project.
- Half Double Crochet (hdc): Your primary stitch for the body of the scarf.
- Fasten Off: To securely end your work.
- Weaving in Ends: Hiding yarn tails for a neat and professional finish.
Beginner HDC Scarf Pattern
This pattern creates a scarf that’s approximately 6-7 inches (15-18 cm) wide and about 60 inches (150 cm) long, a good standard size for an adult. You can easily adjust the length and width as desired.
Abbreviations (US Crochet Terms):
- ch: chain
- hdc: half double crochet
- st(s): stitch(es)
- FO: Fasten off
Step 1: Create the Foundation Chain (Determines Scarf Width)
The number of chains you make here will determine the width of your scarf.
- Make a slip knot on your hook.
- Ch 22. (This will create a scarf that’s approximately 6-7 inches wide. If you want a wider scarf, chain more stitches. If you want a narrower scarf, chain fewer stitches. You want an even number of starting chains for this pattern).
Step 2: Work the First Row
This row establishes your first line of half double crochet stitches.
- Hdc in the 3rd ch from your hook. (The first 2 chains you skipped count as the turning chain for your first hdc stitch, giving your edge a neat look).
- Hdc in each remaining chain across the row.
- You should have 20 hdc stitches in this first row. (If you chained more or fewer stitches, your hdc count will be 2 less than your starting chain).
- Ch 2 (this is your turning chain for the next row).
- Turn your work.
Step 3: Work Subsequent Rows (Building the Scarf Length)
You’ll repeat this simple step over and over until your scarf reaches the desired length.
- Hdc in the first hdc stitch of the previous row. (Remember, your turning chain (ch 2) always counts as a stitch, so you always work into the first actual stitch).
- Hdc in each hdc stitch across the row.
- You should always have 20 hdc stitches in each row (or whatever your initial stitch count was from Step 2).
- Ch 2.
- Turn your work.
Step 4: Continue Until Desired Length
- Repeat Step 3, working back and forth in rows, until your scarf is as long as you want it to be.
- For an adult-sized scarf, aiming for about 60 inches (150 cm) is a good starting point. You can measure it against yourself or a ruler as you go.
Step 5: Fasten Off
Once your scarf has reached its desired length:
- After completing your last hdc stitch in the final row, cut your yarn, leaving a tail about 6 inches (15 cm) long.
- Yarn over your hook, and then pull the cut tail completely through the loop on your hook.
- Pull the tail firmly to create a knot and secure your work.
Step 6: Weave in Ends
This is a crucial step for a neat, finished look.
- Thread your yarn needle with the long tail from where you fastened off.
- Carefully weave the tail into your stitches along the edge of the scarf. Go back and forth through several stitches (about 1-2 inches) to make sure it’s secure and won’t unravel. Avoid pulling too tightly, which can distort the fabric.
- Repeat for the starting tail at the other end of your scarf.
7. Optional: Add Fringe
Adding fringe is a classic way to finish a scarf and can be a fun embellishment for beginners.
- Cut Fringe Strands: Cut multiple pieces of yarn, each roughly 10-12 inches (25-30 cm) long. For a typical scarf, you might need 30-40 pieces (or more, depending on how full you want the fringe and how wide your scarf is).
- Attach Fringe:
- Take 2 or 3 strands of yarn together.
- Fold them in half.
- Insert your crochet hook from back to front into a stitch along the short edge of your scarf.
- Hook the folded loop of yarn strands and pull it halfway through the stitch.
- Take the two loose ends of the yarn strands and pull them through the loop on your hook.
- Pull gently but firmly to tighten the knot.
- Repeat this process, evenly spacing the fringe across both short ends of your scarf.
- Trim: Once all fringe is attached, lay the scarf flat and use your scissors to trim the fringe so all the strands are the same length.
Tips for a Successful First Scarf
- Consistent Tension: This is the most important factor for a neat-looking scarf. Try to keep your stitches the same size throughout. It takes practice, so don’t worry if your first few rows are a bit wobbly!
- Counting Stitches: Count your stitches at the end of each row to ensure you’re not accidentally adding or dropping stitches. This prevents the scarf from getting wider or narrower unevenly.
- Don’t Skip the Turning Chain: Always chain 2 and turn your work as instructed. This creates a neat, even edge.
- Identify the First and Last Stitch: It can be tricky at first to find the very first (and last) stitch in a row, especially when it’s next to the turning chain. Look for the top of the stitch you worked in the previous row.
- Yarn Quality: Even for beginners, a smooth, non-splitting yarn makes crocheting much more enjoyable.
- Enjoy the Process: Learning a new craft takes time. Celebrate every stitch and every completed row!
You’re now ready to crochet your first beautiful scarf! It’s a wonderful feeling to wear or gift something you’ve made with your own hands.