 by
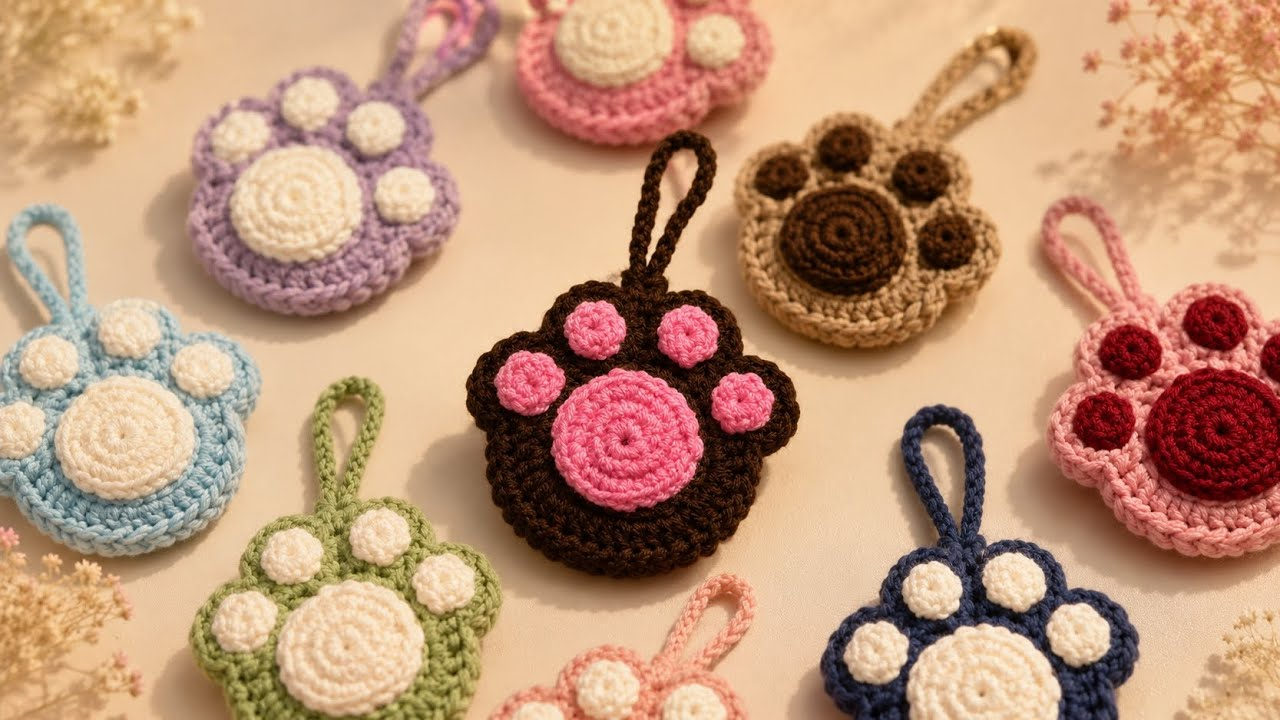
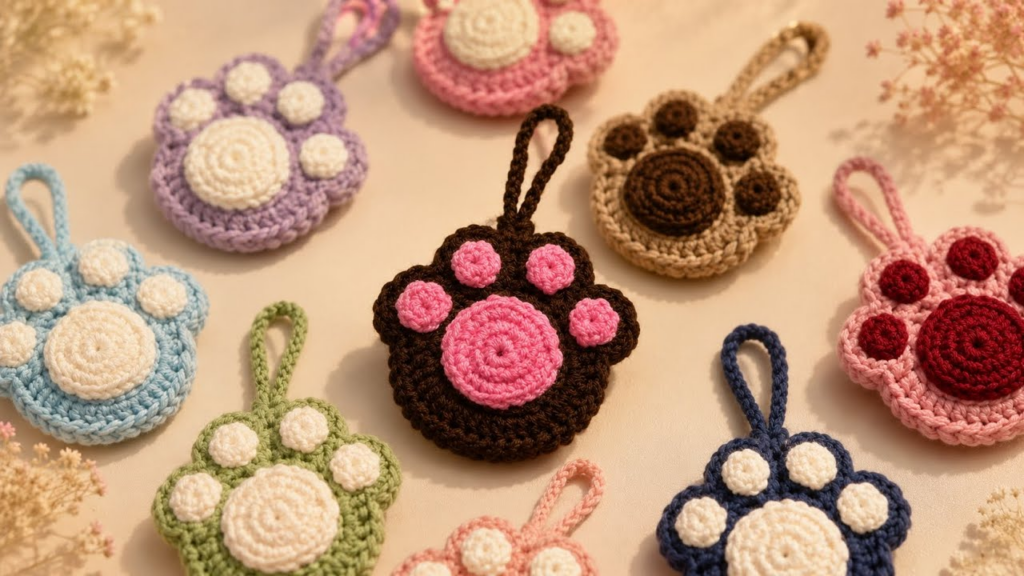
by This Paw Earpod Holder is a “micro-crochet” project that combines functionality with a cute, 3D aesthetic. To make it “Extraordinary,” we will design it with a “hidden pocket” construction so the opening is disguised as part of the paw’s palm.
I. Technical Specifications
- Yarn: 100% Cotton (Sport or DK weight). Cotton is non-negotiable here because it provides the structural “snap” needed to hold the case tightly.
- Hook: 2.5mm or 3.0mm. We want a very tight tension so the Earpod case doesn’t peek through the stitches.
- Colors:
- Color A: Main Paw Color (White, Grey, or Ginger).
- Color B: Toe Pad Color (Pink or Black).
II. The Pattern (Step-by-Step)
Part 1: The Main Paw Body (Make 2)
We are making two identical circles that we will join later. This provides the thickness needed to protect your tech.
- Round 1: Start with a Magic Ring. Ch 2 (counts as hdc), work 9 hdc into the ring. Sl st to join. (10 sts).
- Round 2: Ch 2, hdc in same st. Work 2 hdc in every stitch around. Sl st to join. (20 sts).
- Round 3: Ch 2, 2 hdc in next st. 1 hdc, 2 hdc in next. Repeat around. Sl st to join. (30 sts).
- Round 4 (The Shaping): sc in next 10 sts. hdc in next 5 sts. dc in next 10 sts (this is the top of the paw). hdc in final 5 sts.Fasten off the first circle. Keep the second circle on your hook.

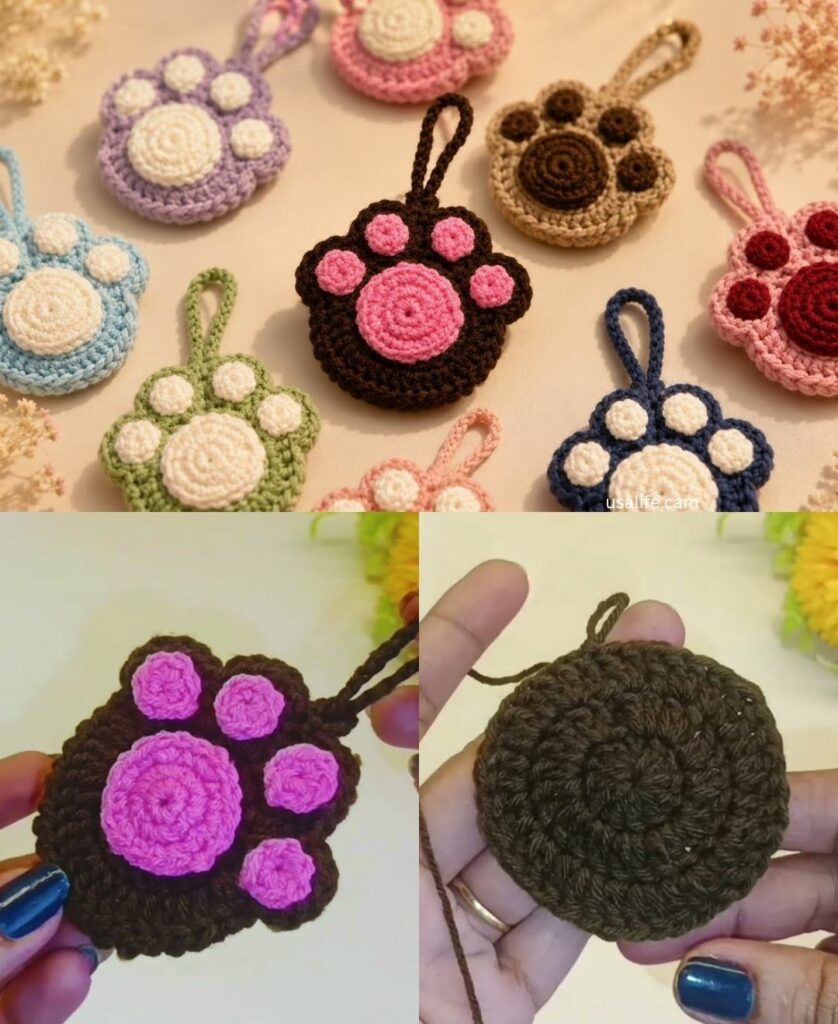
Part 2: The 3D Toe Pads (Color B)
Instead of just sewing flat circles, we will make “Puff Pads” for a realistic look.
- Main Pad (The Heart): Join Color B to the center of your first circle. Work a 4-dc cluster (leaving the last loop of each dc on your hook, then pulling through all). This creates a raised “heart” shape for the palm.
- Toes (Make 4):
- Locate the top edge of the circle.
- In 4 separate stitches, work a 3-hdc Puff Stitch.
- Sl st between each toe to define the “claws.”
Part 3: The “Hidden Pocket” Assembly
- Alignment: Place the decorated Paw (Front) on top of the plain circle (Back), wrong sides together.
- Joining: Join Color A at the “3 o’clock” position.
- The Seam: sc through both layers around the bottom and up to the “9 o’clock” position.
- The Opening: Continue sc across only the back layer for the top 1/3rd, then sc across only the front layer. This leaves a slit at the top for the Earpods to slide in.
- The Tail (Closure):
- At the center back, ch 6.
- Sl st back into the same spot to create a loop.
- Sew a small bead or button onto the front (hidden under the center toe) to act as the fastener.

III. “Detail and Detail”: Making it Extraordinary
1. The “Anti-Loss” Keyring Loop
At one of the side corners where you joined the two circles:
- Ch 5.
- Work 10 sc into that ch-5 loop to make it a thick, sturdy cord.
- Attach a metal lobster claw or keyring. This allows you to clip the paw to your bag or jeans.
2. The “Squishy” Feel
To give it that “cat-toe” realism, use a tiny bit of polyester fiberfill inside the toe puffs before you close them. It makes the holder a stress-relief fidget toy as well as a case.
3. Protective Lining
Since Earpod cases are slippery plastic, they can sometimes slide out of crochet.
- Pro Tip: Take a small piece of anti-slip shelf liner (the rubbery mesh) and glue a small strip inside the opening. This “grips” the case so it stays secure even if the paw is upside down.
IV. Summary Table
| Feature | Detail |
| Best Yarn | Cotton (mercerized for shine). |
| Security | Button-loop closure hidden between toes. |
| Unique Touch | 3D Puff toes instead of flat embroidery. |
| Project Time | Approximately 45 minutes. |
This paw holder is a great “scrap-buster” project. Are you planning to make it for the standard rectangular Earpod case or the newer Pro models?