 by
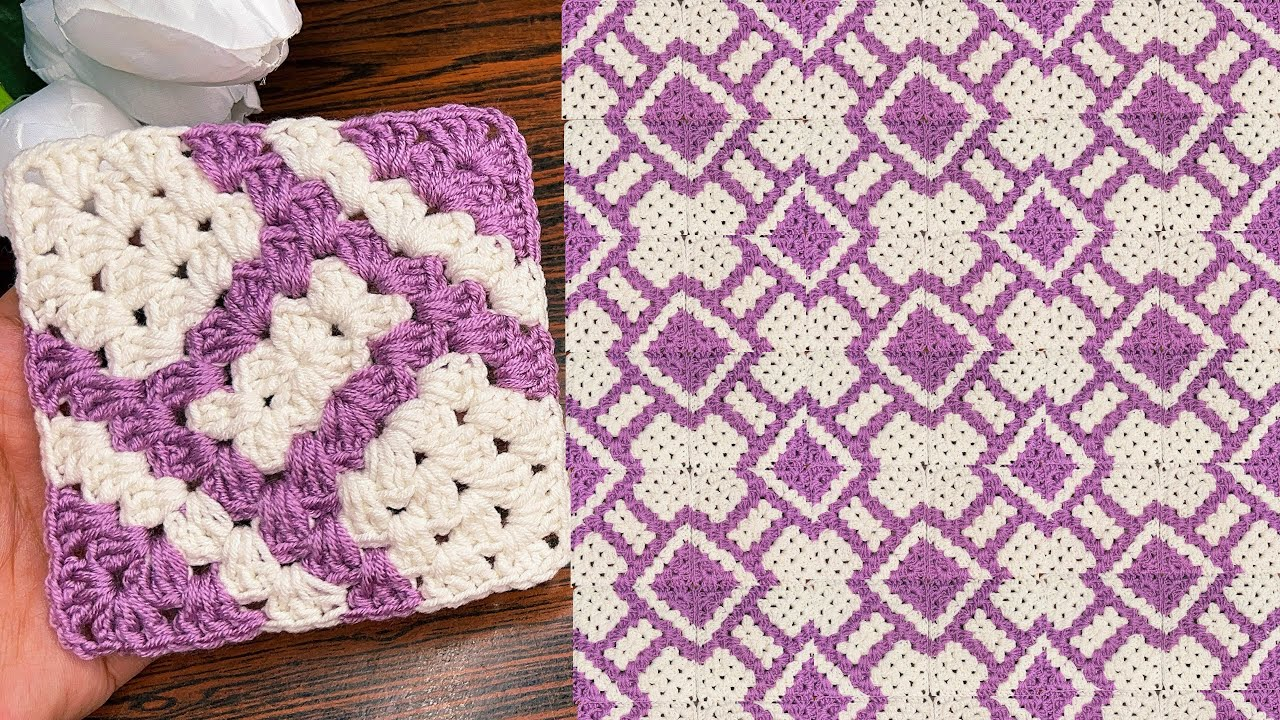
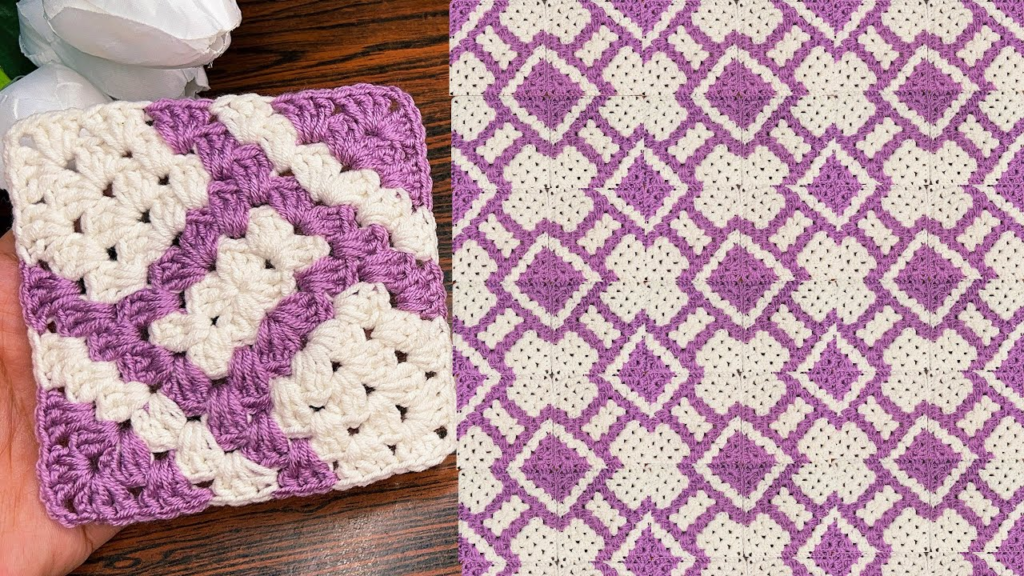
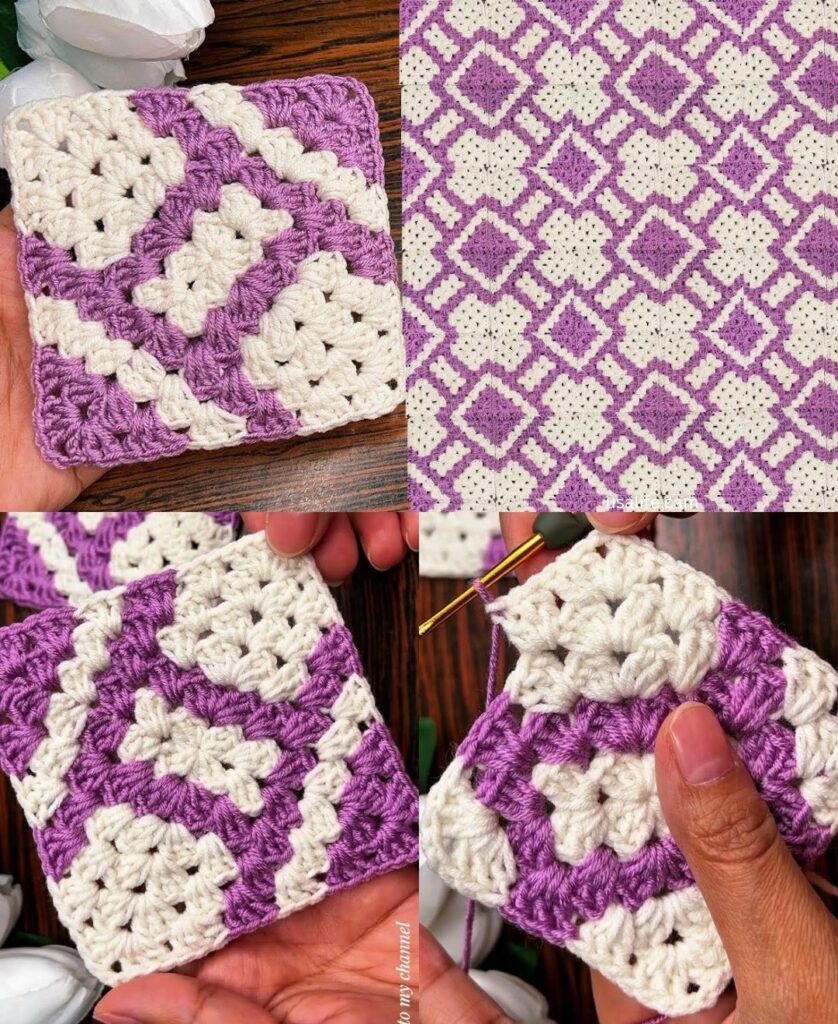
by The Lavender Patchwork Granny Square is a beautiful, classic design that feels like a field of flowers. By combining a “popcorn” stitch center (the lavender bud) with a solid, textured square frame (the patchwork structure), you create a motif that is both tactile and visually soothing.
This design is particularly stunning when worked in a tonal palette—think soft lavenders, dusty purples, sage greens, and creamy whites.
🧶 The Designer’s Toolkit
| Item | Recommendation | Why? |
| Yarn | Worsted Weight (Size 4) Cotton | Cotton gives the “lavender buds” a clean, crisp, and firm structure. |
| Hook | 4.0 mm (G/6) | A slightly smaller hook than usual makes the popcorns dense and uniform. |
| Colors | Lavender, Sage, and Cream | A high-contrast palette makes the floral design pop. |
Stitch Key (US Terms)
- Popcorn Stitch (pc): Work 5 dc into the same stitch. Remove hook from the loop, insert it into the top of the first dc, pick up the loop, and pull it through the first dc. ch 1 to lock.
- Corner: (2 dc, ch 2, 2 dc) in the same space.
- sc / dc: Single / Double Crochet.
🛠 Step-by-Step: The Lavender Patchwork Square
Round 1: The Lavender Bud (Color: Lavender)
- Start: Make a Magic Ring.
- Stitches: ch 3 (counts as dc). Work 11 dc into the ring (12 dc total).
- Join: sl st to the top of the ch 3. Fasten off.

Round 2: The Textured Petals (Color: Lavender)
- Join: Attach Lavender yarn to any stitch.
- Pattern: ch 3, work 1 Popcorn Stitch in the same stitch. ch 1.
- Continue: Work 1 Popcorn Stitch followed by a ch 1 in every stitch around.
- Join: sl st to the top of the first Popcorn. Fasten off (12 Popcorns total).
Round 3: The Foliage/Frame (Color: Sage Green)
This is where we turn the circular flower into the “patchwork” square.
- Join: Attach Sage yarn into any ch-1 space between popcorns.
- Corner 1: ch 3 (counts as dc), 1 dc, ch 2, 2 dc (in same space).
- The Side: * ch 1, skip one space, 3 dc in next space. ch 1, skip one space, 3 dc in next space.
- Corner 2: (2 dc, ch 2, 2 dc) in next space.
- Repeat: Follow this pattern around. You will have 3 clusters of 3-dc on each side.
- Join: sl st to the top of the ch 3.

Round 4: The Patchwork Finish (Color: Cream)
- Pattern: Work 1 dc into every stitch and every ch-1 space around.
- Corners: Work (2 dc, ch 2, 2 dc) in every ch-2 corner space.
- Join: sl st to the start. Fasten off.

📐 Patchwork Layout Tips
Because this square has a specific “flower” center, it looks best when laid out in a “Quilted Grid.”
- The “Framed” Look: If you have multiple motifs, join them using the Flat Slip Stitch Join in the same “Cream” color used in Round 4. This makes the entire blanket look like a series of framed botanical prints.
- The “Staggered” Look: If you want a more modern patchwork feel, alternate your lavender centers with “Solid Cream” squares (using the same pattern as Round 4, but skipping the popcorns). This creates a “checkerboard” effect that keeps the lavender from becoming overwhelming.
✨ 3 Secrets for a “Field of Lavender” Look
- The “Bud” Compression: Popcorn stitches tend to be stubborn. When you finish a popcorn, push it forward with your thumb so it sits on the “right side” of the fabric. This ensures all your lavender buds are facing the same way.
- Steam-Blocking: Since your centers are textured popcorns and your frames are flat dc, the square will want to warp. Pin the corners firmly to your board and use a steamer. It will “relax” the sage frame and allow the popcorn buds to stand out crisply.
- The “Hidden” Tail: When working with multiple colors (Lavender, Sage, Cream), you will have many ends to manage. Weave them in as you go. If you wait until the end, your “lavender field” will be a tangle of yarn ends that are difficult to manage without pulling on your popcorn stitches.
Would you like me to help you design a specific border that mimics a vine or leaf pattern to surround your completed Lavender Patchwork blanket?