 by
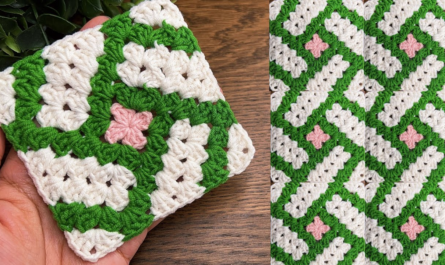
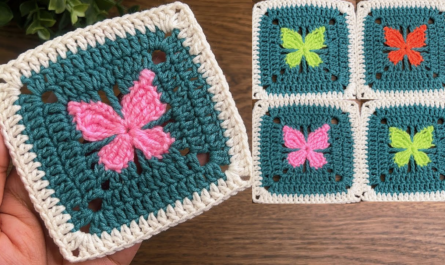
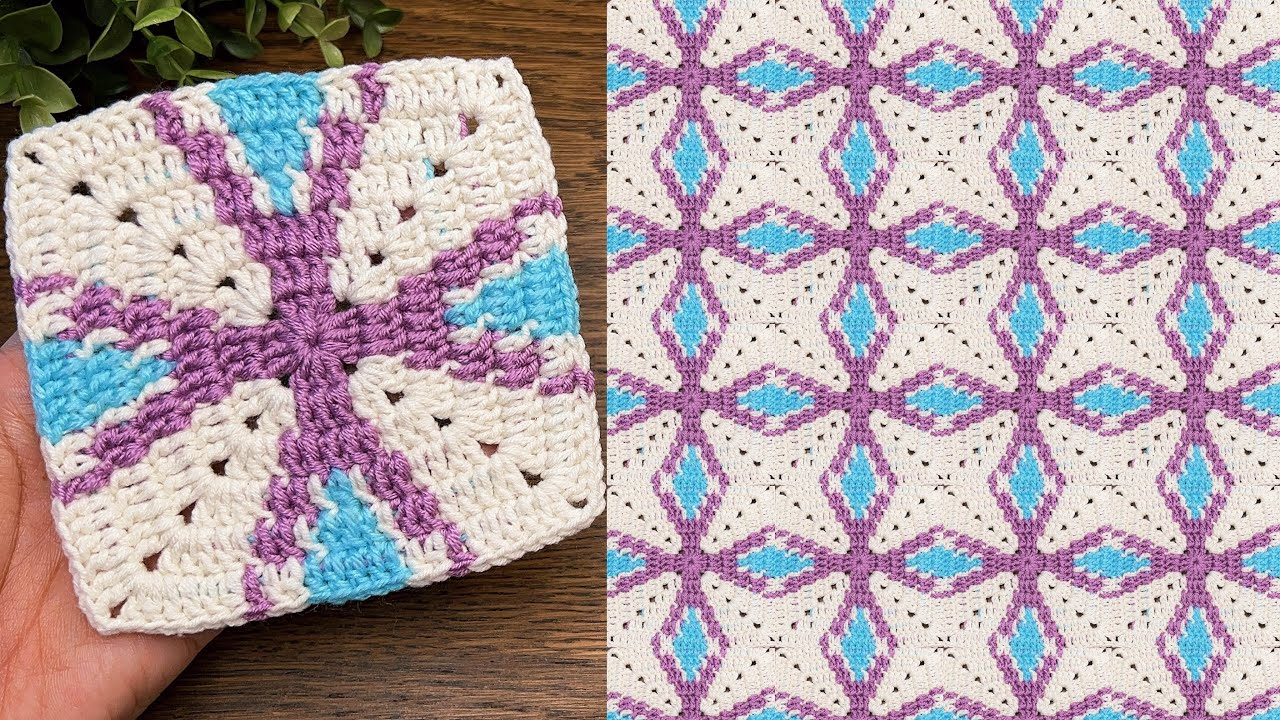
by To crochet a clean, elegant square motif that is easy for beginners but looks sophisticated, we will use the “Solid Granny Square” method. Unlike the traditional version with large holes, this method creates a solid, tile-like fabric that is perfect for garments, runners, and structured home decor.
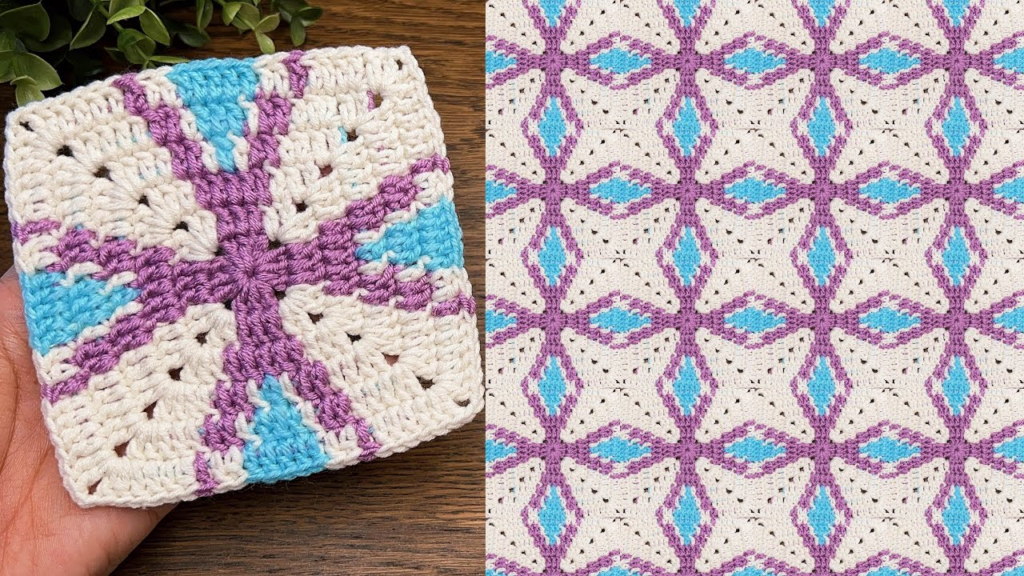
🧶 The Easy Square Motif Toolkit
| Tool | Recommendation |
| Yarn | Worsted Weight (Size 4) Cotton or Acrylic |
| Hook | 5.0 mm (H/8) |
| Essentials | Scissors, Tapestry Needle, and 4 Stitch Markers |
Stitch Key (US Terms)
- ch: Chain
- sl st: Slip Stitch
- dc: Double Crochet
- Cluster: 3 Double Crochets worked into the same space.
🛠 Step-by-Step: The Easy Solid Square
Round 1: The Foundation
- Start: ch 4. Join with a sl st into the first chain to form a small ring.
- The Start: ch 3 (counts as your first dc). Work 2 dc into the ring. ch 2 (this is your corner).
- The Pattern: [Work 3 dc into the ring, ch 2] three more times.
- Join: sl st into the top of the initial ch 3. Tighten the center ring by pulling the starting tail.
Round 2: Growing the Corners
- Travel: sl st into the next 2 stitches and into the corner space.
- First Corner: ch 3 (counts as dc), 2 dc, ch 2, 3 dc (all in that same corner space).
- The Side: ch 1.
- Next Corner: In the next corner space, work (3 dc, ch 2, 3 dc).
- Repeat: Repeat this for all remaining corners.
- Join: sl st into the top of the ch 3.

Round 3: The Solid Frame
- Travel: sl st into the corner space.
- First Corner: ch 3, 2 dc, ch 2, 3 dc (in the corner).
- The Side: Work 1 dc into every dc stitch and the ch-1 space from the round below.
- The Corner: Work (3 dc, ch 2, 3 dc) in the corner space.
- Repeat: Follow this pattern around. By filling the side spaces with dc stitches, you create a solid, woven-look square.
- Join: sl st to the top of the ch 3. Fasten off.
📐 3 Secrets for a “Stunning” Result
1. The “Turning” Trick
To prevent your square from spiraling or twisting, turn your work over after every round. This keeps your stitches vertical and ensures your corners stay perfectly sharp.

2. The Blocking Ritual
This is the step that separates a “homemade” project from a “professional” one.
- Pin: Pin your finished squares to a clean towel or foam board. Stretch them into a perfect square.
- Steam: Use a handheld steamer (or a damp cloth and a cool iron) to lightly steam the square.
- Set: Let it dry completely for 24 hours. The yarn will “set,” and your square will remain perfectly flat, making it incredibly easy to join later.

3. Weaving in Ends
If you are changing colors, do not wait until the end to weave in your tails. Use a tapestry needle to weave them into the back of the stitches as you finish each round. Dealing with 50+ loose ends at the end of a project is the fastest way to lose interest!
💡 How to Join Them
For a runner or bag, use the Flat Slip Stitch Join:
- Hold two squares with their right sides together.
- Insert your hook through the back loops only of both squares.
- Pull up a loop and sl st across the edge.
- This creates a recessed, invisible seam that looks like it was machine-sewn.
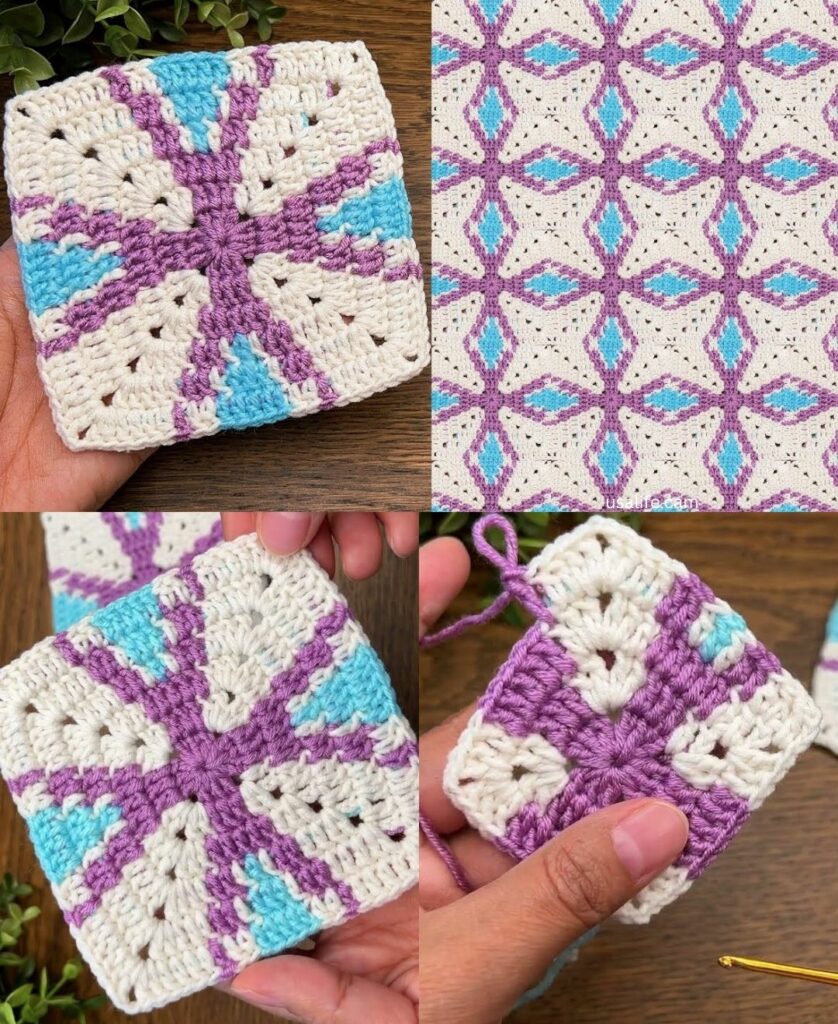
Would you like to know how to calculate how many of these squares you need to make a specific project, like a tote bag or a table runner?