by
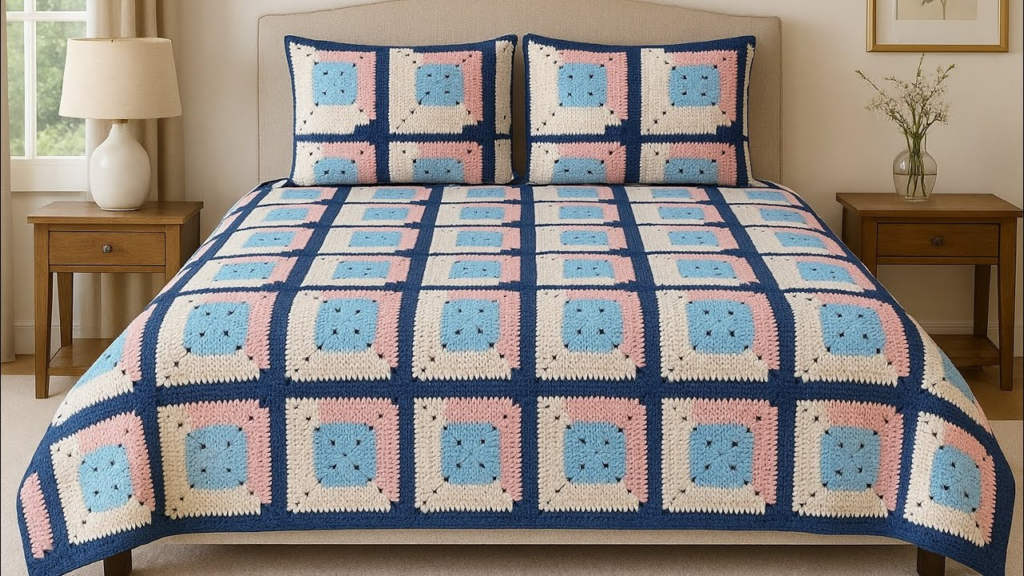
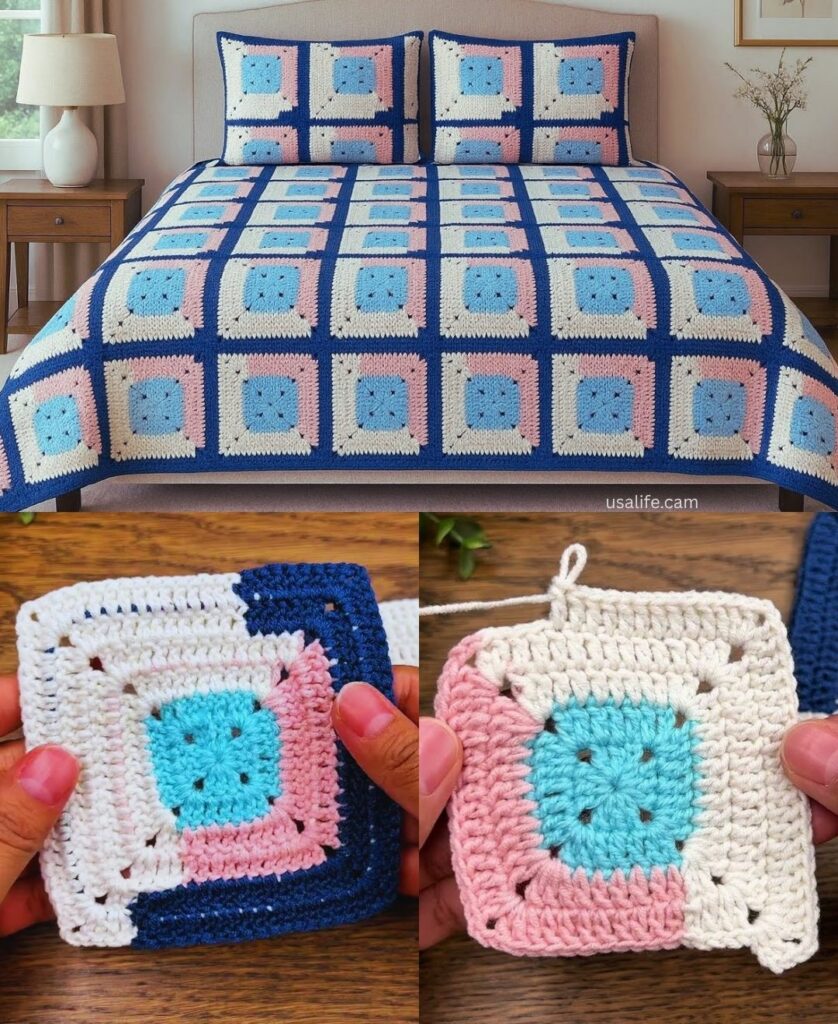
by A Geometric Crochet Square is the perfect way to create modern, clean-lined home decor or apparel. The “geometric” look comes from using solid stitches (avoiding the holes found in traditional granny squares) and sharp corners.
This pattern creates a dense, architectural square that is perfect for pillows, tote bags, or even a contemporary patchwork cardigan.
🧶 The Toolkit
- Yarn: A smooth, matte cotton yarn (DK or Worsted). Cotton does not stretch like wool, which keeps your geometric lines sharp.
- Hook: 4.0 mm. A slightly smaller hook ensures a tight, dense fabric.
- Stitch Key:
ch(chain),dc(double crochet),sl st(slip stitch).
🛠 The Step-by-Step Construction
Round 1: The Foundation
- Start:
ch 4, join withsl stto form a ring. - The Base:
ch 3(counts as first dc), work 2 dc into the ring,ch 2(this is your corner). - The Pattern: Work
3 dcinto the ring,ch 2. Repeat 3 times. - Join:
sl stto the top of the initialch 3.

Round 2: Defining the Square
- Travel:
sl stto the first corner space. - The Corner:
ch 3,2 dc,ch 2,3 dc(all in the same corner). - The Sides:
ch 1. - The Pattern: Work
(3 dc, ch 2, 3 dc)in each of the remaining 3 corners, withch 1between corner clusters. - Join:
sl stto the top of the initialch 3.
Round 3: The Geometric Frame
- Travel:
sl stto the corner. - The Corner:
ch 3,2 dc,ch 2,3 dc(in corner). - The Solid Fill: Instead of just working into the gaps, we will fill the sides for a geometric look.
ch 1. Work 1 dc into every stitch of the cluster below. - The Pattern: Continue working
(3 dc, ch 2, 3 dc)in every corner and1 dcinto every stitch along the sides. - Join:
sl stto the top of the initialch 3.

📐 How to Achieve the “Geometric” Look
1. The “Square Corner” Rule
If your corners look rounded, it’s because the chain spaces are too large. If you want an ultra-sharp, geometric corner, use ch 1 instead of ch 2. It will be tighter, but it forces the corner to sit at a perfect $90^\circ$ angle.
2. The Color-Blocking Twist
Geometric crochet is most effective when you use color-blocking.
- Method: Work Round 1 and 2 in a primary color (e.g., White). Work Round 3 and 4 in a bold, contrasting color (e.g., Navy or Sage). This creates a “frame” effect that emphasizes the square shape rather than the stitches.

3. Blocking is Mandatory
Geometric designs require blocking to look professional.
- Pin: Use stainless steel pins to stretch your square onto a foam mat. Push the pins into the exact center of the corner spaces.
- Steam: Use a handheld steamer (or a damp cloth and an iron). Hover over the square until the fibers relax.
- Dry: Leave the square pinned until it is completely cool and dry. This “sets” the geometric shape so it doesn’t warp when joined.
💡 Project Ideas for Geometric Squares
- Modern Tote: Join 16–20 squares in a 4×4 or 4×5 grid. The density of this solid pattern means you won’t even need a lining to carry books or groceries.
- Table Runner: Join the squares in a single, long line of 8–10 squares. The clean, solid lines will look like a high-end, woven table runner.
- Throw Pillow: Create two large panels by joining 9 squares (3×3) per panel. The solid structure of the geometric square makes it incredibly durable for daily use.
Would you like me to suggest a layout guide for joining these squares so that the seams are completely invisible?