by
by Creating a summer blouse or tunic is the perfect step up from making simple squares. For summer, the goal is breathability and drape. We achieve this by using “open” stitches (like chain spaces) and lightweight fibers.

Here is your detailed guide to constructing a breezy, beginner-friendly summer piece.
🧶 The Summer Toolkit
- Yarn: 100% Cotton, Bamboo, or Linen blend. Avoid acrylics, as they do not breathe and will make you sweat in the heat. Look for “Sport” or “Fingering” weight yarn.
- Hook: 4.0 mm – 4.5 mm. Using a hook slightly larger than the yarn label suggests makes the fabric loose and airy.
- The Silhouette: We will use the “Two-Panel T-Shape.” It is the most forgiving and easiest pattern for beginners because it requires no complex armhole shaping.
🛠 The Pattern: The “Breezy Lattice” Tunic
1. The Foundation (The Panels)
You will crochet two identical rectangles. The width should be your “bust measurement divided by 2, plus 2 inches for ease.”
- Row 1: Chain a multiple of 4 (e.g., 80 or 100 chains depending on your size).
- Row 2:
dcin the 4th chain from the hook, thench 1, skip 1 chain,dcin the next. Repeat to the end. (This creates a “mesh” or lattice effect). - Repeat: Work this mesh pattern until the rectangle reaches your desired length (shorter for a blouse, longer for a tunic).

2. Shaping the Neckline
You don’t need to cut or sew. Simply stop working your rows for the center 15–20 cm of the top edge.
- Work the shoulder straps separately on either side for 3–4 rows. This creates a simple boat neckline.
3. The “Invisible” Assembly
- Shoulders: Lay your two rectangles flat. Sew the shoulder seams together.
- Sides: Sew the side seams from the bottom hem up, but stop 20 cm before the top. This opening becomes your armhole.
- The “No-Sew” Option: You can also use a “Slip Stitch Join” to connect the panels, which looks like a decorative crochet line rather than a bulky seam.

🌟 3 Pro-Tips for “High-End” Summer Wear
- The “Picot” Edge: To make your tunic look like it came from a boutique, finish the armholes and bottom hem with a Picot Border:
*sc, ch 3, sl st in the first chain, sc*in every other stitch. It mimics the look of delicate blossoms and adds a weighted, professional finish to the lightweight fabric. - Choose the Right Ease: Summer clothes should “float” over the skin. If you are a size Medium, do not make your tunic exactly to your measurements. Add at least 5–10 cm of “positive ease” so the air can circulate between the fabric and your body.
- Blocking is Mandatory: Cotton yarn can look “scraggly” when you first finish.
- Pin your tunic flat on a bed or carpet.
- Spray it thoroughly with water and gently pull the “mesh” squares into uniform shapes.
- Let it dry completely. This is the step that transforms “homemade” into “handmade.”

💡 Creative Variations for Your Tunic
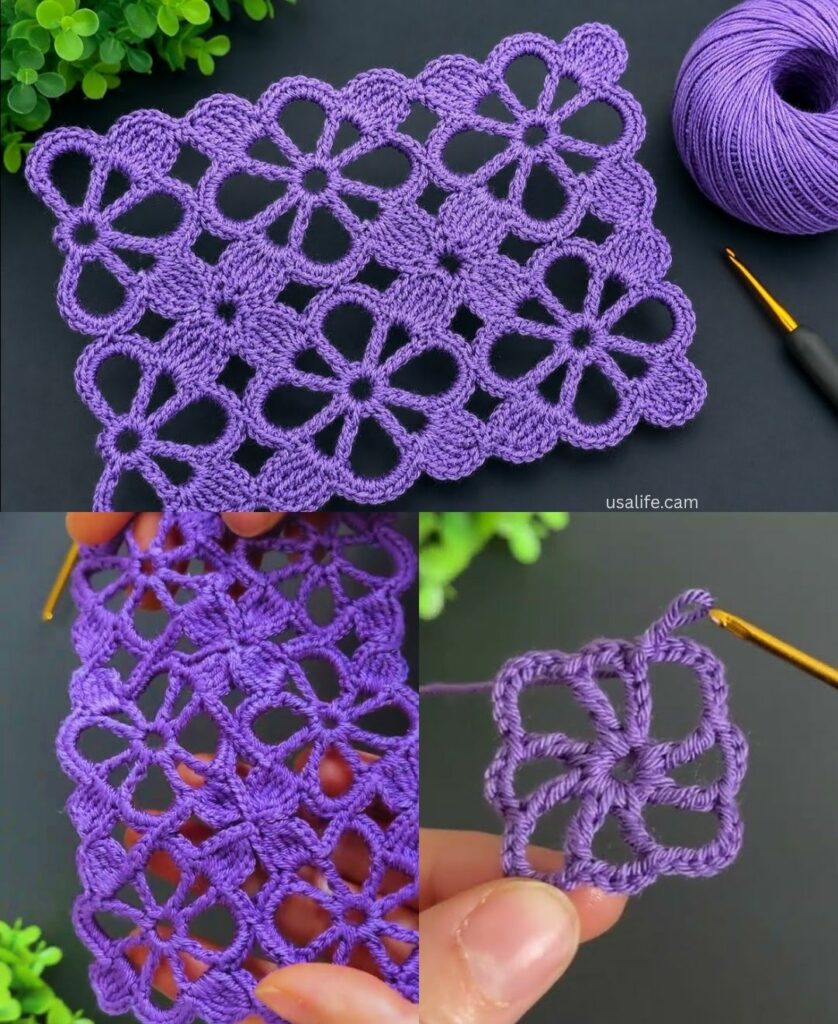
- The “Flower Garden” Accent: If you want to elevate this project, crochet 4–6 of your “Square Motif” flowers and sew them along the neckline or the bottom hem. It turns a simple mesh tunic into a decorative piece.
- The Waist Tie: Since this is a boxy shape, it might feel loose. Crochet a long chain (150 cm) with a small flower or tassel on each end. Weave this chain through the lattice stitches at your waist to create a custom-fitted silhouette whenever you want.
📏 Quick Size Reference (Average)
- For a Blouse: Length = 50 cm.
- For a Tunic: Length = 75–80 cm.
- Width: Make your starting chain 5 cm wider than your widest body measurement (bust or hips).
Would you like me to explain how to calculate your specific starting chain length, or would you like a pattern for a more decorative, “lacey” stitch to use for the body of the tunic?