 by
by 
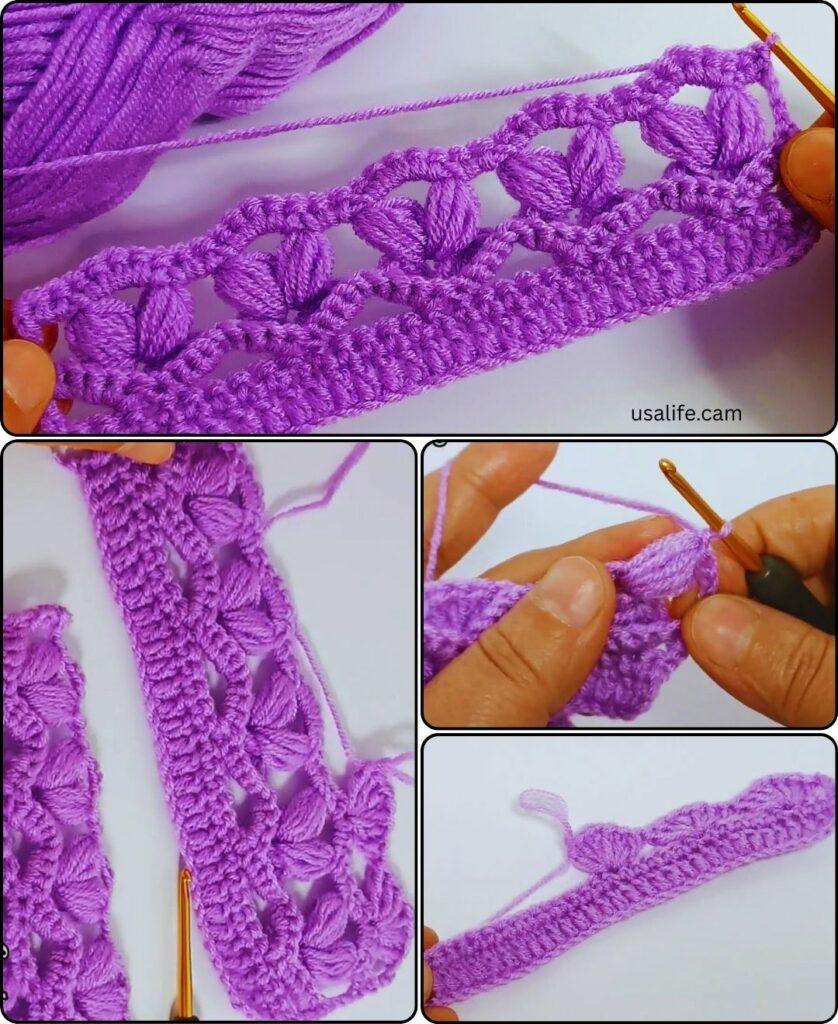
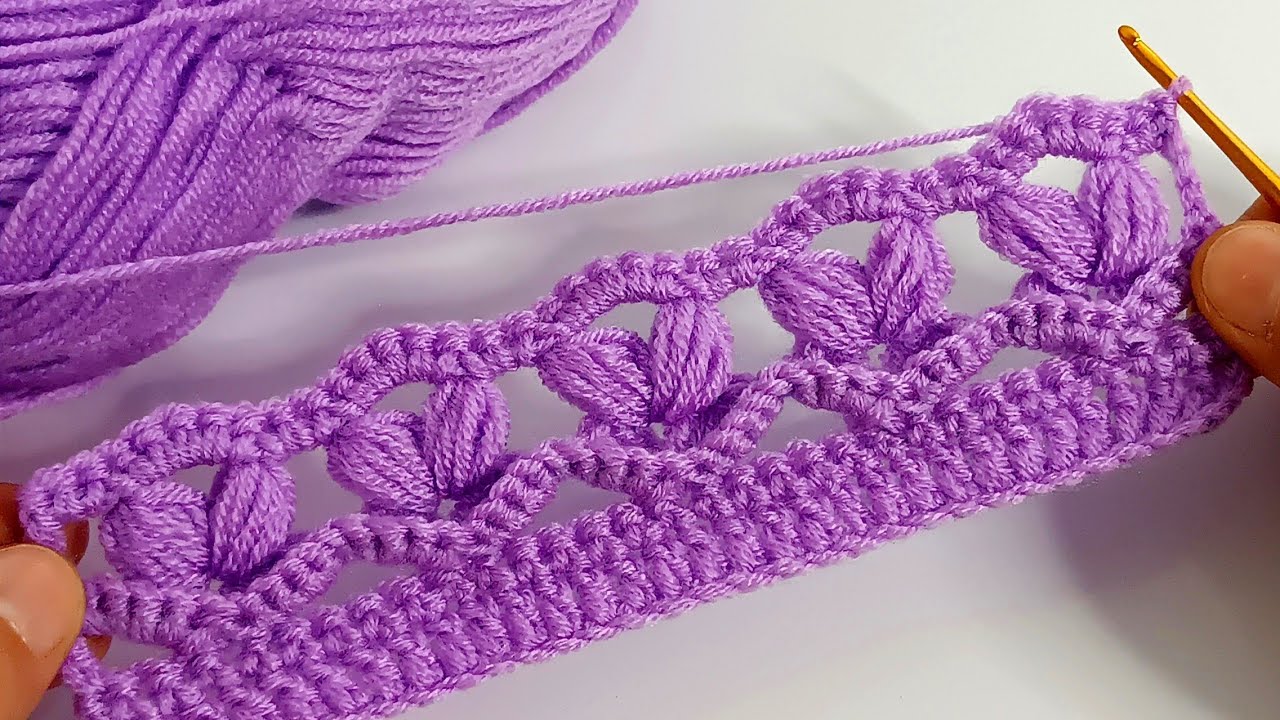
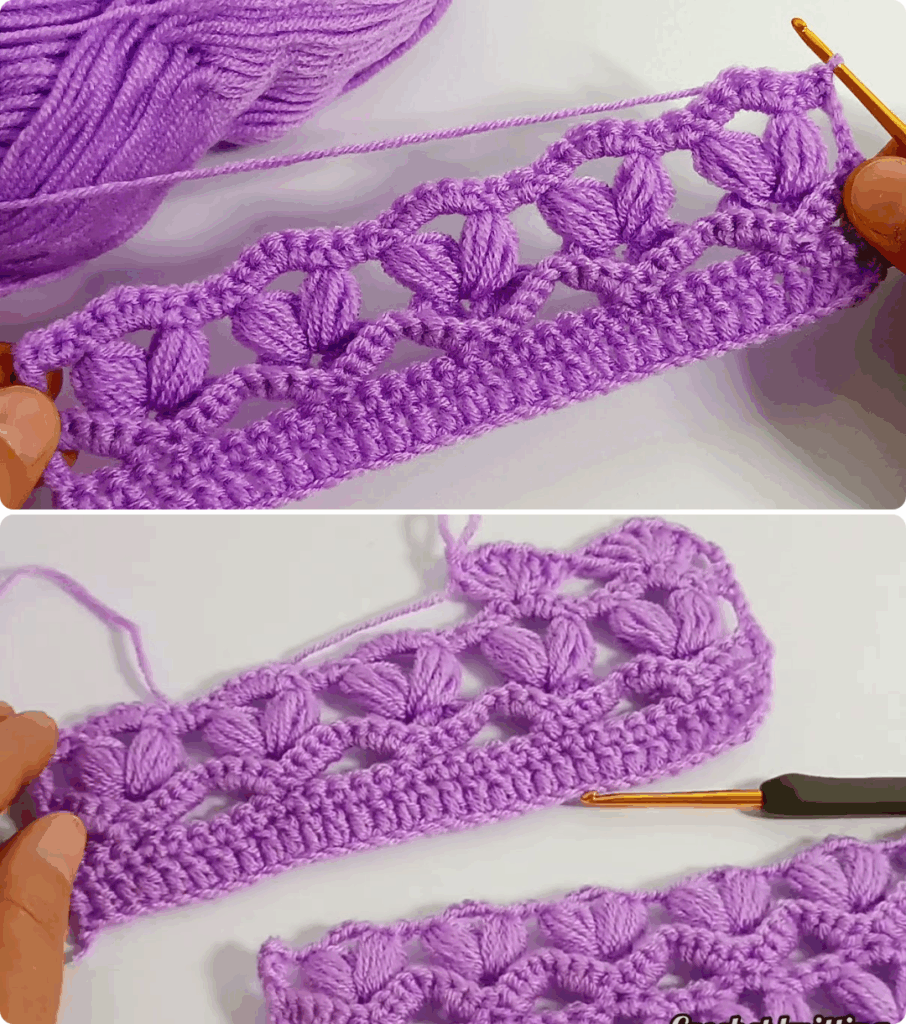
Add a touch of love to your blankets, scarves, or projects with this adorable heart border pattern! This guide is perfect for crocheters of all levels, with clear instructions and helpful tips.
Materials:
- Yarn of your choice (contrasting color for the border is recommended)
- Crochet hook (size appropriate for your yarn)
- Scissors
- Tapestry needle (optional, for weaving in ends)
Stitches Used:
- Chain (ch)
- Single crochet (sc)
- Double crochet (dc)
- Triple crochet (tr)
- Slip stitch (sl st)
Gauge:
Gauge is not crucial for this project, but it’s always helpful to check your tension to ensure the border fits your project nicely. Make a small swatch using the heart border pattern and compare it to the edge of your project to adjust hook size or yarn weight if needed.
Instructions:
- Attach Yarn: Attach your contrasting yarn to the edge of your project using a slip stitch. You can attach it in any stitch, but attaching it in a corner will give you a seamless finish.
- Chain Base: Chain 3 (these 3 chains count as the first double crochet of the heart).
- First Heart Side:
- 2 tr in the same stitch as the starting chain 3.
- 3 dc in the next stitch.
- 1 tr in the next stitch.
- 2 dc in the next stitch.
- Heart Top:
- 2 ch, turn work.
- 3 tr in the same stitch as the turning chain.
- 2 dc in the next stitch.
- 1 tr in the next stitch.
- Second Heart Side:
- 2 dc in the same stitch as the turning chain.
- 1 tr in the next stitch.
- 2 dc in the next stitch.
- 3 tr in the next stitch.
- Heart Base:
- Slip stitch into the top of the starting chain 3.
- Connecting Hearts:
- Chain 3, skip 2 stitches on the edge of your project, slip stitch into the next stitch.
- Repeat: Repeat steps 2-7 to create as many hearts as you desire along the edge of your project.
Video tutorial
Tips:
- You can adjust the size of the hearts by changing the number of stitches used in each section. For smaller hearts, use fewer stitches, and for larger hearts, use more stitches.
- Experiment with different yarn colors for the hearts to create a unique look.
- Pay attention to your tension to ensure the hearts are all consistent in size and shape.
- If you’re working on a curved edge, you may need to adjust the number of chain stitches between hearts to fit the curve smoothly.
- Use a tapestry needle to weave in any loose ends for a professional finish.
Additional Resources:
- Video tutorial: For a visual guide, check out these helpful video tutorials on crocheting heart borders:
- Photo tutorial: Prefer a photo guide? This tutorial offers clear pictures of each step: https://www.yarnspirations.com/
With a little practice, you’ll be crocheting charming heart borders in no time! Don’t hesitate to experiment with different colors and sizes to personalize your projects and add a touch of love. Happy crocheting!tunesharemore_vert