 by
by That is a fantastic request! Designing a single motif pattern that is robust enough for a warm Sweater yet light enough for a flowing Blouse or a flat Runner requires a balance of texture and open spaces.
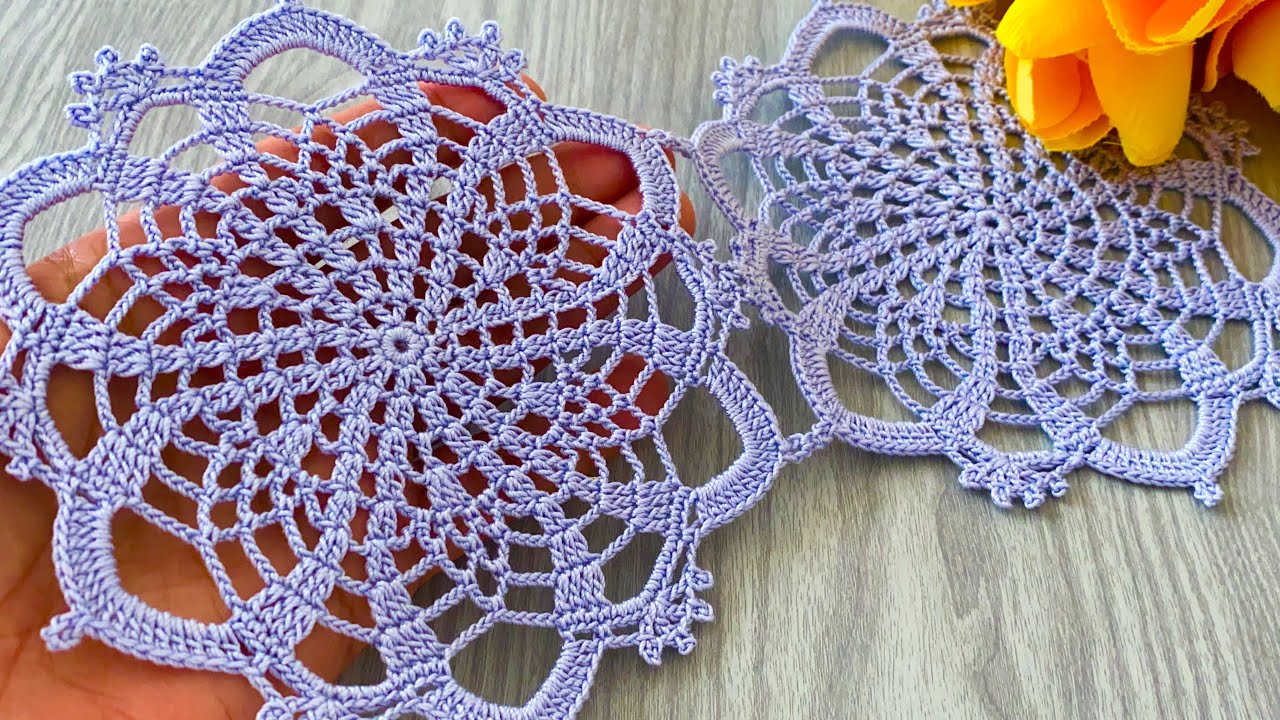
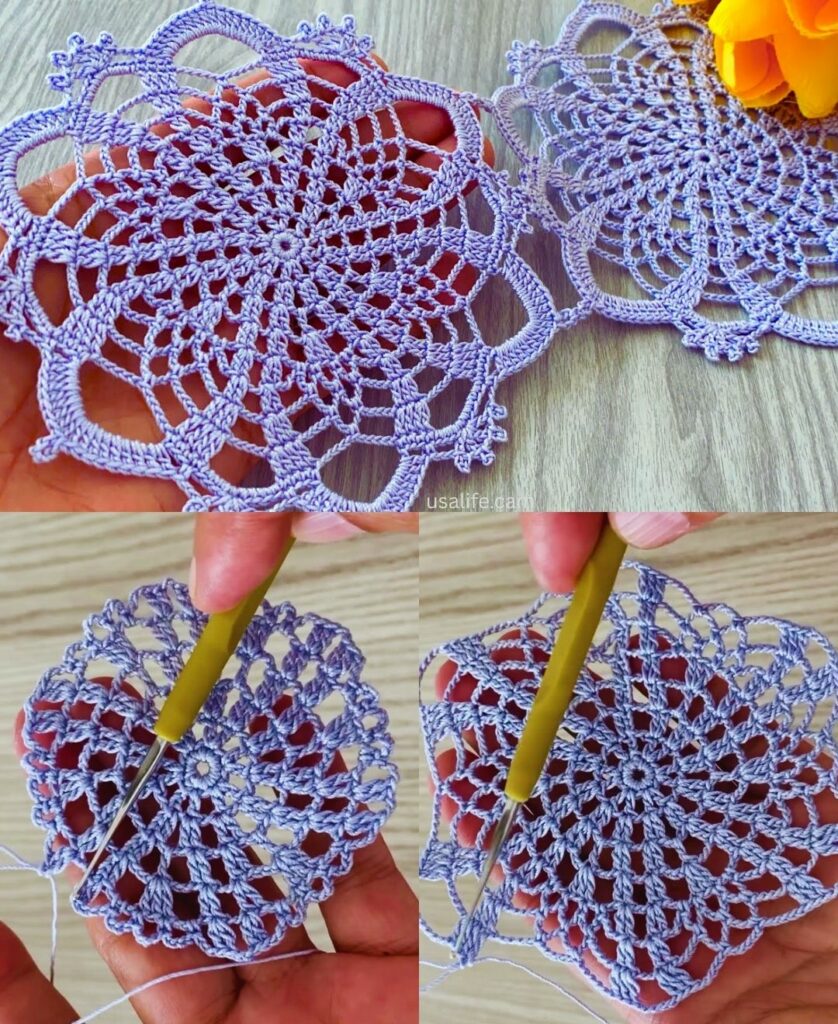
I will detail the pattern for the “Textured Sunburst Square,” a versatile motif that combines dense clusters with a surrounding open mesh, making it suitable for all three projects.

☀️ Textured Sunburst Square Motif Tutorial
This square begins with a dimensional, solid center (the “Sunburst”) and transitions into a cluster-based frame, providing a beautiful mix of texture and drape.
Materials You’ll Need
- Yarn:
- For Blouse/Runner: DK Weight (Size 3) or Sport Weight (Size 2) cotton or a blend for lightweight drape.
- For Sweater: Worsted Weight (Size 4) wool or acrylic for warmth and structure.
- Crochet Hook: The size appropriate for your chosen yarn (e.g., 4.0 mm for DK, 5.0 mm for Worsted).
- Scissors, Tapestry Needle, Blocking Pins.
Key Crochet Terms
| Abbreviation | Stitch Name |
| ch | Chain |
| sl st | Slip Stitch |
| dc | Double Crochet |
| Cl | 3 dc worked into the same space |
| Shell | 5 dc worked into the same space |
| Corner | (Cl, ch 2, Cl) |
Part 1: Crocheting the Motif (The Sunburst Center)
Round 1: Foundation (Inner Disk)
- Start: Make a Magic Ring. ch 3 (counts as dc). Work 11 dc into the ring.
- Finish: Pull the tail tight. Join with a sl st to the top of the ch 3. (12 sts).

Round 2: Creating the Textured Rays
- ch 3 (counts as dc). Work dc in the same stitch.
- Work 2 dc in every stitch around the circle.
- Finish: Join with a sl st to the top of the ch 3. (24 sts).
Round 3: Defining the Frame
This round creates the necessary chain spaces to transition from a circle to a square.
- ch 1. Work sc in the same st.
- Point Loop: ch 3. Skip 3 stitches.
- Repeat: [sc in the next st, ch 3, skip 3 sts] 5 more times.
- Finish: ch 3. Join with a sl st to the first sc. (6 ch-3 loops).

Part 2: Squaring the Motif
Round 4: The First Square Clusters
- sl st into the first ch-3 space. ch 3 (counts as dc). Work 4 dc into the same space (First Shell).
- Side Cluster: Work 3 dc (Cluster) into the next ch-3 space.
- Corner Cluster: Work Shell (5 dc) into the next ch-3 space. ch 2.
- Repeat: Continue the sequence [Shell in ch-3 sp, Cl in ch-3 sp, Shell in ch-3 sp, ch 2 (Corner)] around the circle.
- Finish: Join with a sl st to the top of the ch 3. (4 corners established).
Round 5: Final Edge (Joining Round)
This round stabilizes the edge with simple clusters for clean assembly.
- ch 3 (counts as dc). Work dc in the next 4 dc stitches. ch 1.
- Side: Work Cluster (3 dc) into the space between the Shell and Cluster below. ch 1. Work Cluster (3 dc) into the space between the Cluster and Shell below. ch 1.
- Corner: Work Corner (3 dc, ch 2, 3 dc) into the ch-2 corner space. ch 1.
- Repeat: Continue the sequence [dc in next 5 sts, ch 1, Cl in next sp, ch 1, Cl in next sp, ch 1, Corner] around.
- Finish: Join with a sl st to the top of the ch 3. Fasten off.

Part 3: Assembly and Model Construction
For all three models, use the Join-as-You-Go (JAYG) method (or whipstitch) while working the final Round 5 of the second motif.
1. Runner Model
- Construction: A long, narrow rectangle (e.g., 2 motifs wide by 8–10 motifs long).
- Yarn: Size 3 or 4 yarn provides good coverage for the table.
- Finishing: Add 1-2 rounds of SC or Moss Stitch evenly around the entire perimeter to create a clean, straight border. Block aggressively for a crisp, flat finish.
2. Blouse Model
- Construction: Two large rectangular panels (Front and Back) joined at the shoulders and partially down the sides.
- Yarn: Use DK or Sport weight yarn (Size 2 or 3) for optimal drape.
- Assembly:
- Shoulders: Join the top edges, leaving a Neckline Gap (8–10 inches) in the center.
- Sides: Join the side edges, leaving an Armhole Opening (7–9 inches) at the top.
- Finishing: Work 1–2 rounds of sc around the neckline and armholes for stability.
3. Sweater Model
- Construction: Two large rectangular body panels and two smaller rectangular sleeve panels.
- Yarn: Use Worsted weight yarn (Size 4) for warmth.
- Assembly:
- Body: Join the front and back panels.
- Sleeves: Create two rectangular panels (e.g., 3 wide by 5 long) and join them into tubes. Attach the tubes to the armhole openings.
- Fit: The dense center makes this perfect for cold weather garments. Consider adding a few rows of SC or ribbing to the cuffs and hem for a snug fit.
Final Step: Blocking (Essential)
Wet the finished project, gently stretch and pin it to the correct shape (especially for the garment pieces), and allow it to dry completely. This step ensures the dimensional center lays properly and the overall fabric drapes beautifully.
Would you like advice on choosing colors for the Sunburst center versus the outer frame?
Video tutorial: