by
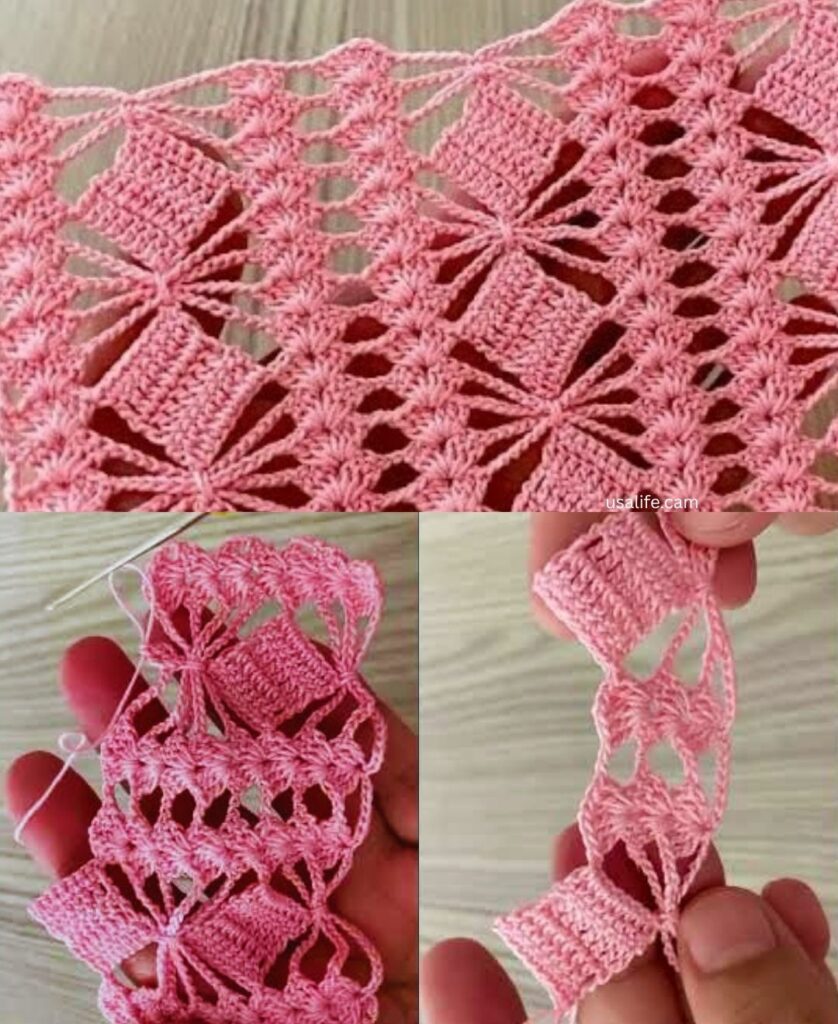
by To move away from copying existing patterns and begin designing a Unique Pattern for Every Project, you need a repeatable design system. Instead of following row-by-row instructions, professional designers use a modular framework based on math, stitch geometry, and swatching.
Here is the “Detail and Detail” blueprint to designing your own unique crochet patterns from scratch, whether you are creating a Trendy Blouse, a Multipurpose Runner, or a 3D Motif.
I. The 3-Step Foundation: Geometric Mathematics
To make a pattern fit any size or shape, you must master the Gauge Swatch. This is non-negotiable for custom design.
1. The 4×4 Inch ($10\text{cm}$) Rule
Before deciding on rows, grab your chosen yarn and hook, and crochet a square using your intended stitch pattern that is slightly larger than 4 inches.
- Count how many stitches fit into exactly 4 inches horizontally. (Let’s call this $S$).
- Count how many rows fit into exactly 4 inches vertically. (Let’s call this $R$).
2. Calculate Your Multipliers
Divide your counts by 4 to find your stitches and rows per single inch:
$$\text{Stitches per inch} = \frac{S}{4}$$
$$\text{Rows per inch} = \frac{R}{4}$$
Example: If you count 16 stitches in 4 inches, you have exactly 4 stitches per inch. If your phone is 3 inches wide, you need to chain a multiple that equals 12 stitches ($3 \times 4$).
II. The Blueprint: Stitch Architecture
A unique design relies on matching the right stitch structure to the right project category. You can mix and match these three structural styles:
| Stitch Density | Best For | Visual Effect | Example Stitches |
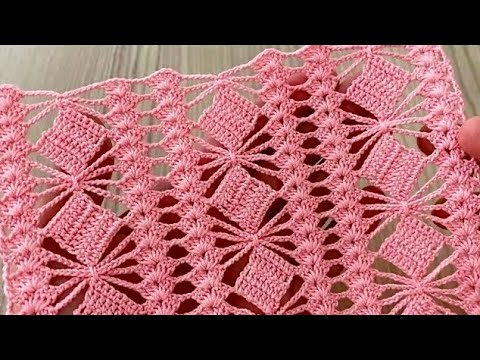
| Solid & Compressed | Phone Pouches, Coasters, Table Runner Centers | Dense, protective, structural, holds its shape perfectly. | Single Crochet, Waistcoat Stitch, Spider Stitch |
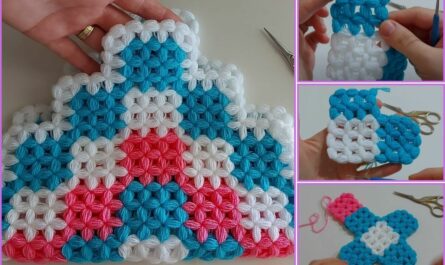
| Textured & 3D | Magnificent Tiles, Modern Accents, Bag Flaps | Catches shadows, feels luxurious, provides natural cushioning. | Alpine Stitch, Puff Stitches, Front/Back Post Stitches |
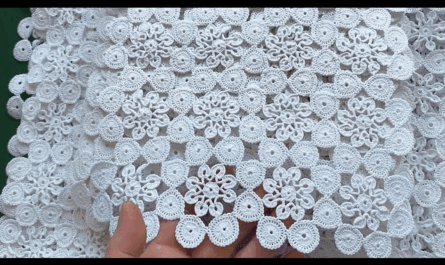
| Open & Lacy | Trendy Blouses, Summer Shawls, Runner Edges | Creates elegant drape, expands quickly, uses less yarn. | Solomon’s Knot, Filet Mesh, Pineapple Lace |
III. How to Build the Pattern (Step-by-Step Blueprint)
Step 1: Sketch the Silhouette Shapes
Break your target project down into basic geometric blocks before you ever touch a crochet hook:
- Simple Phone Bag: Two identical vertical rectangles joined on three sides.
- Trendy Boxy Blouse: Two wide horizontal rectangles (Front and Back) and two smaller rectangles for sleeves.
- Multipurpose Runner: A long row of interconnected geometric square motifs.

Step 2: Establish the Stitch Multiple
Every unique stitch pattern has a math multiple.
- Example: A Granny Square or a V-stitch usually requires a multiple of $3 + 1$.
- When calculating your starting chain using your Stitches per inch math, round up or down slightly to match your stitch pattern’s required multiple.
Step 3: Map the Transition Points
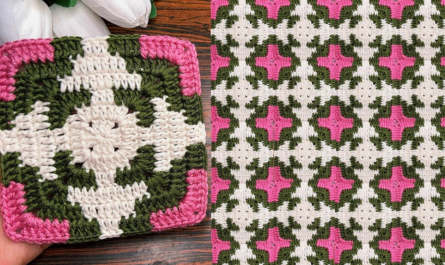
If you are designing a unique motif (like a tile or square), the magic happens when you transition shapes. Use this height gradient rule to smoothly transform a circular flower center into a crisp 90-degree square:
  CORNER (Tallest Stitches) ---------> Treble Crochet (tr)
  GRADIENT (Medium Stitches) -------> Double Crochet (dc)
  SIDE CENTER (Shortest Stitches) ---> Half Double Crochet (hdc) or Single Crochet (sc)
IV. “Detail and Detail”: Signature Designer Secrets
To make your custom pattern look like a high-end boutique piece rather than a basic home craft, always write these three adjustments into your workflow:
1. The “Negative Ease” Adjustment for Wearables
Yarn stretches when worn. When designing a blouse or garment, subtract 1 to 2 inches from the actual bust measurement when calculating your stitches. This ensures the top hugs the body gracefully over time instead of bagging out out of shape.
2. The “Ribbed Edge” Framing Rule
Never end a project on a raw pattern row. Always design a 2-to-3 row border of a tighter stitch (like Back Loop Only Single Crochet or Crab Stitch). This acts as a structural frame, preventing the edges of runners from curling up and keeping garment necklines crisp.

3. The Color-Value Sketch
Before crocheting with color, sketch your design using only a black pen and grey marker.
- Assign the darkest value to the areas where you want depth (like grout lines or borders).
- Assign the lightest value to the areas you want to pop (like 3D centers or lace details).
V. Summary Checklist for Designing Any Project
- Swatched? Yes/No (Find your stitches-per-inch).
- Measurement Taken? Yes/No (Multiply inches by your stitch multiplier).
- Stitch Multiple Checked? Yes/No (Adjust your starting chains to match the pattern math).
- Edge Plan Ready? Yes/No (Select a dense border stitch to prevent curling).
What specific project idea do you have in mind next? We can use this exact math framework together to draft a completely customized, one-of-a-kind pattern fo