 by
by 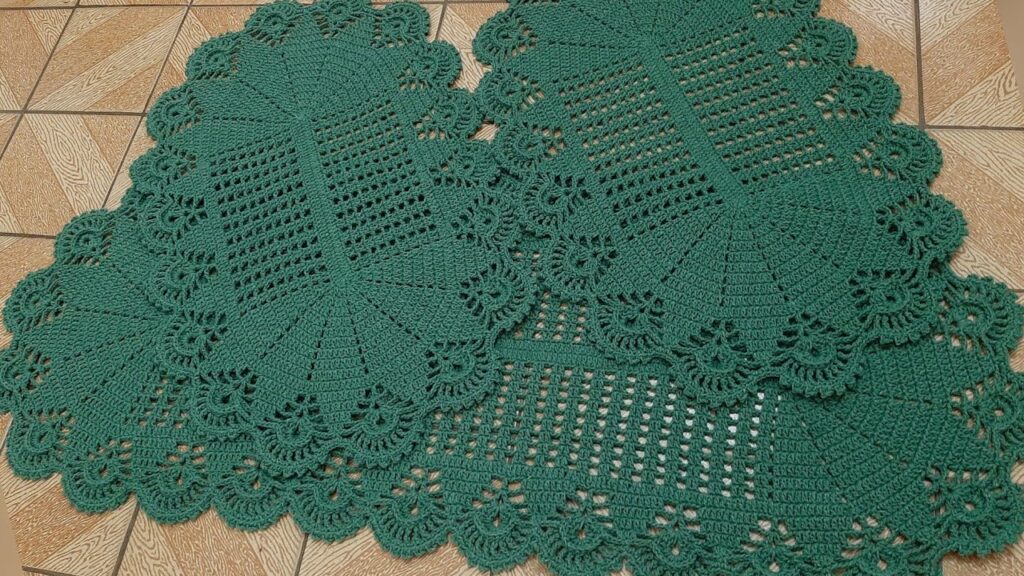
Welcome, fellow yarn enthusiasts, to a journey of handcrafted magic! Today, we’ll delve into the delightful world of crocheting a charming rug set that’ll infuse your home with warmth and personality. Whether you’re a seasoned stitcher or a curious beginner, this blog post will guide you step-by-step, stitch-by-stitch, towards creating a unique and functional masterpiece for your floors.
Gathering Your Essentials:
Before we cast on, let’s ensure we have the right tools for the job:
- Yarn: Choose a yarn that’s durable and washable, depending on the rug’s intended location. Cotton works well for bathrooms and kitchens, while acrylic or wool blends offer cozy comfort for living spaces. Experiment with colors and textures to match your decor!
- Crochet hook: Select a hook size appropriate for your chosen yarn weight. Remember, a looser gauge creates a softer, drapier rug, while a tighter gauge yields a sturdier one.
- Scissors: A trusty pair for snipping yarn ends and making adjustments.
- Tapestry needle: For weaving in those pesky ends and adding finishing touches.
- Pattern (optional): For those seeking specific stitch patterns or sizes, a written or video tutorial can be your guiding light. However, feel free to freestyle and improvise to unleash your inner crochet artist!
Step 1: Choosing Your Charming Character:
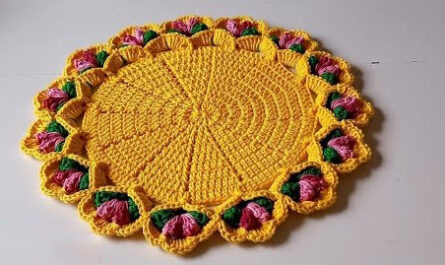
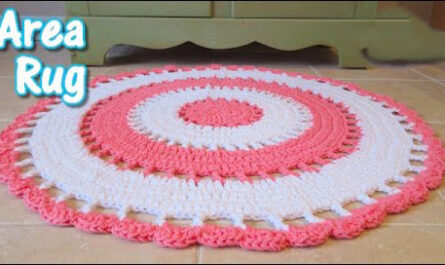
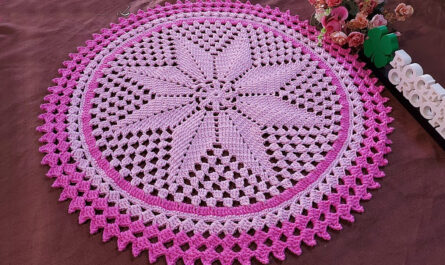
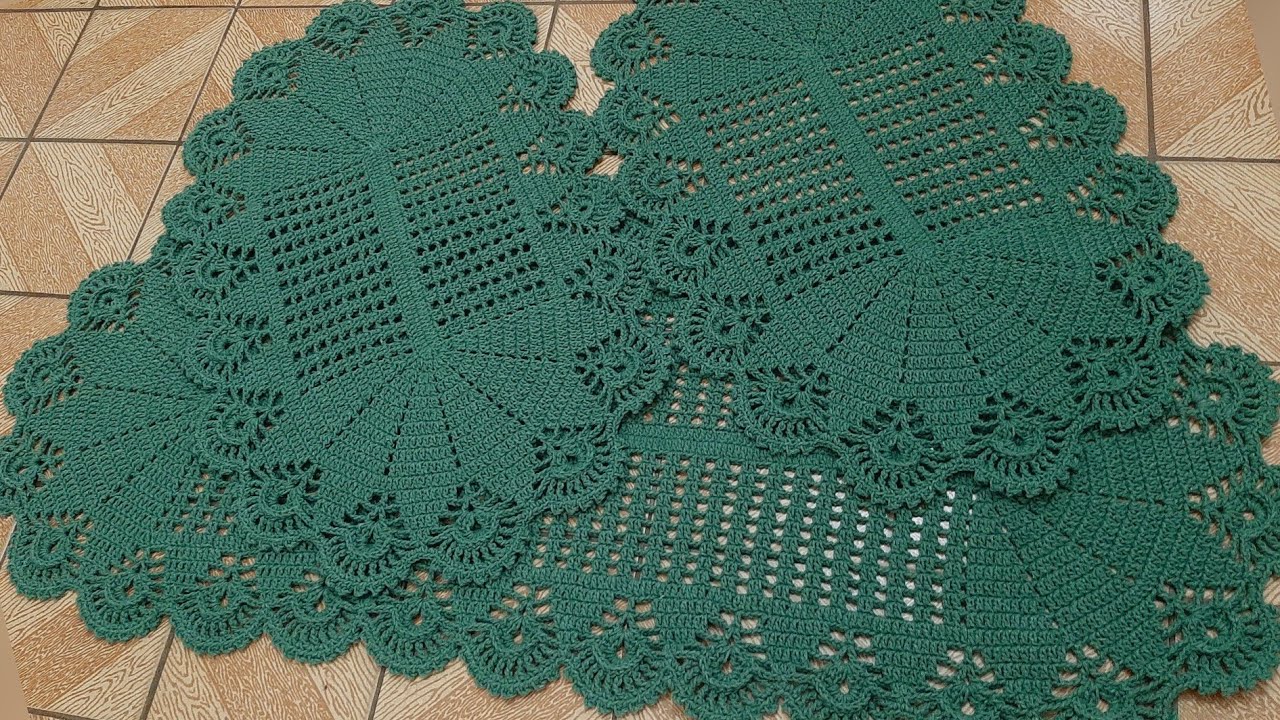
The beauty of creating your own rug set lies in personalization. Do you envision a playful patchwork of vibrant squares? Or perhaps a serene mandala radiating tranquility? Maybe you yearn for a textured mosaic or a whimsical granny square symphony. Let your imagination take flight and define the “charming” element that resonates with you!
Step 2: Stitching the Story:
With your chosen character in mind, it’s time to grab your hook and yarn and let the magic unfold. If you’re using a pattern, follow its instructions closely. But if you’re venturing into freestyle territory, here are some basic starting points:
- For squares: Chain the desired number of stitches for your square’s base, create rows using fundamental stitches like single crochet, double crochet, or a combination, and join the sides to form a perfect square. Repeat in different colors and textures for a playful patchwork effect.
- For rounds: Start with a magic ring or chain a few stitches and join, then work in continuous rounds using your chosen stitch pattern. Experiment with increasing and decreasing stitches to create different shapes and sizes.
- For textured rugs: Explore stitches like popcorn, bobble, or moss stitch to add dimension and tactile interest. Remember, texture also affects the rug’s thickness and sturdiness.
Step 3: Assembling the Ensemble:
Once you’ve crocheted your individual rug pieces, it’s time to combine them into a cohesive set. For square rugs, you can simply sew them together side-by-side or diagonally. Round rugs can be joined together or left as individual accents. Get creative and explore border options like a simple single crochet border or a decorative edging that complements your overall design.
Step 4: Adding the Finishing Touches:
The final flourishes are what turn your creation into a treasured masterpiece. Here are some ideas:
- Tassels: Add playful fringe to corners or edges using leftover yarn.
- Pom-poms: Stitch cheerful pom-poms and attach them as embellishments.
- Rugs backing: Consider adding a non-slip rug backing fabric for extra safety and stability.
- Washing and blocking: Wash your finished rugs following yarn care instructions and block them to achieve the desired shape and size.
Sharing Your Charm:
With your charming rug set complete, bask in the satisfaction of handmade beauty. Display them proudly in your home, gift them to loved ones, or share your creation with the online crochet community. Remember, the essence of this project lies in the joy of the process and the unique charm you infuse into each stitch. So, grab your hook, unleash your creativity, and crochet your way to a delightful homey haven!
Video tutorial
Bonus Tips:
- Don’t be afraid to experiment with different stitch combinations and yarn textures.
- Use stitch markers to track your progress and maintain pattern repeat accuracy.
- Take breaks! Crocheting for long periods can strain your hands and eyes.
- Most importantly, have fun and enjoy the journey of creating something beautiful with your own hands!
I hope this blog post serves as your compass on your delightful rug-crocheting adventure. Remember, there are no right or wrong ways to create – embrace your inner artist and let your charming rug set reflect your unique spirit. Happy crocheting!