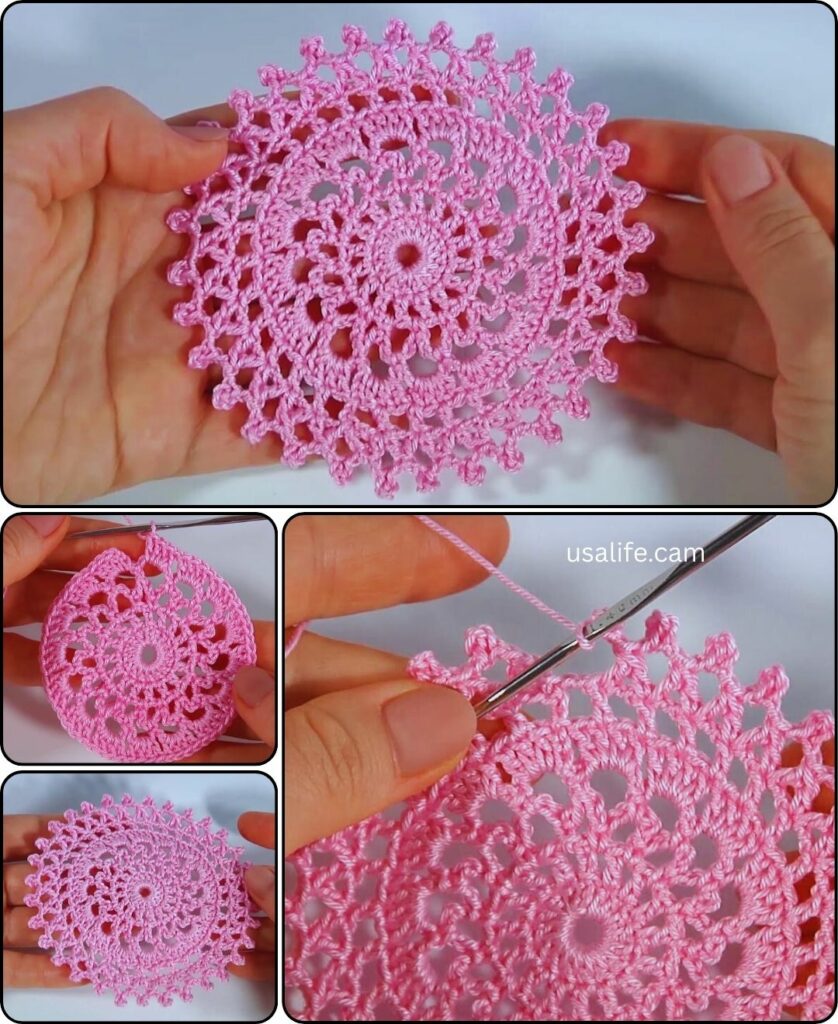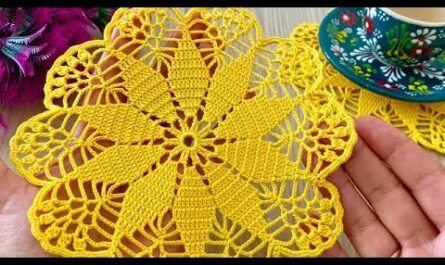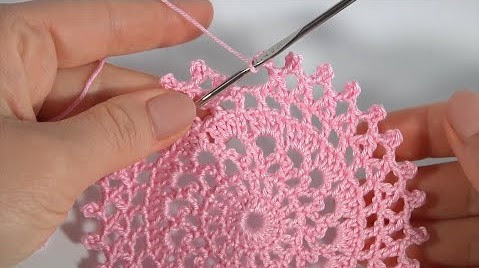
Calling all crochet enthusiasts! Get ready to create a versatile motif that transforms into a breezy summer blouse, a flowy tunic, and an adorable baby dress. This detailed pattern guides you through every step, from choosing yarn and hook size to customizing the fit and adding finishing touches. Let’s crochet some sunshine!
Materials:
- Sport weight yarn in your desired color(s) (amount depends on project size)
- Crochet hook size suitable for your chosen yarn (check yarn label recommendation)
- Tapestry needle for weaving in ends
- Stitch markers (optional)
Gauge:
- 18 stitches x 14 rows in double crochet (dc) = 4″ x 4″ (adjust hook size if needed to achieve gauge)
Skill Level:
- Intermediate (requires knowledge of basic crochet stitches and joining motifs)
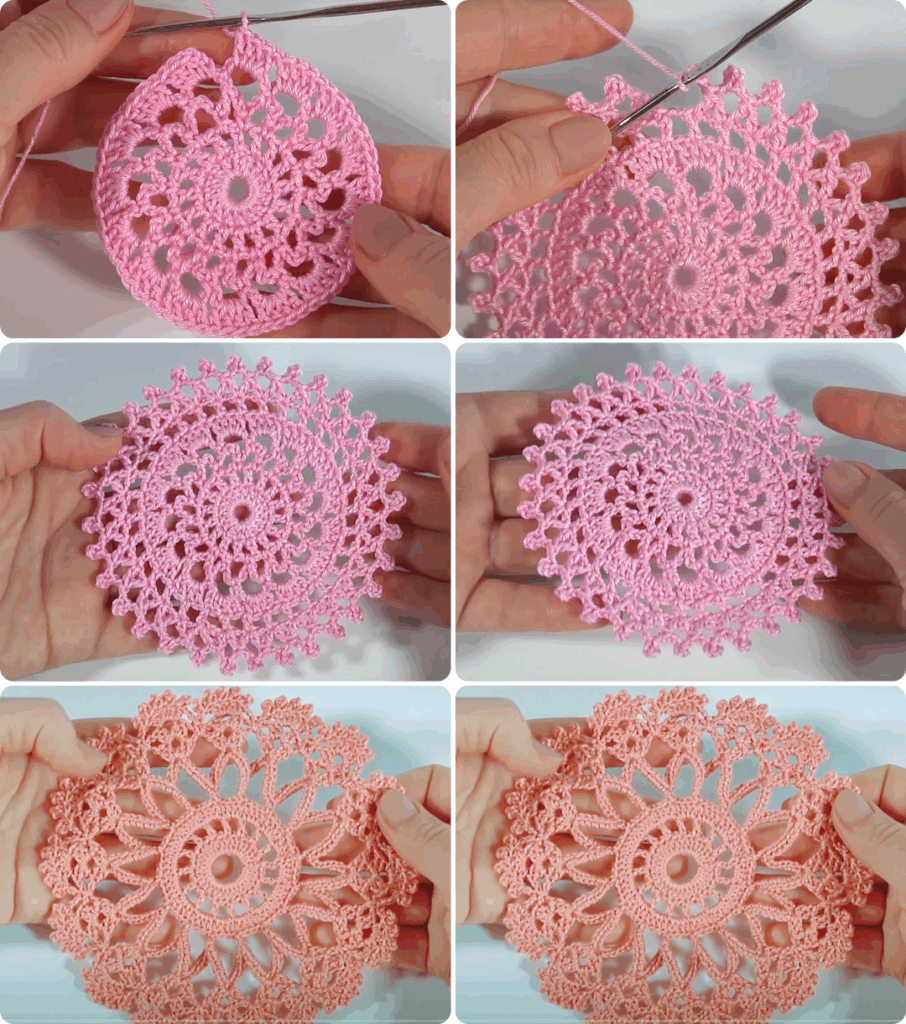
Motif Instructions:
- Start with a magic ring or chain 4, slip stitch to form a ring.
- Round 1: dc 12 into the ring, slip stitch to join. (12 dc)
- Round 2: 2 dc in each dc around, slip stitch to join. (24 dc)
- Round 3: dc 2, 2 chain spaces (ch 2), dc 2 repeat around, slip stitch to join. (36 dc)
- Round 4: dc 3, 2 ch 2 spaces, dc 3 repeat around, slip stitch to join. (48 dc)
- Round 5: dc 4, 2 ch 2 spaces, dc 4 repeat around, slip stitch to join. (60 dc)
- Round 6: dc 5, 2 ch 2 spaces, dc 5 repeat around, slip stitch to join. (72 dc)
- Round 7: dc 6, 2 ch 2 spaces, dc 6 repeat around, slip stitch to join. (84 dc)
- Round 8 (optional for baby dress): dc 7, 2 ch 2 spaces, dc 7 repeat around, slip stitch to join. (96 dc)
- Edging: Choose your preferred edging (e.g., single crochet, scallop, picot) and crochet around the motif, increasing or decreasing stitches as needed to maintain a smooth edge.
Project Assembly:
- Blouse: Join motifs together in the desired pattern (e.g., squares joined at corners, triangles joined at points) to create the back and front panels. Leave openings for sleeves and neckline. Crochet armholes and neckline using preferred edging. Add straps or ties as desired.
- Tunic: Follow blouse instructions, but extend the length by adding more rounds or motifs.
- Baby Dress: Join motifs to create the front and back panels, leaving an opening for the head. Crochet shoulder straps and a skirt section using the edging pattern. Optionally, add ruffles or other embellishments.
Customization Tips:
- Use different yarn colors and weights to create unique variations.
- Experiment with different stitch combinations within the motif.
- Adjust the motif size by increasing or decreasing the number of rounds.
- Add pockets, buttons, or other embellishments for a personalized touch.
Finishing Touches:
- Weave in all ends securely.
- Block the finished project to even out stitches and shape (optional).
Share Your Creations!
We’d love to see your beautiful summer garments! Share your photos and variations on social media using #CrochetSummerMotif and tag us.
Additional Notes:
- This pattern is a basic guideline. Feel free to adjust it to your skill level and preferences.
- There are many resources available online and in libraries for crochet inspiration and tutorials.
- Don’t hesitate to ask for help if you get stuck! The crochet community is always happy to support fellow enthusiasts.
Happy crocheting and enjoy your summer creations!tunesharemore_vert
Video tutorial
