by
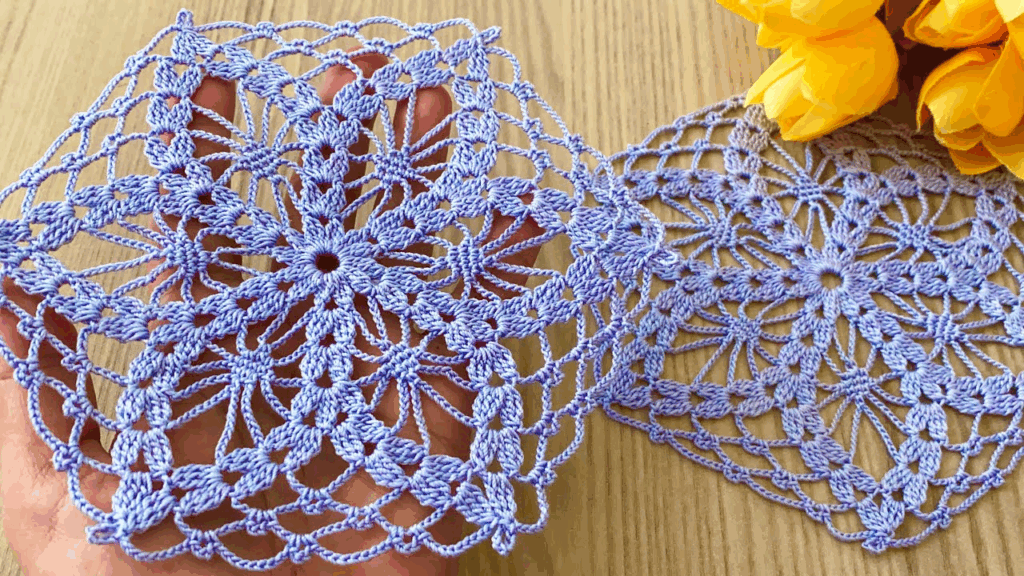
by That is a fantastic request! The Hexagon Motif is one of the most versatile and elegant shapes in crochet. Its six sides allow motifs to fit together seamlessly, creating a flexible fabric with a beautiful drape, making it ideal for both garments (blouses/cardigans) and home décor (runners/tablecloths).
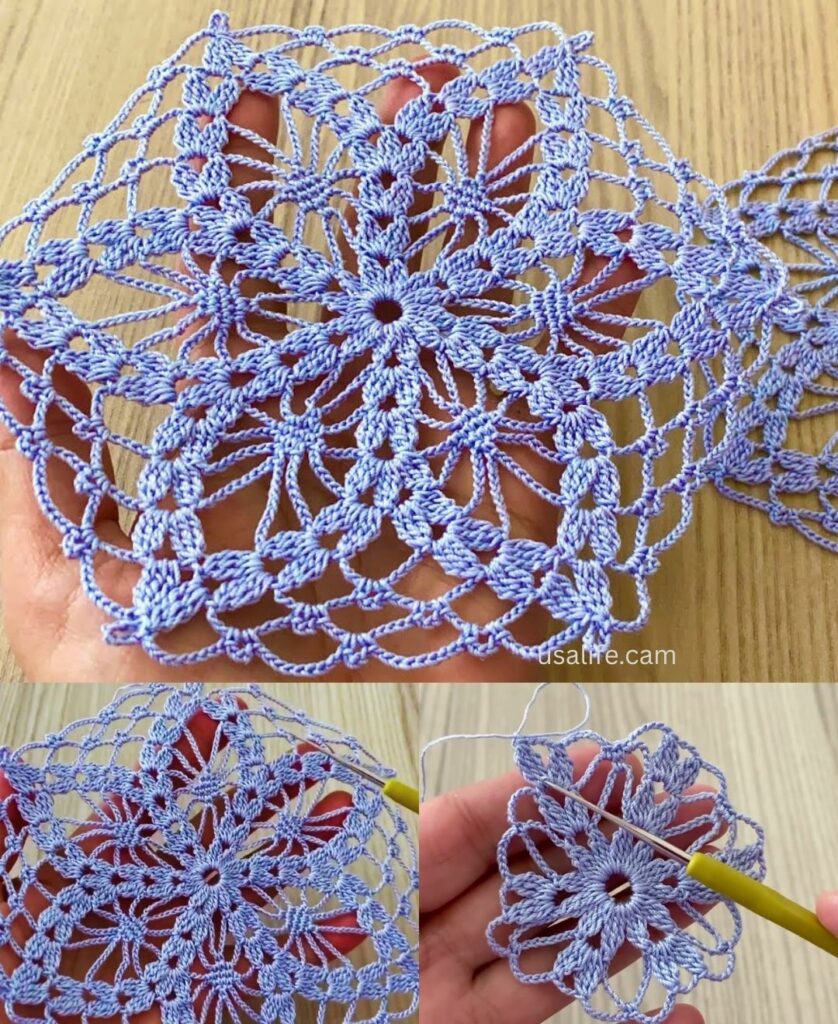
Here is a detailed, step-by-step tutorial for a classic Granny Hexagon Motif and instructions on how to assemble a blouse or runner.
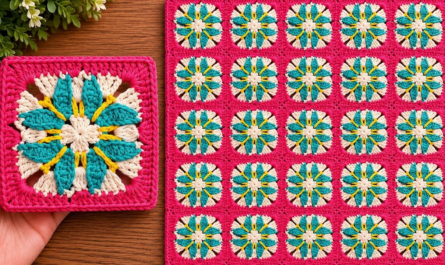
🍯 Granny Hexagon Motif Tutorial
This motif uses the standard granny cluster technique to create an airy, easily joinable, six-sided shape.
Materials You’ll Need
- Yarn/Thread:
- For a Runner/Tablecloth: Size 10 Cotton Thread or Fingering Weight Yarn for a refined look.
- For a Blouse: Sport or DK weight Cotton/Acrylic blend for drape.
- Crochet Hook: The size appropriate for your material (e.g., 3.5 mm – 4.0 mm for garments).
- Scissors, Tapestry Needle, Stitch Markers.
Key Crochet Terms
| Abbreviation | Stitch Name |
| ch | Chain |
| sl st | Slip Stitch |
| dc | Double Crochet |
| Cluster | 3 dc worked into the same space |
| Corner | (Cluster, ch 2, Cluster) |
Part 1: Crocheting the Hexagon Motif
Round 1: Foundation
- Start: Make a Magic Ring (or ch 4, sl st to join).
- First Cluster: ch 3 (counts as dc). Work 2 dc into the ring.
- Corner Space: ch 2.
- Repeat: Work [3 dc into the ring (Cluster), ch 2 (Corner Space)] 5 more times. (You will have 6 clusters and 6 corner spaces).
- Finish: Pull the tail tight. Join with a sl st to the top of the beginning ch 3.

Round 2: Defining the Sides
We work the corners into the ch-2 spaces, establishing the six distinct sides.
- Move to Corner: sl st over to the first ch-2 corner space.
- First Corner: ch 3 (counts as dc). Work (2 dc, ch 2, 3 dc) into the same corner space. (A full corner shell).
- Side Space: ch 1.
- Repeat: Work [Corner Shell (3 dc, ch 2, 3 dc) in the next ch-2 corner sp, ch 1 (Side Space)] 5 more times.
- Finish: Join with a sl st to the top of the beginning ch 3.
Round 3: Expansion
The sides now begin to grow, adding clusters between the corners.
- Move to Corner: sl st over to the next ch-2 corner space.
- First Corner: ch 3. Work (2 dc, ch 2, 3 dc) into the corner space.
- Side Cluster: ch 1. Work 3 dc into the next ch-1 side space. ch 1.
- Repeat: Continue the sequence [Corner Shell in the ch-2 corner sp, ch 1, 3 dc in the ch-1 side sp, ch 1] 5 more times.
- Finish: Join with a sl st to the top of the beginning ch 3.
Continuing to Grow
Repeat Round 3 until your hexagon reaches the desired size for your project. Each successive round will add one extra (3 dc, ch 1) cluster to each of the six sides.

Part 2: Project Assembly
A. Constructing a Hexagon Runner
This is the simplest application, requiring only a linear arrangement.
- Sizing: Determine the desired length of your runner.
- Joining: Join the motifs in a straight line, connecting one side of each hexagon to the next.
- Method: Use the Join-as-You-Go (JAYG) technique on the final round of the motifs for the neatest seam. When crocheting a joining side, replace the corner
ch 2withch 1, sl st into the corner of the finished motif, ch 1, and replace the sidech 1with asl stinto the corresponding ch-1 space of the finished motif.
- Method: Use the Join-as-You-Go (JAYG) technique on the final round of the motifs for the neatest seam. When crocheting a joining side, replace the corner
- Edging: Once the strip is complete, work 2–3 rounds of simple single crochet (sc) or a small decorative scallop border around the entire perimeter of the runner to give it a clean, professional finish.
B. Constructing a Hexagon Blouse or Tunic
The hexagon shape naturally forms the body and sleeves of a garment when folded.
- Sizing: The garment is typically made of two large hexagons (one for the front, one for the back). Crochet each hexagon until one side measures approximately half of your bust/chest circumference.
- Folding the Hexagon: A hexagon naturally folds to create a garment shape:
- Top 1 side: Neckline opening.
- Middle 2 sides: Sleeve opening.
- Bottom 3 sides: Body/waist.
- Assembly:
- Shoulder/Neckline: Join Side 1 of the front hexagon to Side 1 of the back hexagon (forming the shoulder seam). Leave a central gap open for the neck.
- Side Seams: Join Side 5 and Side 6 of the front hexagon to Side 5 and Side 6 of the back hexagon, leaving Side 4 open for the armhole.
- Finishing: Work 1-2 rounds of single crochet around the Neckline and Armholes to stabilize the openings and prevent stretching.
Final Step: Blocking
Blocking is highly recommended for both projects. Wet the finished piece, gently pull the motifs into uniform shape, pin them, and let them dry. This ensures the geometric pattern is crisp and the fabric drapes beautifully.
Video tutorial: