by
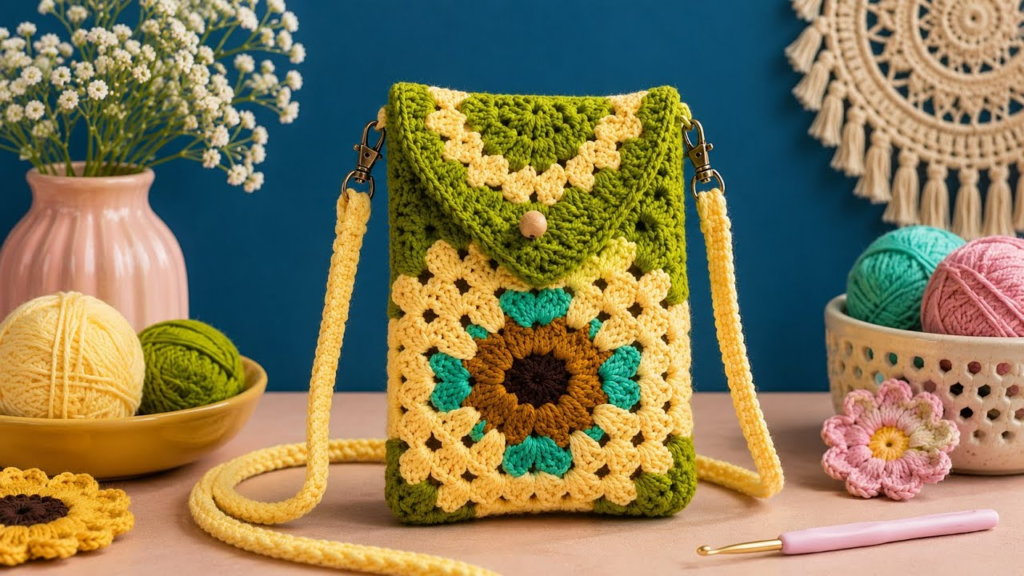
by Creating a Sunflower Phone Pouch is the perfect blend of 3D texture and practical utility. This design uses a “Sunburst” construction where the flower itself forms the body of the pouch.
To make this “Extraordinary,” we will create a two-sided pouch: the front features a large, textured 3D sunflower, while the back is a solid, protective grid.
I. Preparation & Materials
- Yarn: 100% Cotton (Worsted Weight/4). Cotton is essential because it doesn’t stretch as much as acrylic, ensuring your phone doesn’t “sag” to the floor.
- Color A: Dark Brown (The Seed Center)
- Color B: Bright Yellow or Mustard (The Petals)
- Color C: Green or Cream (The Pouch Body/Background)
- Hook: 3.5mm (E). Using a smaller hook than usual creates a “stiff” fabric that protects the screen from scratches.
- Extras: A large wooden button for the closure.
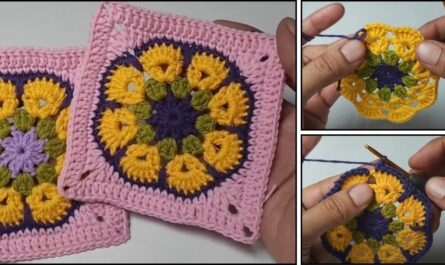
II. The Sunflower Motif (Front Panel)
Round 1: The Seed Center (Color A)
- Magic Ring: Ch 2, work 15 dc into the ring.
- Sl st to join. Fasten off. (16 dc).
- Detail: Keep these stitches tight to mimic the dense center of a sunflower.
Round 2: The Inner Bloom (Color B)
We use the Puff Stitch here for 3D texture.
- Join Color B in any st. Ch 2.
- Puff Stitch: [YO, insert hook, pull up a loop] 3 times in the same st. YO, pull through all loops. Ch 1.
- Repeat the Puff Stitch + Ch 1 in every stitch around.
- Sl st to join. (16 Puffs).

Round 3: The Petal Flare (Color B)
We use the Cluster Stitch for longer, pointed petals.
- Sl st into the first ch-1 space. Ch 3.
- Cluster: [YO, insert hook, pull up a loop, YO, pull through 2 loops] 2 more times in the same space. YO, pull through all 3 loops on hook. Ch 2.
- In every ch-1 space around, work a 3-dc Cluster + Ch 2.
- Sl st to join. Fasten off Color B. (16 clusters).
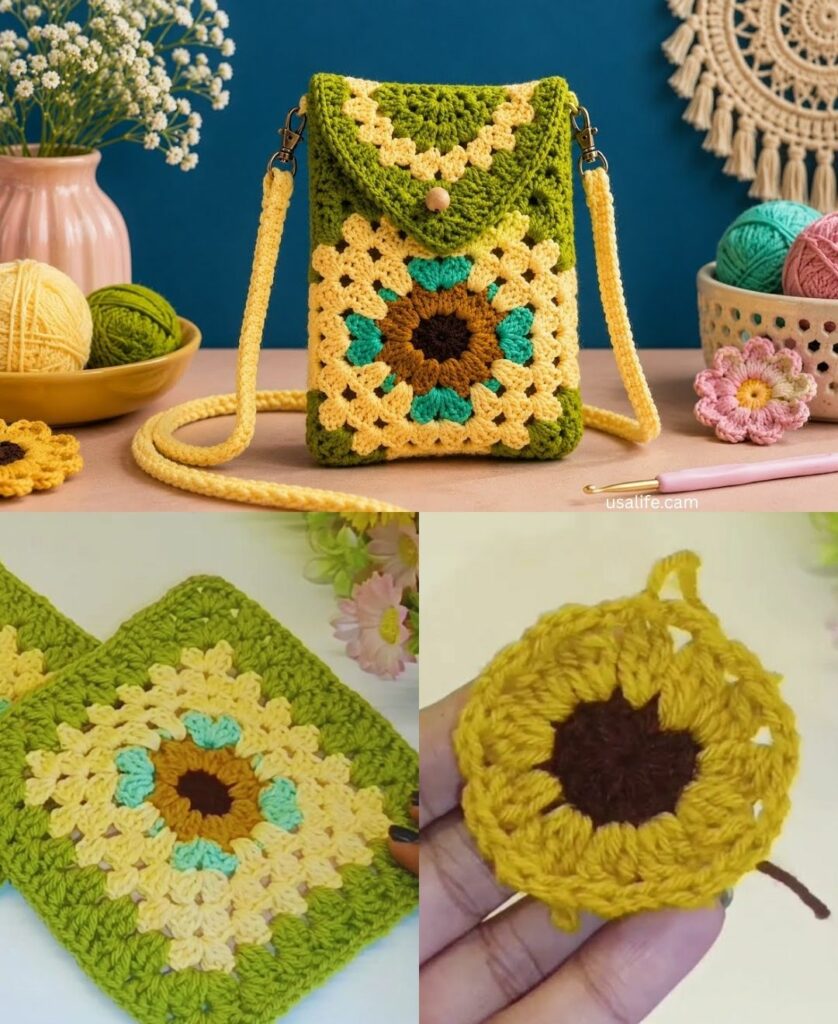
Round 4: Squaring the Flower (Color C)
- Join Color C in any ch-2 space.
- Corner: (3 tr, ch 2, 3 tr).
- Side: 3 dc in next space, 3 hdc in next space, 3 dc in next space.
- Repeat around. Sl st to join.
- Note: Measure this against your phone. If it’s too narrow, add one more round of solid dc.
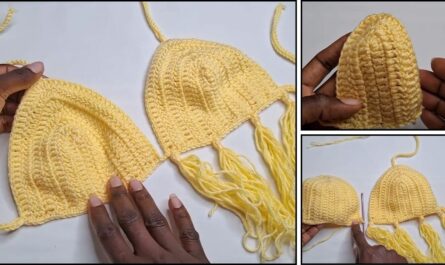
III. The Back Panel & Strap
The Back Panel (Color C)
- Ch a multiple of the width of your Front Panel.
- Work in rows of HDC (Half Double Crochet) until the piece is the same height as the Front Panel.
- Detail: HDC creates a thicker, “cushioned” wall for the back of your phone.
The “Signature” Strap
- Ch 100 (or your desired cross-body length).
- sc in the 2nd ch from hook and in each ch across.
- Unique Twist: On the way back, sl st into the Front Loop Only of the sc row. This prevents the strap from stretching out when the phone is inside.

IV. Assembly & “Extraordinary” Details
1. The “Invisible” Seam
Place the Front and Back panels together (wrong sides facing).
- Join Color C at the top corner.
- sc through both layers around the two sides and the bottom.
- Do not sew the top shut!
2. The Button Loop (The “Leaf” Detail)
- On the back panel’s top center, join Green yarn.
- Ch 12 (check this against your button size).
- Sl st back into the same spot.
- sc 15 times into the loop to make it thick and sturdy—it will look like a green leaf holding the sunflower shut.
3. The Lining (Optional Pro-Tip)
If you want to be truly professional, cut a piece of felt slightly smaller than the pouch and sew it inside. This prevents any “gaps” in the lace from letting dust reach your phone.

V. Final Flourish: Blocking
Because the sunflower center is “Puff” heavy, the pouch might look a bit lumpy.
- Insert a piece of cardboard (cut to your phone’s size) into the pouch.
- Steam the pouch lightly with an iron (do not touch the yarn!).
- Let it cool with the cardboard inside.
- The Result: A perfectly crisp, trendy accessory that looks like it came from a designer boutique.
Would you like me to adjust the stitch count for a specific phone model, like a larger Pro Max or a smaller flip phone?