 by
by The Solid Square Motif is the perfect “next step” after learning the basic chain and double crochet stitches. Unlike a traditional, hole-filled granny square, this solid version is dense, structured, and looks remarkably professional—making it ideal for runners, pillows, and clothing.
Here is your comprehensive, step-by-step guide to mastering this motif.
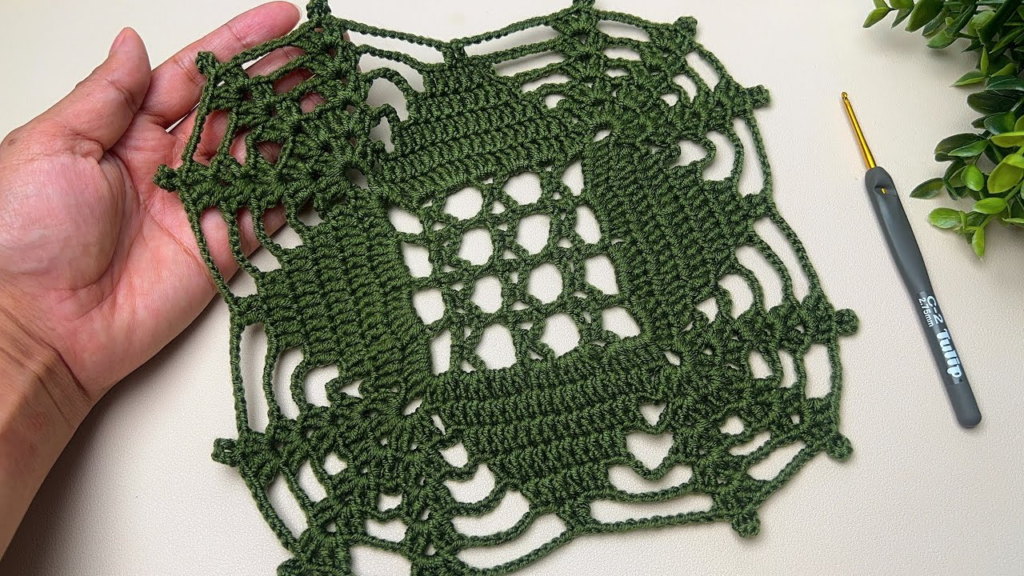
🧶 Your Beginner Toolkit
| Tool | Recommendation |
| Yarn | Worsted Weight (Size 4) Cotton or Acrylic |
| Hook | 5.0 mm (H/8) |
| Essentials | Scissors, Tapestry Needle, 4 Stitch Markers |
Stitch Key (US Terms):
- ch: Chain
- sl st: Slip Stitch
- dc: Double Crochet
- Corner: (2 dc, ch 2, 2 dc) in the same space.
🛠 Step-by-Step: The Beginner Solid Square
Round 1: The Foundation
- Start: ch 4. Insert your hook into the first chain and sl st to form a small ring.
- The Start: ch 3 (this counts as your first dc).
- The Work: Work 2 dc into the center of the ring. ch 2 (this creates your first corner).
- The Pattern: [Work 3 dc into the ring, ch 2] three more times.
- Join: sl st into the top of the initial ch 3.

Result: You have a small square with 4 corners.
Round 2: Growing the Square
- Travel: sl st into the next 2 stitches and into the corner space.
- First Corner: ch 3 (counts as dc), 2 dc, ch 2, 3 dc (all in the same corner space).
- The Side: ch 1.
- The Corner: In the next corner space, work (3 dc, ch 2, 3 dc).
- Repeat: Repeat this for all remaining corners.
- Join: sl st into the top of the ch 3.

Round 3: The Solid Frame
- Travel: sl st into the corner space.
- First Corner: ch 3, 2 dc, ch 2, 3 dc (all in the same space).
- The Side: Work 1 dc into every single stitch along the side.
- The Corner: Work (3 dc, ch 2, 3 dc) in the corner space.
- Repeat: Follow this pattern all the way around. By filling the side spaces with dc stitches, you eliminate the “gaps” found in classic granny squares.
- Join: sl st to the top of the ch 3. Fasten off.

📐 3 Secrets for a “Designer” Finish
- The “Corner” Cheat Code: If your square starts to look like a bowl (curling), your corners are too tight. Try increasing to
ch 3in the corners. If it looks wavy/ruffled, your corners are too loose. Reduce toch 1. - Weave as You Go: Don’t leave your yarn tails until the end! As you finish a round, use your tapestry needle to weave the tail under the base of the stitches for 2–3 cm. This keeps your square neat and finished from the start.
- The Magic of Blocking: This is the difference between “handmade” and “homemade.” After finishing your square, pin it to a towel or foam board, stretching it into a perfect, sharp-cornered square. Spritz it with a little water and let it dry completely. This “locks” the square into a perfectly flat, uniform shape that makes joining pieces together later effortless.
💡 How to Join Them
Once you have several squares, you can join them for a runner or pillow using the “Single Crochet Join”:
- Hold two squares with the wrong sides facing each other.
- Insert your hook through the back loops only of both squares.
- Pull up a loop of yarn and Single Crochet across the edge.
- This creates a beautiful, professional-looking “ridge” seam that holds your project together securely.
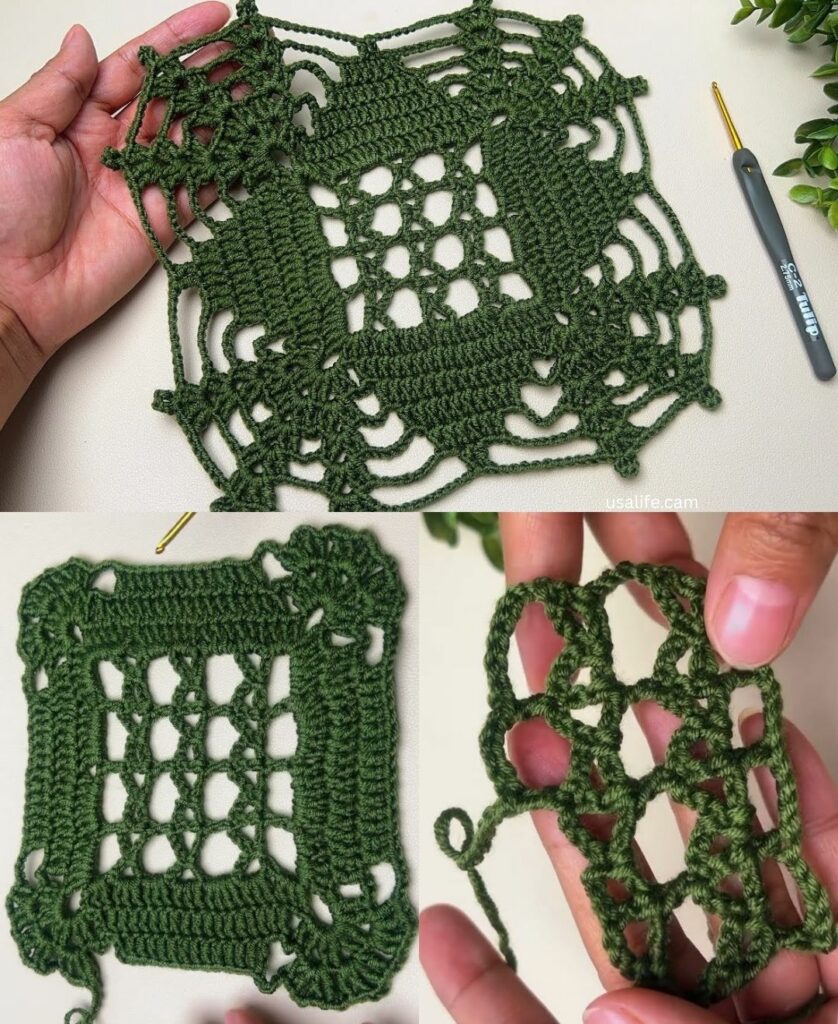
Would you like me to help you map out how many of these squares you would need to create a table runner?