by
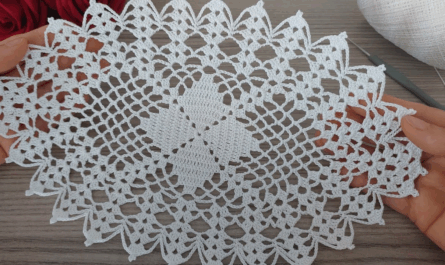
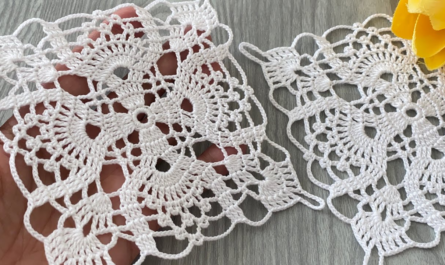
by To create a stunning crochet square—one that transcends basic utility and enters the realm of “heirloom art”—you must focus on texture, geometry, and perfect tension. The most visually striking squares are those that use structural stitches to create a 3D effect.
Here is the masterclass on how to crochet a “Botanical 3D Textured Square,” designed to look professional, polished, and breathtaking.
🧶 The Elite Toolkit
| Tool | Recommendation | Why? |
| Yarn | 100% Mercerized Cotton (DK/Sport) | The sheen and firmness are vital for “stunning” stitch definition. |
| Hook | 3.0 mm – 3.5 mm | A tighter hook forces the stitches to stand up, enhancing the 3D texture. |
| Extras | Blocking Board & T-Pins | Essential for turning a “blob” into a “masterpiece.” |
🛠 The Pattern: The Botanical 3D Motif
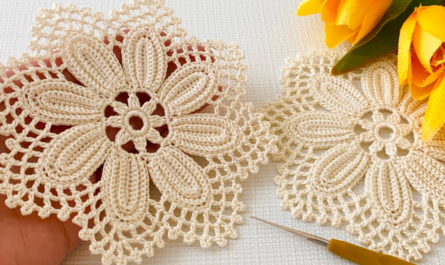
This pattern uses Front Post Stitches to create raised ridges that look like flower petals or geometric vines.
Round 1: The Petal Center (The “Pop”)
- Start: Magic Ring. ch 3 (counts as dc). Work 11 dc into the ring. Join with sl st.
- Texture: ch 1, [front post single crochet around the next post, ch 1] in every stitch around. This pushes the center stitches forward, creating a raised “bud” effect.
Round 2: The Square Foundation
- Setup: Join yarn in any ch-1 space.
- Corners: Work (tr, ch 2, tr) into the corner spaces.
- Sides: Work dc in the stitches between the corners.
- Note: By using treble crochet (tr) in the corners, you create a sharp, elongated point that forces the circle to become a square immediately.

Round 3: The “Vine” Ridge
- Pattern: Work 1 dc in every stitch around.
- The Stunning Detail: On the stitches directly above your petals from Round 1, work front post double crochet (fpdc). This “cages” the petal inside a raised vine, adding incredible architectural depth.
Round 4: The Finishing Frame
- Pattern: Work 1 round of single crochet (sc) in every stitch.
- The “Border”: In the corners, work (sc, ch 1, sc) to keep them razor-sharp.

✨ The 3 Secrets to “Stunning” Results
1. The “Yarn Over” Polish
To make your stitches look “stunning” and uniform, use the Yarn Under (YU) technique instead of the standard Yarn Over (YO) for your single crochets. This creates a “knitted” look (the “X” stitch) that is tighter, more stable, and significantly more professional.
2. The Art of Wet Blocking (Non-Negotiable)
Stunning squares are made on the blocking board, not the hook.
- The Soak: Soak your finished square in cool water with a tiny drop of wool wash for 20 minutes.
- The Stretch: Pin the square to a grid board. Use a square ruler to ensure your corners are exactly $90^\circ$.
- The Steam: If you want the texture to really “pop,” steam it lightly. The heat makes the cotton fibers plump up, making your 3D ridges look deeper and more dramatic.

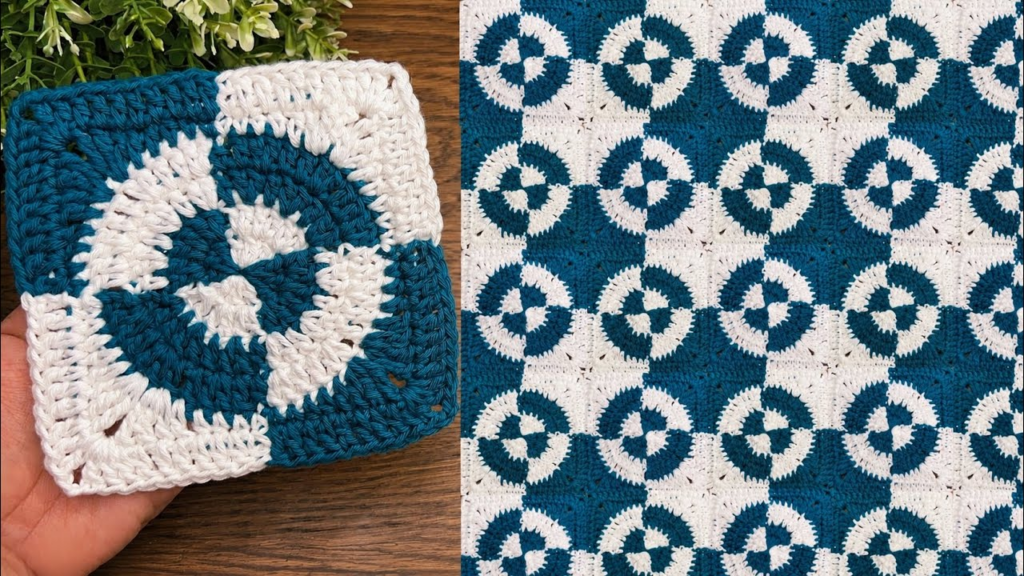
3. Color Blocking for Impact
Don’t use a random mix of colors. For a stunning effect, use the “Value Rule”:
- Use a dark color for the texture/ridges (the “vines”).
- Use a light/cream color for the background.
- The contrast between the dark, raised stitches and the light, flat background makes the 3D element appear to “float” off the fabric.
💡 How to Arrange for “Wow” Factor
If you are making a runner or a throw, avoid a simple grid. Try a “Staggered Diagonal” layout:
- Join your squares so the corners touch, but leave small gaps between them.
- Fill those gaps with a contrasting “filler” motif (a small, simple circle or diamond).
- This creates a lattice effect that makes the entire project look like it belongs in a high-end interior design magazine.
Would you like me to help you design a “lattice filler” motif to connect these squares into a complete project?