by
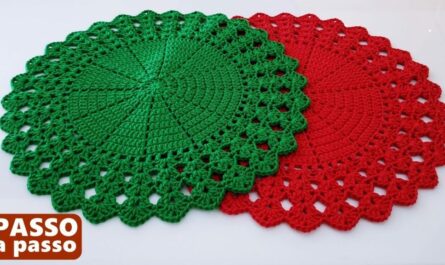
by A Sun-Inspired Doily captures the warmth of a sunrise through radiating stitches, typically using a center “core” followed by rounds of “rays” or lacy petals. Whether you want a delicate tabletop centerpiece or a sturdier placemat, the construction generally follows a radial growth pattern.
Ravelry
Here is a guide to designing or following a sun-inspired doily, broken down by technique and finishing.
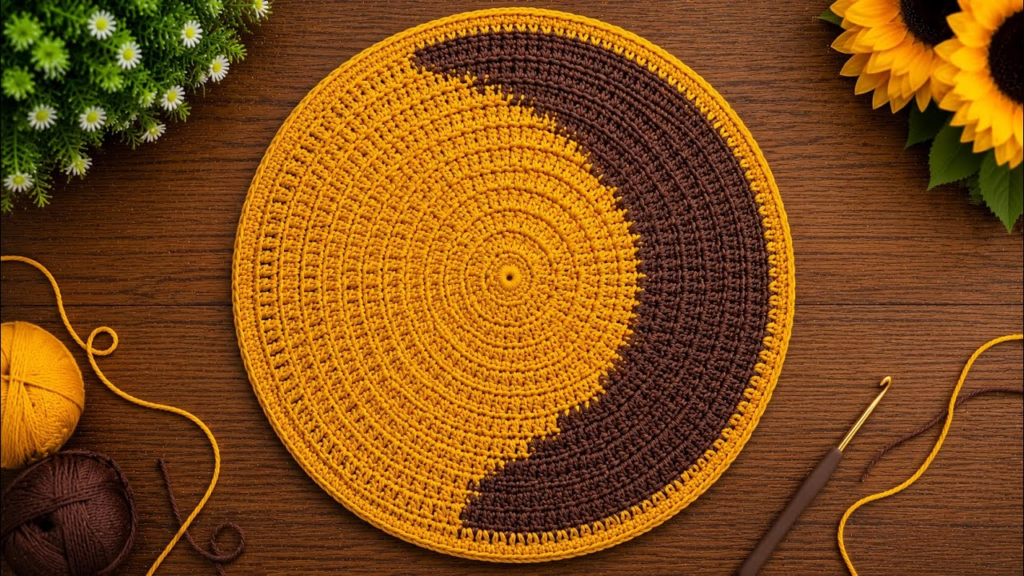
1. The Anatomy of a Sun Doily
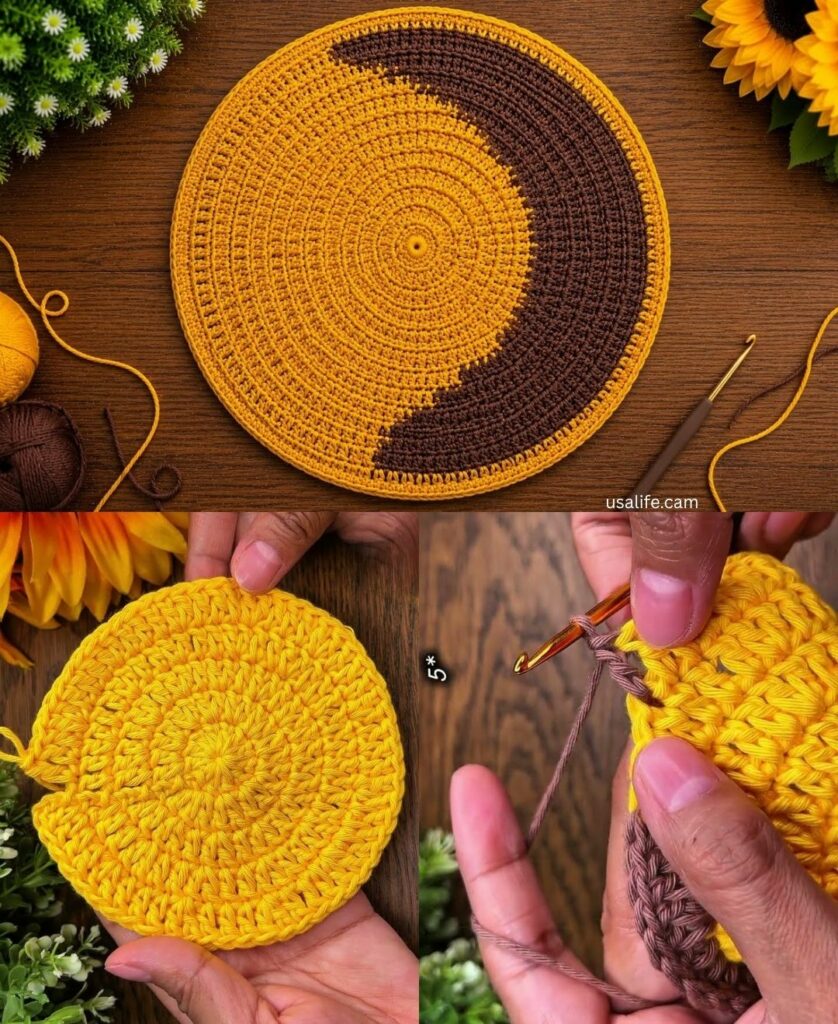
Most sun-themed doilies share a common structural progression:
- The Center (The Core): Usually a Magic Ring or a small chain circle, worked with single crochets to create a solid, dense base.
- The Rays (The Texture): This is where the design “pops.” Designers typically use Treble (tr) or Double Treble (dtr) stitches to create long, thin rays, often grouped together in clusters or shells to mimic sunbeams. Scribd
- The Lace (The Atmosphere): As you move outward, the stitches transition into chain-space loops (like
ch-5, sc in next sp) to create an airy, glowing effect around the sun’s core.
2. Beginner-Friendly “Sun” Pattern Logic
If you are designing your own or adapting a pattern, follow this simplified flow:
| Round | Stitch Goal | Effect |
|---|---|---|
| Rnd 1 | 12–16 DC in Magic Ring | Creates the solid sun core. |
| Rnd 2 | 2 SC in every stitch | Doubles the circumference for expansion. |
| Rnd 3 | Cluster stitches (3 DC together) separated by ch-3 | Creates the first layer of “rays.” |
| Rnd 4+ | V-stitches or Shells in the ch-3 spaces | Radiates the pattern outward. |

3. Essential “Pro” Techniques
To make your doily look truly professional, incorporate these three elements:
- The “Post” Stitch: Using Front Post Double Crochet (FPDC) stitches around the rays gives them a 3D, raised appearance. This is how you achieve that “glowing” or “sculptural” sun look.
- The Picot Edge: The final round of a sun doily often uses a picot (typically
ch-3, sl st back into the first ch). These small points act as the tips of the sun’s rays, adding a delicate, finished aesthetic. - Consistency: Because sun doilies are radial, your tension must remain even. If you notice your doily beginning to “ruffle” or wave, you have too many stitches; if it starts to curl into a bowl, you have too few.

4. The Secret Step: Blocking
A sun doily is rarely round when it comes off the hook—it will look “wobbly” until it is blocked. This step is the most critical for a sun motif:
- Soak: Submerge your finished piece in lukewarm water.
- Pin: Lay the doily flat on a blocking mat or a thick towel. Use rust-proof T-pins to stretch each “ray” outward.
- Shape: Use a ruler to ensure your rays are spaced symmetrically around the circle.
- Dry: Let it dry completely for 24 hours. The blocking process “sets” the geometry, turning a soft circle into a sharp, radiating sun.

5. Recommended Materials
- For Placemats: Use DK or Worsted weight cotton. It provides the structure needed for everyday use and makes the doily sturdier.
- For Centerpieces: Use Size 3 or 10 crochet thread with a 1.5 mm to 2.5 mm steel hook. This creates that classic, intricate lace look that characterizes traditional doilies. Olga Poltava
Would you like me to draft a specific, written-out pattern for a “Sunburst” style center, or are you looking for help with a specific part of a pattern you are already using?