 by
by That is a fantastic project choice! For a beginner, the “favorite blouse” usually means a simple, comfortable garment that focuses on basic shapes and stitches, providing a beautiful fit without complex shaping or decreases.
I will detail a step-by-step tutorial for a beginner-friendly “Simple Granny Panel Blouse” (also known as a ‘Granny T-Shirt’). This design uses two large, rectangular panels joined at the shoulders and sides, making assembly very straightforward.

👚 Simple Granny Panel Blouse Tutorial
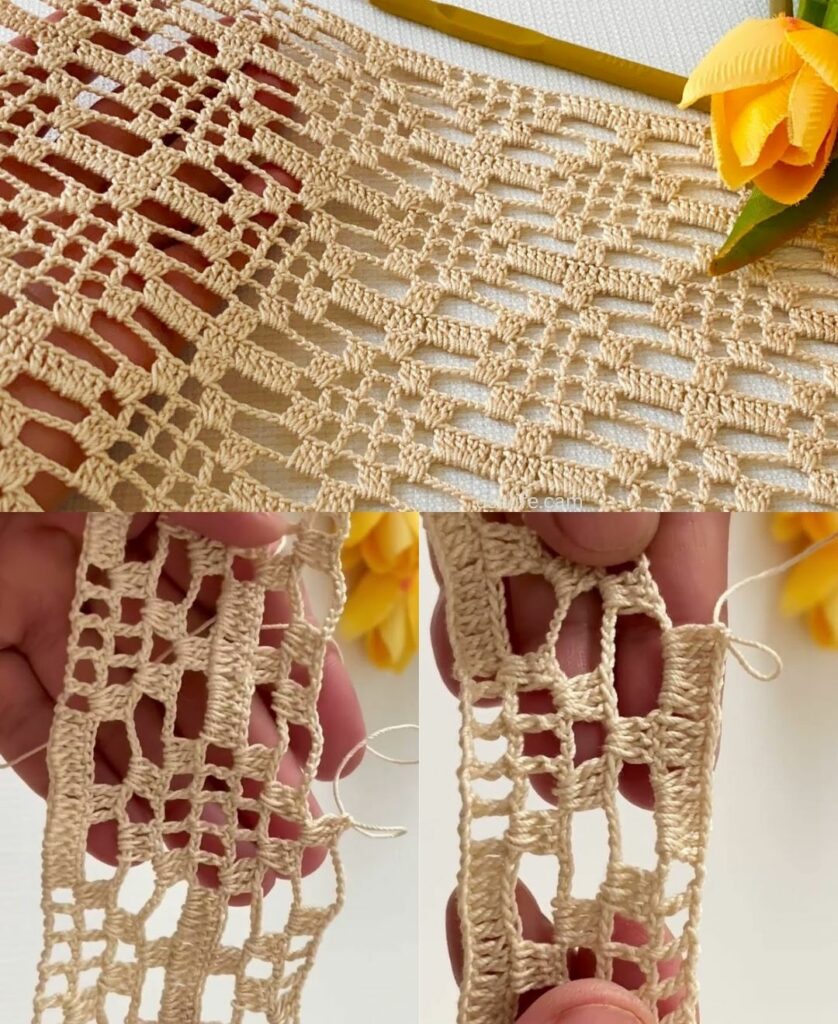
This blouse is constructed using the classic Granny Stitch (3 DC cluster, ch 1) worked back and forth in rows to create two panels.
Materials You’ll Need
- Yarn: DK Weight (Size 3) or Sport Weight (Size 2) yarn. A soft cotton or bamboo blend is highly recommended for good drape and comfort in a wearable garment.
- Crochet Hook: The size appropriate for your yarn (e.g., 3.5 mm – 4.0 mm).
- Measuring Tape, Scissors, Tapestry Needle, Stitch Markers.
Key Crochet Terms
| Abbreviation | Stitch Name |
| ch | Chain |
| sl st | Slip Stitch |
| sc | Single Crochet |
| dc | Double Crochet |
| Cluster (Cl) | 3 dc worked into the same space |
Part 1: Sizing and Measurement
Before starting, you must determine the width of your two panels.
- Bust Measurement: Measure the circumference of the fullest part of your bust.
- Desired Ease: Add 4 to 6 inches (10–15 cm) for positive ease (looseness) so the blouse is comfortable and drapes well.
- Panel Width: Divide the total (Bust + Ease) by 2. This is the required width of your finished panel.
- Example: Bust 36″ + 4″ Ease = 40″ total. Panel Width = 20″.
Part 2: Crocheting the Front and Back Panels
You will make two identical rectangular panels.
Foundation Chain
The stitch count is flexible, but you need enough length to achieve your target Panel Width. The Granny Stitch pattern repeat is 3 stitches + 2.
- ch until the chain measures slightly more than your target Panel Width (e.g., 21 inches).

Row 1: Establishing the Base
- Work dc in the 4th ch from the hook (counts as dc). Work dc in the next 2 chs (First Cluster).
- Skip 1 ch. Work Cl (3 dc) in the next ch.
- Repeat: [ch 1, skip 3 chs, Cl (3 dc) in the next ch] across the row until 1 or 2 chains remain.
- Finish: Work dc in the last remaining chain. ch 3 and turn.
- (Note: The start and end DC stitches are the straight edges of the panel.)
Row 2: Working the Granny Stitch Pattern
- Work Cl (3 dc) into the first ch-1 space from the row below.
- Repeat: Work [ch 1, Cl (3 dc) in the next ch-1 space] across the row.
- Finish: Work dc in the top of the beginning ch 3 from the previous row. ch 3 and turn.
Repeating the Pattern
- Repeat Row 2 until the panel reaches your desired length (from shoulder to hip/waist). A typical length is 20–24 inches (50–60 cm).
- Make two identical panels (Front and Back).
Part 3: Assembly (The Simple T-Shape)
Lay your two finished panels flat, right sides facing up.
1. Joining the Shoulders
- Place the Front Panel directly on top of the Back Panel.
- Using a sl st or sc join, sew the top edges together, starting from the outside edge.
- Neckline: Stop joining once the remaining center gap is wide enough to comfortably fit over your head (typically 8–10 inches wide). Fasten off and weave in ends.

2. Joining the Side Seams
- Starting from the bottom corner, join the side edges together using a sl st or sc join.
- Armholes: Stop joining once the opening created is large enough for your armhole (typically 7–9 inches, or 18–23 cm, long). Fasten off.
3. Finishing Edging (Optional but Recommended)
Add a simple, clean border to the neckline, armholes, and bottom hem.
- Neckline/Armholes: Join yarn anywhere in the opening. Work 1–2 rounds of Single Crochet (sc) evenly around the opening. Join and fasten off.
- Hemline: Work 1–2 rounds of sc or sl st along the bottom edge of the blouse for a neat finish.
4. Final Blocking
Wet the finished blouse and lay it flat on a towel. Gently shape the garment to your intended dimensions, paying special attention to the neckline and armholes. Allow it to dry completely. This step ensures the cotton/soft yarn drapes beautifully, making it your new favorite blouse!
Would you like instructions for adding a short, simple sleeve to the armhole?
Video tutorial: