by
by 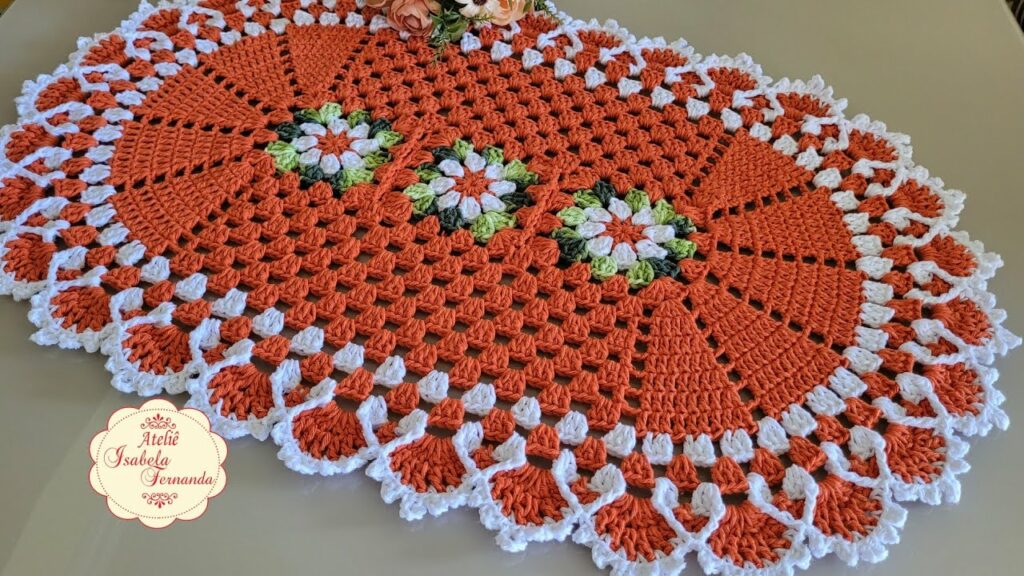
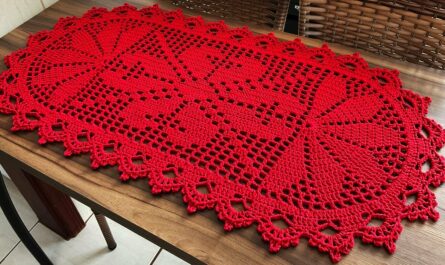
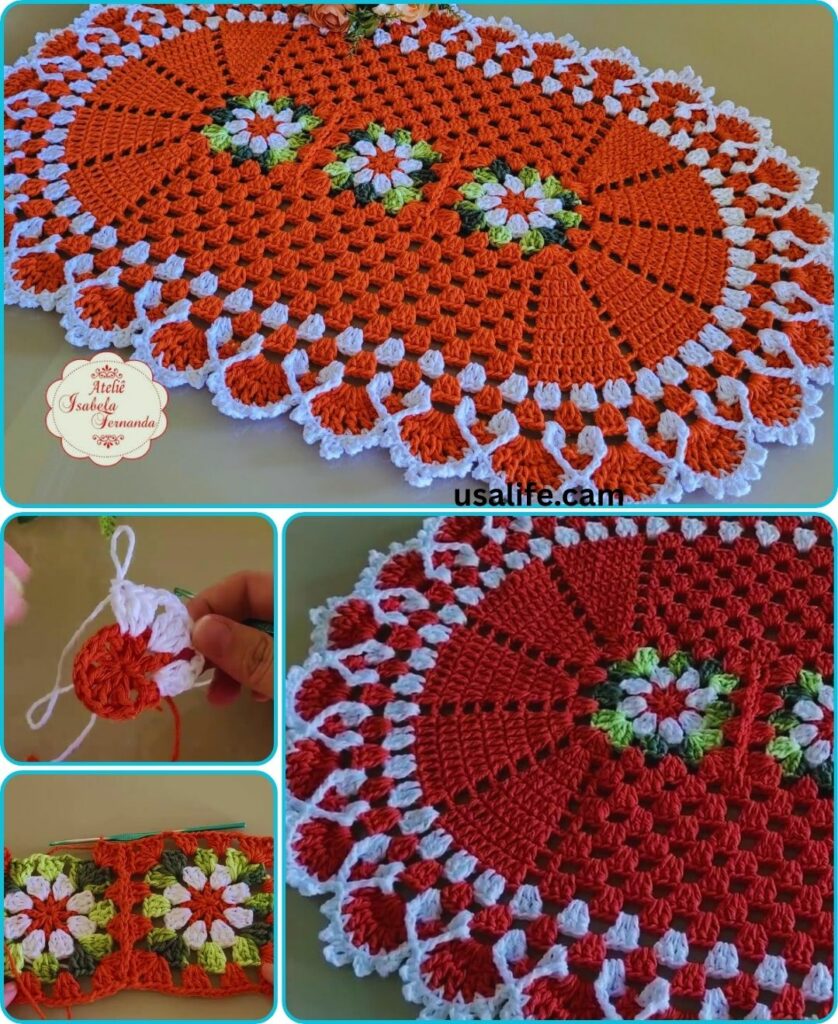
Add a touch of handmade charm to your home with a beautifully crocheted oval rug! This versatile project is perfect for beginners and seasoned crocheters alike, and can be customized in size, color, and texture to match your unique style.
Materials:
- Yarn of your choice: The amount will depend on the size of your rug. For a small rug (approximately 2′ x 3′), you’ll need about 200-300 yards of worsted weight yarn.
- Crochet hook in a size appropriate for your yarn weight
- Stitch markers (optional)
- Tapestry needle for weaving in ends
Pattern:
There are many ways to crochet an oval rug, but here’s a simple method for beginners:
1. Foundation Chain:
- Start by chaining a number of stitches that is approximately twice the width you want your finished rug to be. For example, for a 3-foot wide rug, chain 60.
2. Working in Rows:
- Turn your work and work a row of single crochets (sc) or double crochets (dc) in each chain.
- To create the oval shape, at the end of each row, skip the last stitch and turn your work.
- In the next row, chain 2 (or 3 for dc) to count as the first stitch, work sc or dc in each stitch across, and at the end, work two sc or dc in the skipped stitch from the previous row. This will increase your stitch count on each end, gradually shaping the oval.
3. Continue increasing:
- Repeat step 2, increasing your stitch count at the ends of each row, until you reach the desired length for your rug. Remember to adjust the number of skipped stitches and worked stitches at the ends as needed to maintain the oval shape.
4. Edging (optional):
- Once you’ve reached the desired length, work a few rows of single crochet around the edge of your rug for a neat finish. You can also experiment with other edging techniques like crab stitch or picot edging.
5. Weave in ends:
- Use your tapestry needle to weave in all loose ends on the wrong side of your rug.
Tips and Tricks:
- Use stitch markers to mark the turning points at the ends of your rows, especially for larger rugs.
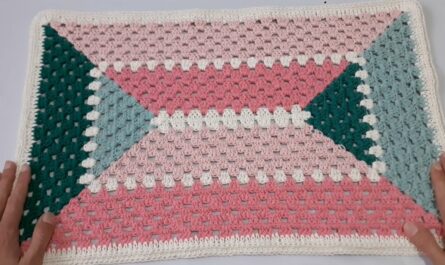
- Change colors to create stripes or other patterns in your rug.
- Experiment with different stitch types, like half double crochets or treble crochets, for a different texture.
- Use a thicker yarn and a larger hook for a chunky rug, or a thinner yarn and a smaller hook for a more delicate rug.
Get Creative!
The beauty of crocheting your own rug is that you can personalize it to your heart’s content. Here are some ideas:
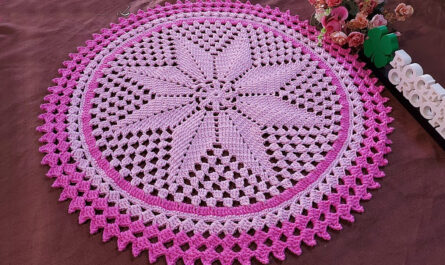
- Use variegated yarn for a unique color effect.
- Add fringe or tassels to the edges of your rug.
- Incorporate textured stitches like bobbles or popcorn stitches.
- Crochet your rug in different sections and join them together for a patchwork look.
With a little practice and creativity, you can crochet a beautiful and cozy oval rug that will add a touch of handmade charm to your home.
Video tutorial
Additional Resources:
- This video tutorial provides a great visual guide to crocheting an oval rug: https://m.youtube.com/watch?v=Zqb6vfvRWg8
- This website offers a variety of free oval rug crochet patterns: https://www.crochetkingdom.com/free-crochet-pattern-for-a-large-oval-rug/
I hope this blog post has inspired you to crochet your own oval rug! With a little patience and creativity, you can create a unique and beautiful piece that will be cherished for years to come.
Happy crocheting!
Please let me know if you have any other questions.