 by
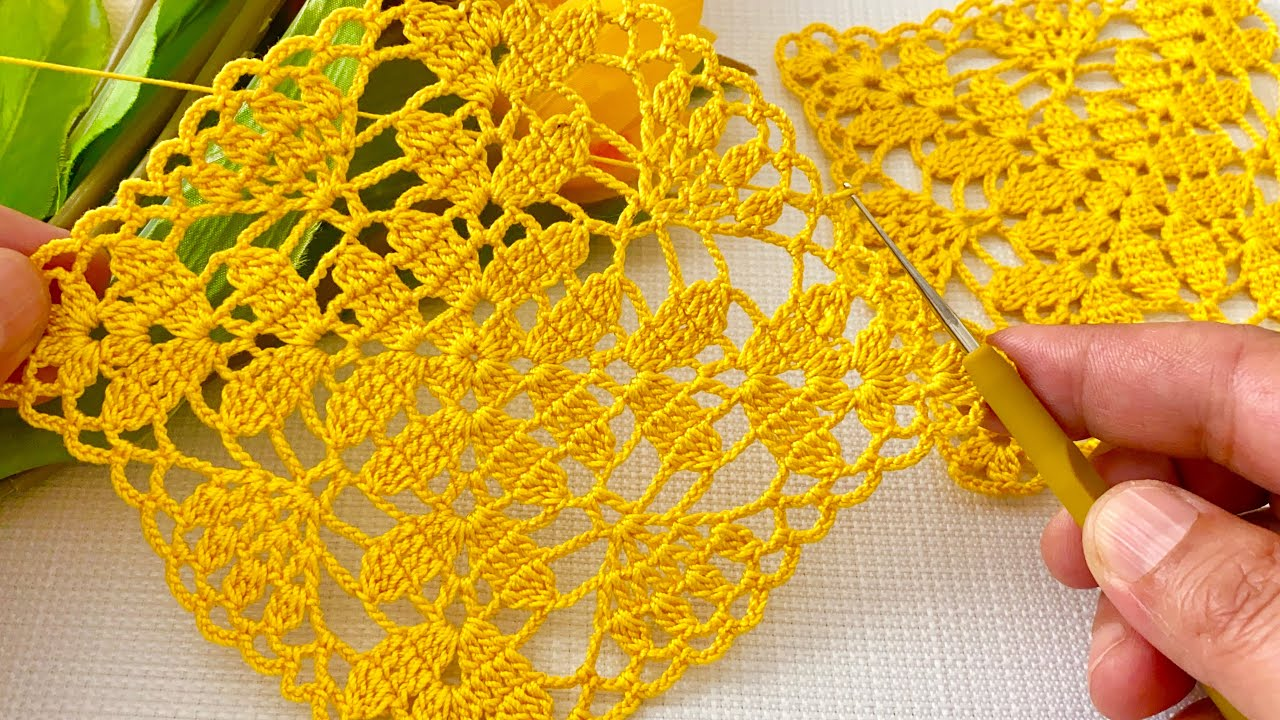
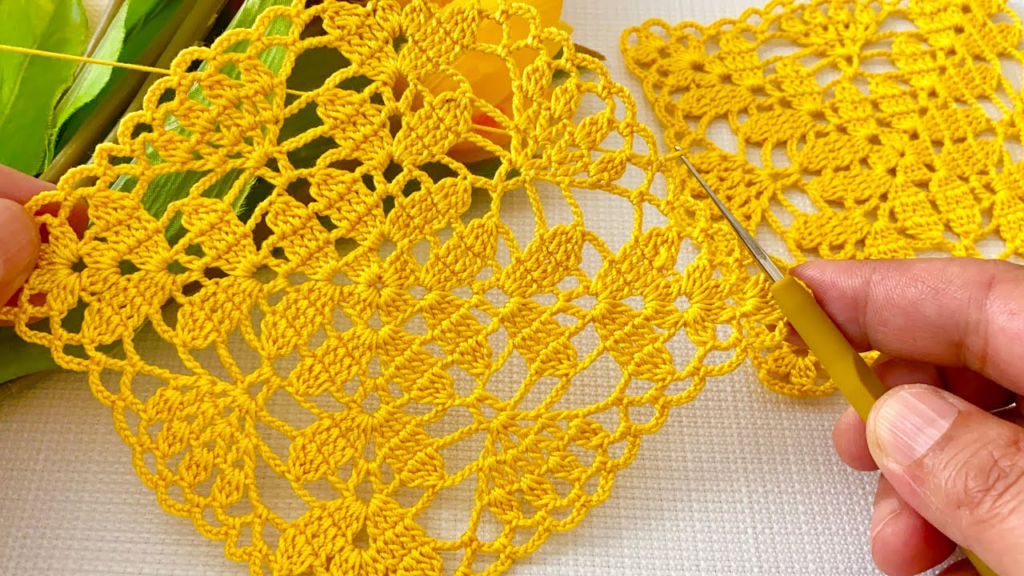
by To create a Unique Square Motif, you need a design that breaks away from traditional rows and introduces asymmetry, structural layering, and unexpected negative space.
This design is for the “Solstice Eclipse Square.” It begins with an off-center, raised dimensional crescent that organically transforms into a sharp, architectural 4-sided frame. It is sturdy enough to be used as an interlocking tile for a Table Runner, yet intricate enough to form the focal point of an avant-garde Blouse.
I. Technical Blueprint & Design Rules
- The Vibe: Contemporary, asymmetrical, and deeply textured.
- The Material Choice:
- For a Runner: Use a dense 100% Mercerized Cotton (DK Weight) with a $3.25\text{mm}$ hook to keep the geometric edges stiff and precise.
- For a Blouse: Use a soft Bamboo, Linen, or Silk blend (Sport Weight) with a $4.0\text{mm}$ hook to allow the open-work sections to drape fluidly against the body.
- Color Strategy (Crucial for Uniqueness): You need two colors with completely different visual weights:
- Color A (The Eclipse Core): A bold, solid neutral (e.g., Cream, Charcoal, or Flax).
- Color B (The Corona Ring): A highly contrasting tone or a subtle gradient metallic hue.

II. Step-by-Step Motif Pattern (US Terms)
Round 1: The Off-Center Nucleus (Color A)
- Magic Ring: Ch 1 (does not count as a stitch).
- Work the following sequence directly into the ring to create a weighted tear-drop base: 3 sc, 3 hdc, 5 dc, 1 tr.
- Do not slip stitch to close the circle. Pull the magic ring tail firmly until the center hole completely vanishes. (12 sts).
Round 2: Building the Asymmetrical Crescent (Color A)
We will now work back and forth temporarily to exaggerate one side of the circle.
- Ch 3 (counts as a dc), turn your work.
- Work 2 dc in each of the next 6 stitches.
- Work 2 hdc in each of the next 3 stitches.
- Sl st into the remaining 3 stitches from Round 1 to tether the crescent down.
- Fasten off Color A. This creates a crescent-moon shape with a heavy, thick bottom edge.

Round 3: The Raised “Corona” Ridge (Color B)
This round introduces 3D depth by anchoring stitches to the front posts.
- Join Color B to the first ch-3 space at the thick end of the crescent.
- Ch 1. Work 1 FPSC (Front Post Single Crochet) around every single stitch from Round 2.
- When you reach the slip-stitched area, work a standard sc through the original magic ring center to bridge the gap.
- Sl st to the first FPSC to close. (This leaves a distinctive, raised architectural lip tracing the crescent edge).
Round 4: Squaring the Orbit (Color B)
Here, we use drastic stitch height manipulation to transform the lopsided circle into a clean 90-degree square grid.
- Corner 1 (The Deep Pocket): In the thinnest stitch of the crescent, work (3 tr, ch 3, 3 tr).
- Side 1: Ch 2, skip 2 stitches, 3 dc in the next stitch. Ch 2, skip 2 stitches, 3 hdc in the next stitch.
- Corner 2: In the next stitch, work (2 dc, ch 2, 2 dc).
- Side 2: sc in each of the next 6 stitches across the thickest section of the crescent.
- Corner 3: In the next stitch, work (2 dc, ch 2, 2 dc).
- Side 3: Ch 2, skip 2 stitches, 3 hdc in the next stitch. Ch 2, skip 2 stitches, 3 dc in the next stitch.
- Corner 4 (The Mirror Pocket): In the final stitch before Corner 1, work (3 tr, ch 3, 3 tr).
- Sl st to the top of the initial corner to close the frame.

Round 5: The Stabilizing Border (Color A)
- Join Color A in any corner ch-3 space. (2 sc, ch 2, 2 sc) inside the space.
- Sides: Work 1 sc into every stitch and exactly 2 sc inside every ch-2 mesh space across the perimeter.
- Sl st to the first sc to join. Fasten off leaving a $12\text{-inch}$ tail for assembly.
III. “Detail and Detail”: Precision Assembly Techniques
Because this motif is asymmetrical, the way you orient and join the squares completely alters the final item’s look.
Option 1: The Modern Kaleidoscope Runner
- The Orientation: Rotate every second square by 180°C. This makes the heavy crescents face each other, creating an alternating optical illusion of interlocking waves down your table.
- The Seam: Use the Whipstitch Join through the Back Loops Only. This keeps the surface completely flat and creates a crisp “valley” between the blocks, making them look like separate modern architectural tiles.
Option 2: The Avant-Garde Geometric Blouse
- The Orientation: Align all squares facing the exact same direction. This draws the eye upward along the crescent lines, creating a flattering, slimming vertical pattern across the body.
- The Seam: Use the Interlocking Slip Stitch Join from the right side of the fabric. This adds an extra line of crochet trim between the motifs, adding flexibility and breathability to the garment mesh.
IV. Design & Application Matrix
| Unique Detail | Blouse Functionality | Runner Functionality |
| Asymmetrical Weight | Creates vertical texture that elongates the garment silhouette. | Distributes weight evenly when blocked, keeping center items stable. |
| Front Post Ridges | Captures ambient lighting, giving a handmade piece a high-end designer sheen. | Adds structural body so the runner resists wrinkling or curling under plates. |
| Negative Space Mesh | Provides breathability and ventilation for a comfortable summer top. | Forms a clean, modern geometric backdrop for minimal centerpieces. |
V. The Master Blocking Sequence for Unique Motifs
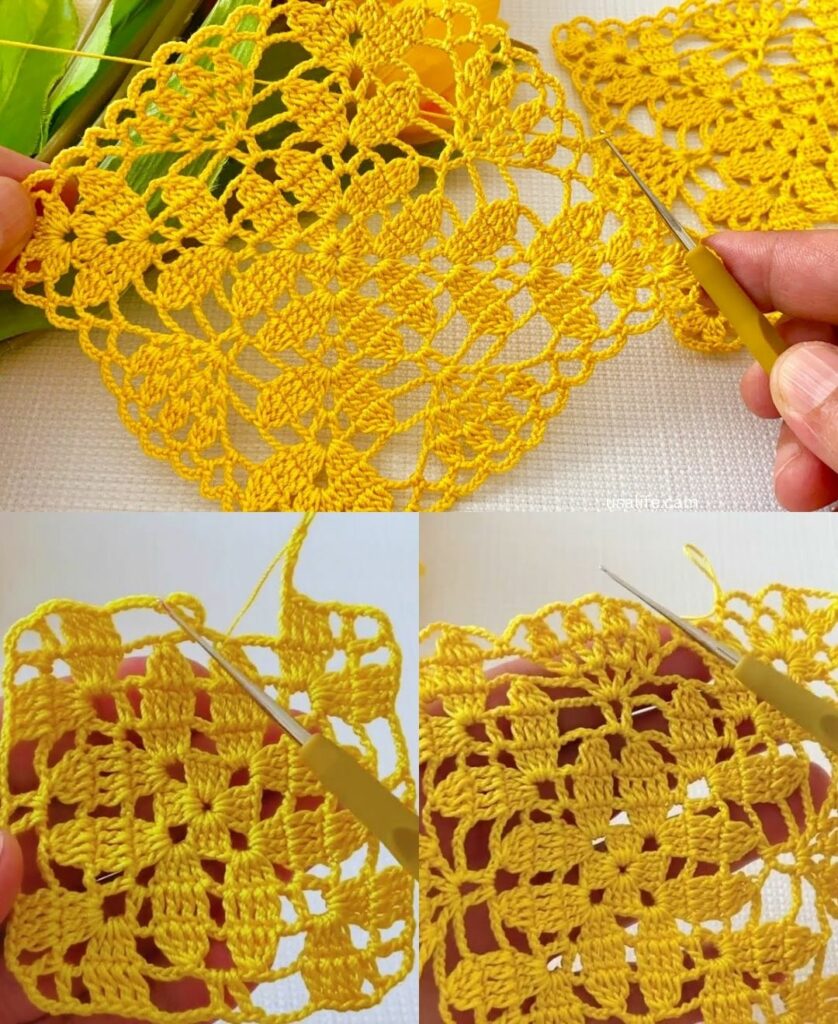
Because this square relies on asymmetric stitch heights, it will naturally try to twist or cup slightly right off your hook. Do not skip the blocking process.
- The Template: Draw a perfect $5 \times 5\text{-inch}$ square on a sheet of paper and place it under a foam blocking mat.
- Pinning: Secure the four corners first using rust-proof T-pins, pulling them firmly until they align perfectly with your drawn lines. Place pins along the flat edges to keep them straight.
- Relaxing the Fibers: Hold a steam iron roughly 1 inch above the motif. Let the steam saturate the stitches completely, but never let the heavy iron press directly onto the yarn, or you will flatten the beautiful 3D front-post ridge.
- Setting: Let the square dry completely for 24 hours before unpinning.
Are you going to build this project using a highly contrasting two-tone color palette to maximize the optical illusion, or are you opting for a sophisticated monochromatic look?