 by
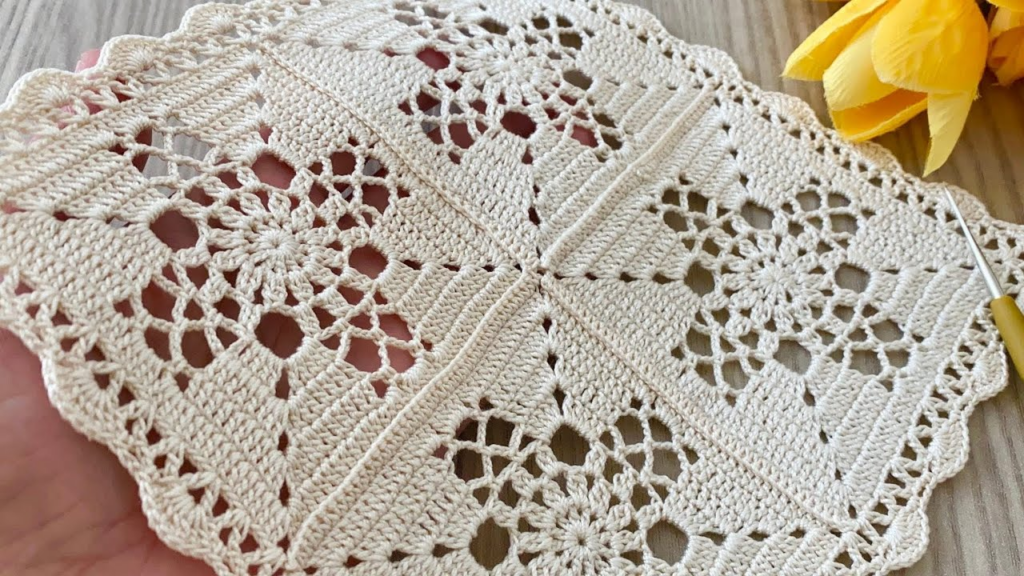
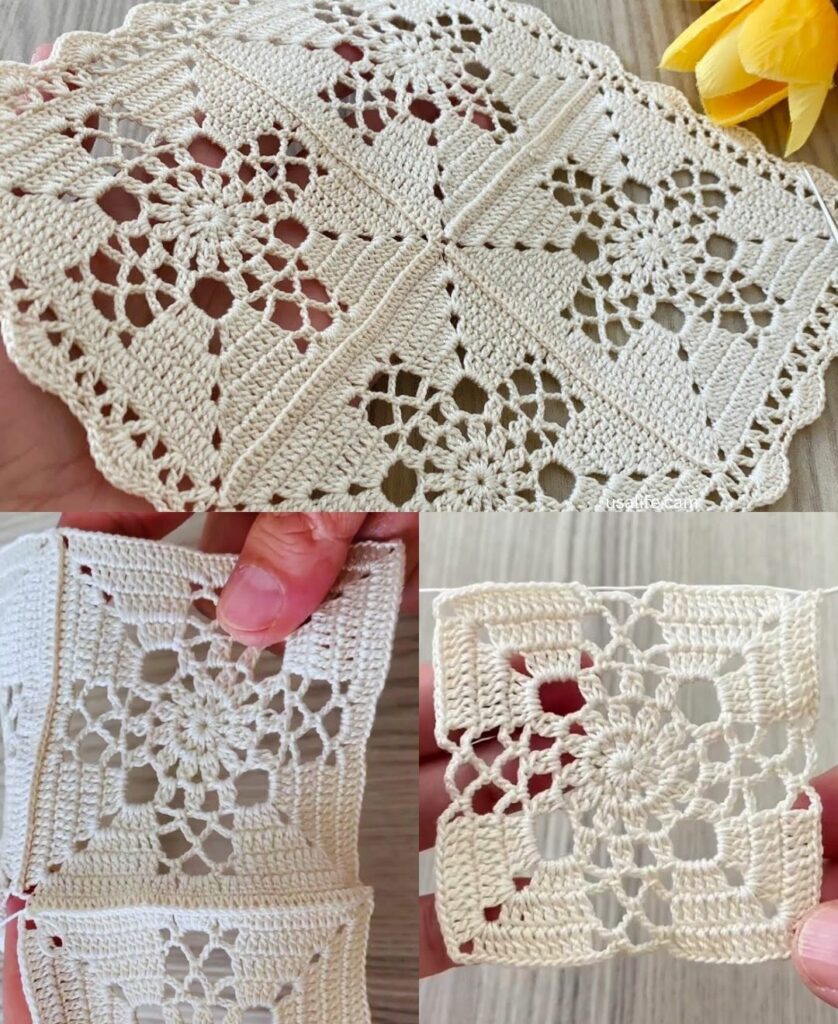
by To create a Blouse, Tunic, or Table Runner as a beginner, you do not need to learn a dozen complicated patterns. You only need one master stitch blueprint that can be scaled up or down, combined with a magnificent lace border to give it a professional finish.
This tutorial uses the “V-Stitch Grid.” It is the ultimate beginner pattern because it is easy to count, works up incredibly fast, automatically creates a straight edge, and has a beautiful fluid drape perfect for both home decor and apparel.
I. The Beginner’s Master Stitch Blueprint
The V-Stitch consists of making [1 dc, ch 1, 1 dc] all inside a single stitch. In subsequent rows, you place your hook directly into the ch-1 space of the previous row’s “V”. This means you don’t have to hunt for tiny loops!
The Math (The Foundation Chain Multiple)
To make this pattern fit any project, your starting chain must be a multiple of $3 + 2$.
- For a Table Runner: Chain 47 (approx. 12 inches / 30 cm wide).
- For a Blouse or Tunic Panel: Chain 74 to 89 (depending on your measurement, approx. 18 to 22 inches wide).
II. Step-by-Step Base Pattern (US Terms)
Row 1 (The Foundation):
- Chain your required multiple (e.g., 47 for a runner).
- Work 1 dc in the 4th chain from the hook (the skipped chains count as your first turning stitch).
- Skip 2 chains. In the next chain, work the V-Stitch: (1 dc, ch 1, 1 dc).
- Repeat from * across until only 2 chains remain.
- Skip 1 chain, work 1 dc into the very last chain. Turn.
Row 2 (The Spiral Grid):
- Ch 3 (counts as your first dc here and throughout).
- Skip the first dc. Look for the ch-1 space inside the first “V”. Work a V-Stitch (1 dc, ch 1, 1 dc) directly into that space.
- Repeat this step across, placing a V-Stitch inside every previous V-Stitch space.
- Work 1 dc into the top of the turning ch-3 from the previous row. Turn.
Row 3 and Beyond:
- Repeat Row 2 until your piece reaches your desired length.
- Do not fasten off your yarn on your final row; we will transition straight into the lace border.
III. How to Project-Map This Pattern
By altering the length of your rectangles and how you sew them together, this single pattern transforms into three distinct items:
1. The Multipurpose Table Runner
- The Assembly: Crochet one long, continuous rectangle until it spans the length of your dining table (usually 60 to 72 inches long). Fasten off and apply the lace edge to the short ends.

2. The Classic Summer Blouse
- The Assembly: Crochet two identical squares or short rectangles that match your half-bust width.
- Lay them on top of each other. Sew the shoulders together along the top edge, leaving a wide 10-inch gap in the center for your head. Sew the sides from the bottom up, leaving wide openings at the top for your arms.
3. The Flowing Beach Tunic
- The Assembly: Follow the exact same instructions as the blouse, but continue crocheting the two panels until they drop down past your hips.
- Designer Tip: Leave the bottom 5 inches of the side seams unsewn. This creates a “side slit” that allows the tunic to flow beautifully over leggings or swimwear.
IV. The Magnificent Scalloped Lace Edge
Once your main body rectangle is finished, join your yarn to any corner to add this elegant, timeless lace border.
  LACE GEOMETRY VISUALIZATION:
  Row 1:  [sc]----ch 3----[sc]----ch 3----[sc]----ch 3----[sc]  (The Netting)
  Row 2:  [  5-dc Shell  ]--sl st--[  5-dc Shell  ]--sl st--[ ]  (The Scallop)
Row 1 (The Netting Base):
- Ch 1, work 1 sc in the corner stitch.
- Ch 3, skip 2 stitches (or 1 row side-post), work 1 sc into the next stitch.
- Repeat from * completely around the edges of your piece (or just across the bottom hems for clothing). Sl st to join.
Row 2 (The Blooming Scallop):
- Sl st into the first ch-3 loop space. Ch 2 (counts as dc).
- Work 4 more dc into that same loop space (5 dc total inside the loop).
- Sl st directly into the next ch-3 loop space (this pulls the cluster down, creating a rounded arch).
- Work 5 dc into the next ch-3 loop space, then sl st into the following loop space.
- Repeat from * around. Fasten off and weave in your ends invisibly.

V. “Detail and Detail” Beginner Tips for Excellence
1. Edge Elasticity (Tension Control)
When working your starting chain for clothing (Blouse/Tunic), use a hook that is one full size larger than what you plan to use for the rest of the project (e.g., start with a 5.0mm hook for the chain, then switch to a 4.0mm hook for Row 1). This ensures the bottom hem of your top stretches comfortably around your hips and won’t feel tight or restrictive.
2. The Beginner Blocking Essential
Because the V-stitch is a lightweight mesh, it can look slightly wavy directly off the hook.
- Lay your finished piece on a clean towel or foam mat.
- Gently smooth it out with your hands into a crisp rectangle.
- Pin down the scalloped lace edges using rust-proof sewing pins.
- Spritz it generously with plain water and let it sit overnight until bone dry.
- The Result: The stitches will perfectly relax, giving your runner a flat, store-bought finish and your blouse a professional, expensive drape.
Are you leaning toward making the table runner first to practice the stitch, or are you jumping straight into designing the blouse or tunic?