 by
by To create a truly spectacular Square Motif, you must master the balance between a dense, structural core and a clean, geometric frame. A beautifully executed square motif is the universal building block of crochet—perfectly adaptable for a structured Table Runner, an heirloom Blanket, or a trendy Boxy Blouse.
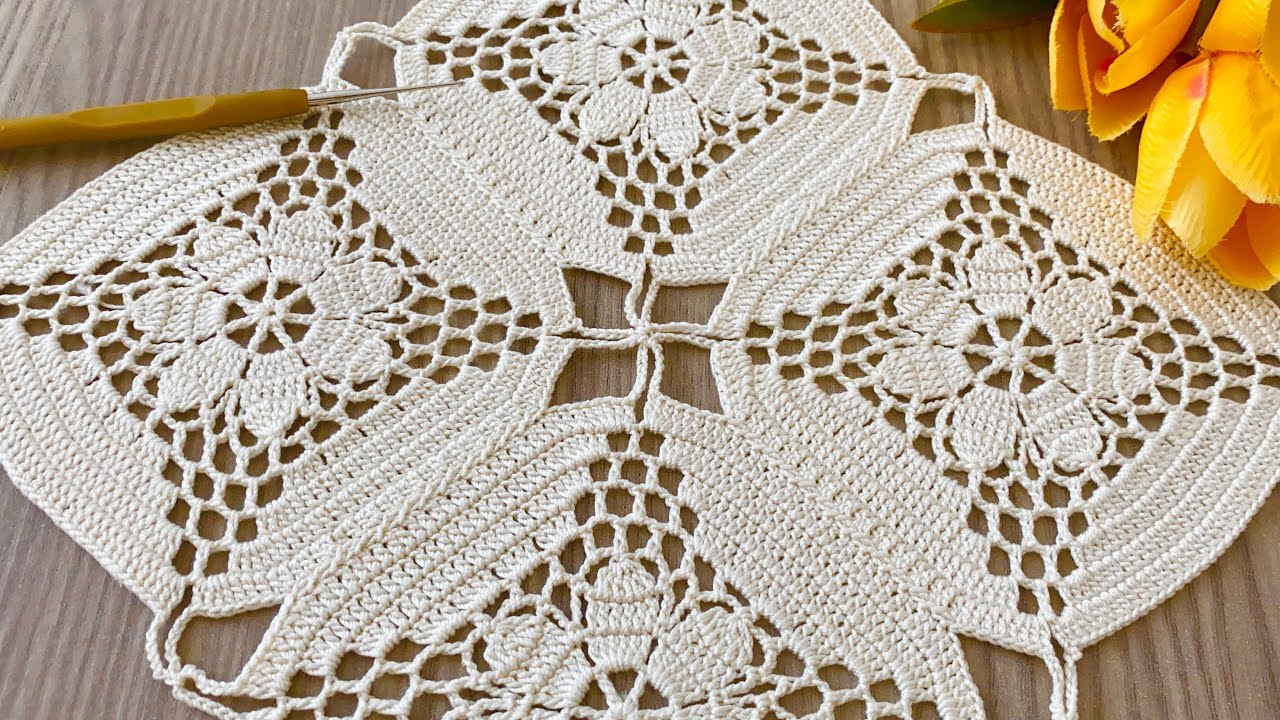
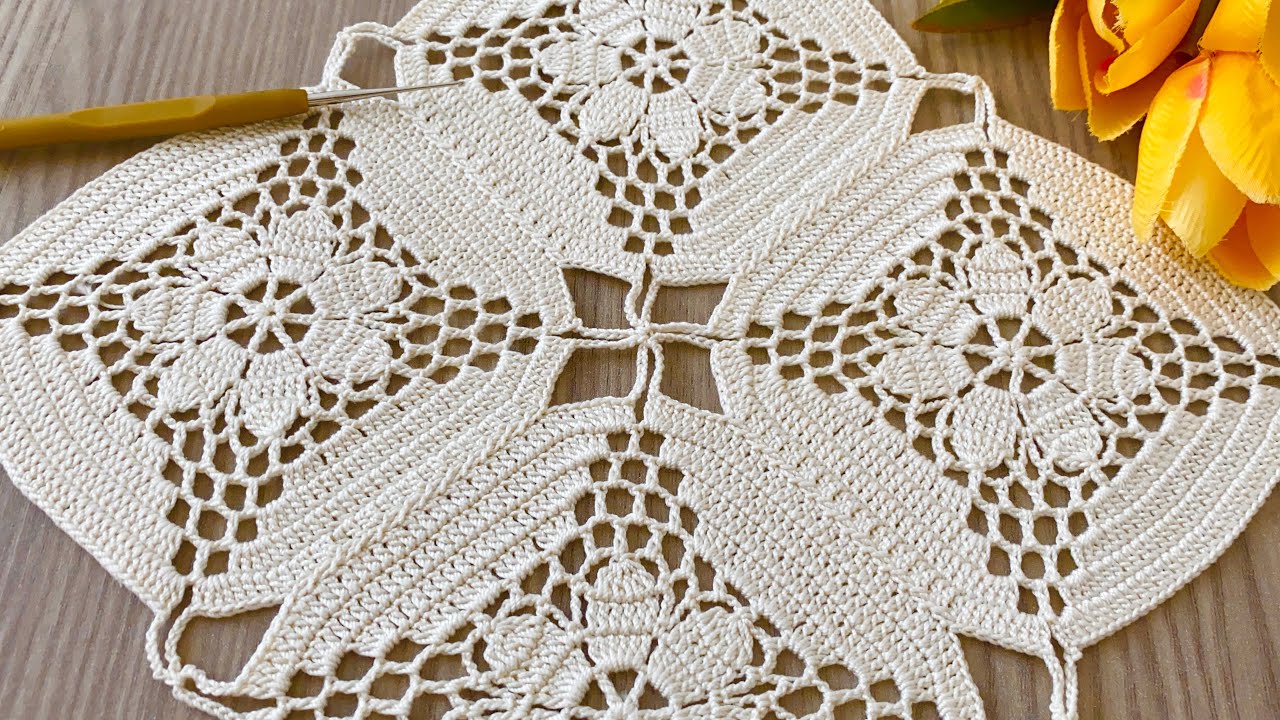
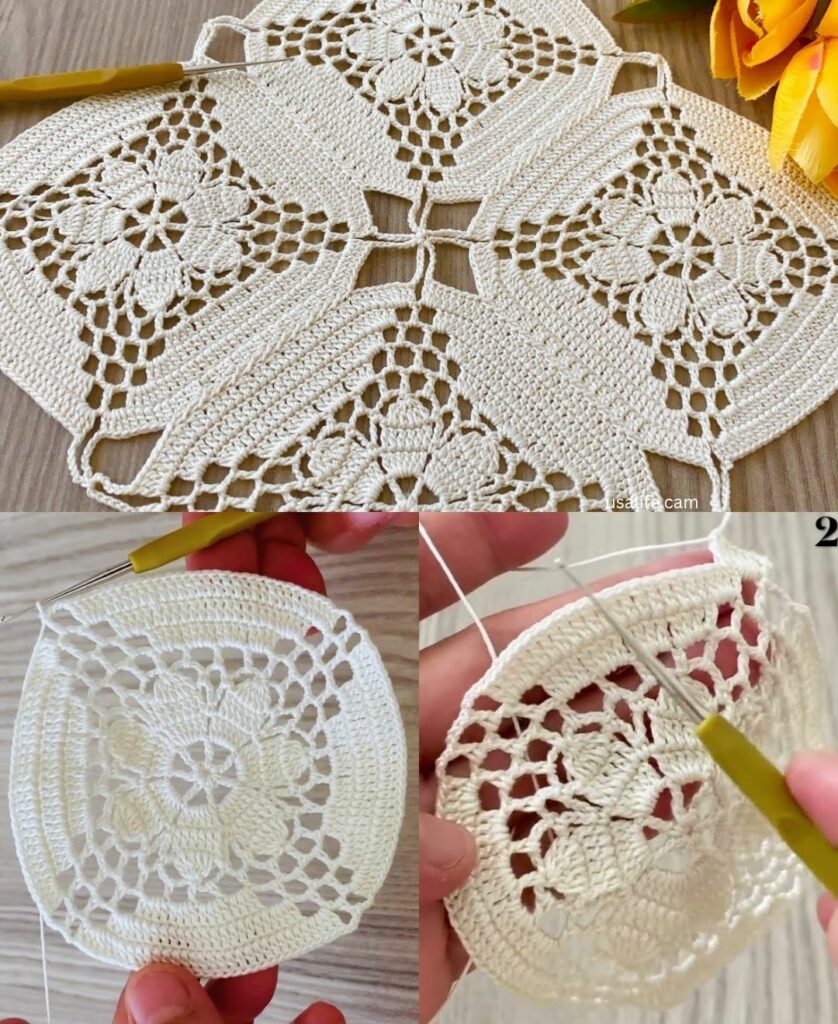
This design is the “Romanesque Cathedral Square.” It features a multi-layered, raised center that blossoms into an open, airy lace grid, finished with a crisp, solid border.
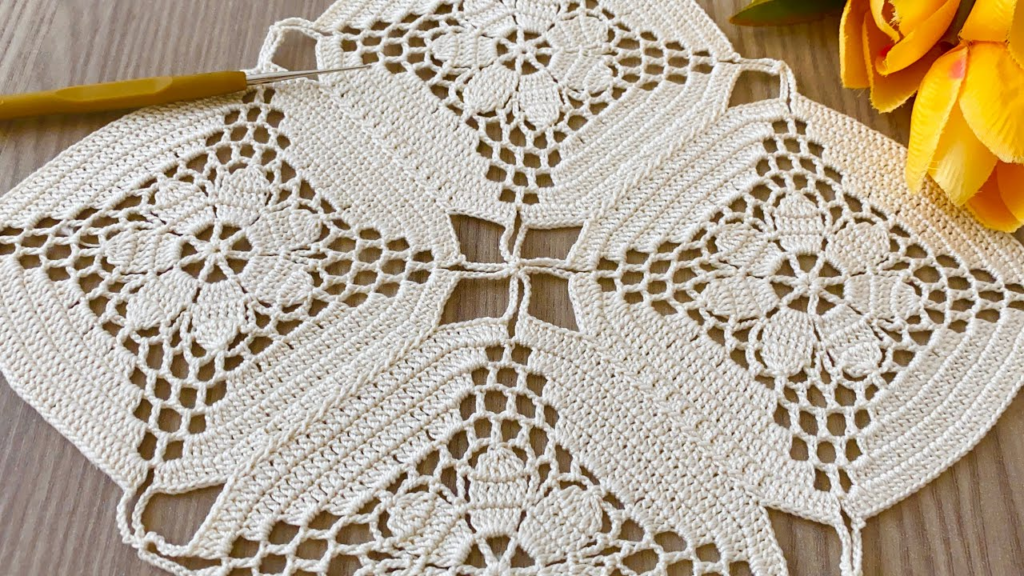
I. Technical Blueprint & Materials
- The Blueprint: A 5-round geometric square that can be infinitely scaled or joined.
- The Material Choice:
- For a Runner/Home Decor: Use 100% Mercerized Cotton (Worsted or DK weight) with a 3.25mm hook. This fiber has a beautiful glaze-like sheen and creates a stiff, durable tile that sits perfectly flat.
- For a Blouse/Garment: Use a soft Bamboo or Linen blend (Sport weight) with a 4.0mm hook. This creates a highly flexible, open mesh that drapes gracefully over the body.
- Color Strategy: A single solid color (like Cream, Slate Grey, or Olive) highlights the structural shadows of the stitches. Alternatively, use three contrasting shades to emphasize the transition from the round center to the square frame.
II. The Romanesque Square Pattern (US Terms)
Round 1: The Rosette Core
- Magic Ring: Ch 3 (counts as your first dc).
- Work 15 dc into the ring.
- Sl st to the top of the beginning ch-3 to close the circle. (16 dc total).
- Detail: Pull the magic ring tail as tight as humanly possible to close the center hole completely. This makes the motif look professional and secure.
Round 2: The Raised Framework
We use Front Post stitches here to lift the center off the fabric, creating depth.
- Ch 2 (does not count as a stitch).
- Work 1 FPDC (Front Post Double Crochet) around the next stitch, ch 1.
- Repeat from * to * in every stitch around.
- Sl st to the first FPDC to join. (16 FPDC, 16 ch-1 spaces).

Round 3: The Starburst Petals
- Sl st into the first ch-1 space. Ch 2 (counts as the start of a cluster).
- Work a 2-dc cluster in the same space, ch 2. (Leaving the last loop of each dc on your hook, then pulling through all loops).
- Work a 3-dc cluster in the next ch-1 space, ch 2.
- Repeat from * to * around in every ch-1 space.
- Sl st to the top of the first cluster to join. Fasten off this color if changing. (16 clusters, 16 ch-2 spaces).
Round 4: Squaring the Circle
This is the architectural magic round where we use a steep stitch-height gradient to turn the round flower into a perfect 90-degree square.
- Join your yarn in any ch-2 space.
- Corner 1: Ch 4 (counts as tr). In the same space, work (2 tr, ch 3, 3 tr).
- Side 1:
- Ch 1, skip a cluster space.
- Work 3 dc in the next ch-2 space.
- Ch 1, skip a cluster space.
- Work 3 hdc in the next ch-2 space (this drops the height in the center of the side).
- Ch 1, skip a cluster space.
- Work 3 dc in the next ch-2 space.
- Ch 1.
- Corner 2: In the next ch-2 space, work (3 tr, ch 3, 3 tr).
- Repeat the side and corner sequence around to complete the square. Sl st to the top of the starting ch-4 to join.

Round 5: The “Glazed Border” Frame
- Ch 1. Work 1 sc into every stitch and exactly 1 sc inside every ch-1 space along the sides.
- In the ch-3 corners, work (2 sc, ch 2, 2 sc) to maintain a sharp, crisp edge.
- Sl st to the first sc to join. Fasten off, leaving a long 12-inch tail for sewing.
III. “Detail and Detail”: Assembly & Layout Mapping
      THE RUNNER SYSTEM (Edge-to-Edge)           THE BLOUSE MESH (Point-to-Point)
          [S][S][S][S][S][S][S][S]                             /\  /\  /\
          [S][S][S][S][S][S][S][S]                            /  \/  \/  \
                                                              \  /\  /\  /
                                                               \/  \/  \/
1. For the Table Runner (The Flat Surface Rule)
- The Join: Place your squares right-sides facing together. Use a tapestry needle and the Mattress Stitch through the back loops only. This locks the squares into a perfectly flush, rigid grid that won’t bump or ridge under plates and glasses.
- The Layout: Join them in a $2 \times 10$ or $3 \times 12$ row grid depending on your table width.

2. For the Trendy Blouse (The Fluid Drape Rule)
- The Join: Use the Join-As-You-Go (JAYG) method. On Round 5, when you reach a corner ch-2, work ch 1, slip stitch into the corner of the neighboring square, ch 1. Do the same for the side stitches.
- The Advantage: This creates a flexible, mesh-like network between the squares that expands and moves beautifully with your body movements.
IV. The 3 Steps to a Flawless Finish
Step 1: The Invisible Needle Join
Never finish your final border round with a knot. Cut the yarn, pull the tail loop straight up out of the stitch, and thread it onto a needle. Guide the needle under both loops of the second stitch of the round, then pass it straight down back into the center of the last stitch. This creates an imitation stitch that is completely unnoticeable.
Step 2: Hard-Blocking for Home Decor
If making a runner, pin the squares to a foam board using a ruler to check that every corner is exactly 90 degrees. Spray heavily with a liquid starch spray and let dry for 24 hours. They will hold their flat, architectural shape forever.
Step 3: Steam-Blocking for Garments
If making a blouse, do not use starch. Pin the pieces out and hold a steam iron 1 inch above the yarn. Let the moisture relax the stitches. This gives the fiber a gorgeous, soft drape without squishing down the 3D post stitches in the center.
V. Project Summary Guide
| Design Element | Best for Runners | Best for Blouses |
| Yarn Type | Mercerized Cotton | Linen, Silk, or Bamboo |
| Hook Size | Small (Stiff fabric) | Large (Loose fabric) |
| Seam Method | Flat Mattress Stitch | Join-As-You-Go (Lacy) |
| Border Polish | Starch Ironed | Light Steam |
Are you going to make this motif into a single-color minimalist piece, or do you want to experiment with a multi-color yarn to give it an ombré effect?