by
by 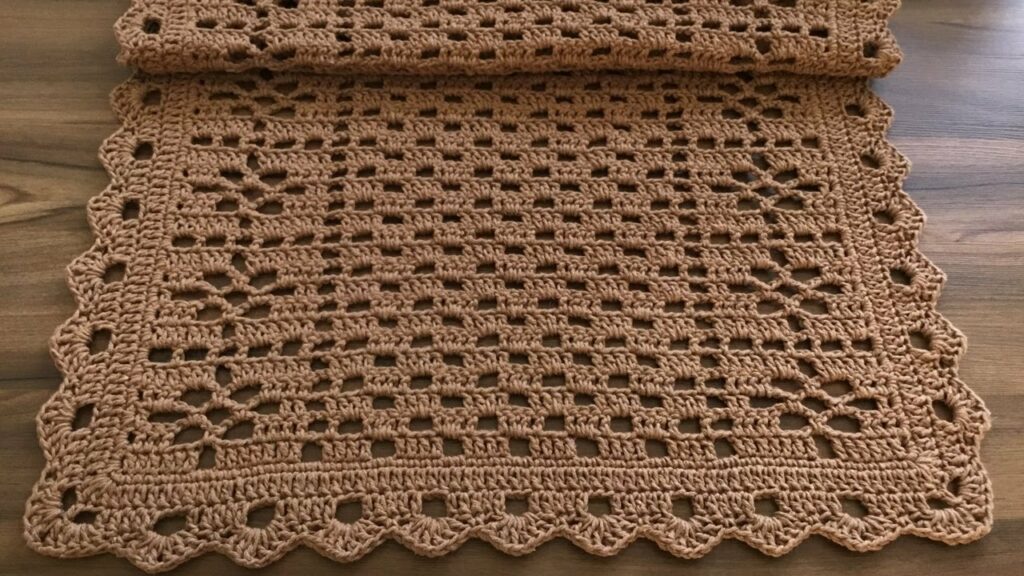
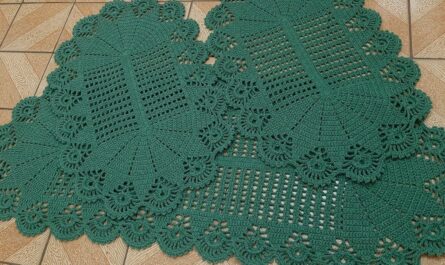
Crocheting a Rectangular Rug: A Beginner’s Guide
Crocheting a rectangular rug is a great project for beginners and experienced crocheters alike. It’s a versatile piece that can be used in any room in the house, and it’s a great way to use up leftover yarn.
Materials
- Crochet hook in the appropriate size for your yarn (usually a size H-8 or I-9)
- Yarn in your desired colors and weight (worsted weight yarn is a good choice for rugs)
- Tapestry needle
- Scissors
- Optional: stitch markers, blocking mats
Gauge
It’s important to check your gauge before you start crocheting. This will help you ensure that your rug will be the size you want it to be. To check your gauge, crochet a small swatch of the stitch pattern you’ll be using and measure it. Then, compare your gauge to the gauge given in the pattern or the recommended gauge for your yarn. If your gauge is different, you may need to adjust the number of stitches you crochet or the size of your hook.
The Basic Steps
- Chain the starting chain. The number of chains you need to make will depend on the width of your rug. A good rule of thumb is to chain 2 chains for every inch of desired width.
- Work the first row. Once you’ve chained your starting chain, you’re ready to start crocheting the first row. The stitch pattern you use is up to you, but some popular choices for rugs include single crochet, double crochet, and half double crochet.
- Continue crocheting rows. Once you’ve completed the first row, simply chain 2 (or the number of chains required for your stitch pattern) to turn your work, and then crochet the next row. Continue in this way until your rug is the desired length.
- Finishing off. When you’ve reached the desired length, chain 1 and then slip stitch into the first stitch of the row. Weave in the ends of your yarn and trim any loose threads.
Tips for Success
- Use a yarn that is washable and durable, such as cotton or acrylic.
- Choose a stitch pattern that is easy to repeat and creates a dense fabric.
- Be mindful of your tension. If your stitches are too loose, your rug will be floppy. If your stitches are too tight, your rug will be stiff.
- Block your rug when it’s finished. This will help it to lay flat and even.
Here are a few additional things to keep in mind:
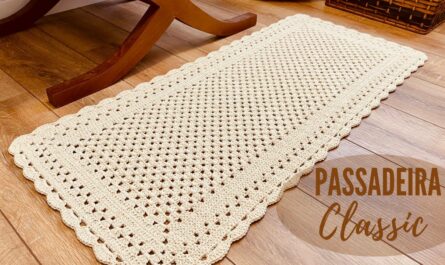
- You can add a border to your rug for a more finished look.
- You can also change the colors of your yarn to create a striped or patterned rug.
- If you’re feeling ambitious, you can try crocheting a rug with a more complex stitch pattern, such as a granny square or a ripple stitch.
With a little practice, you’ll be crocheting beautiful rectangular rugs in no time!
I hope this blog has inspired you to crochet your own rectangular rug. If you have any questions, please feel free to leave a comment below.
Happy crocheting!
I would also like to add that there are many great resources available online and in libraries that can help you learn how to crochet. There are also many crochet communities online where you can get help and inspiration from other crocheters.
I hope this helps!