 by
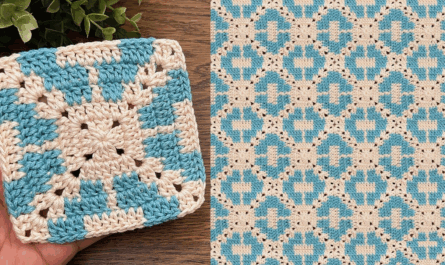
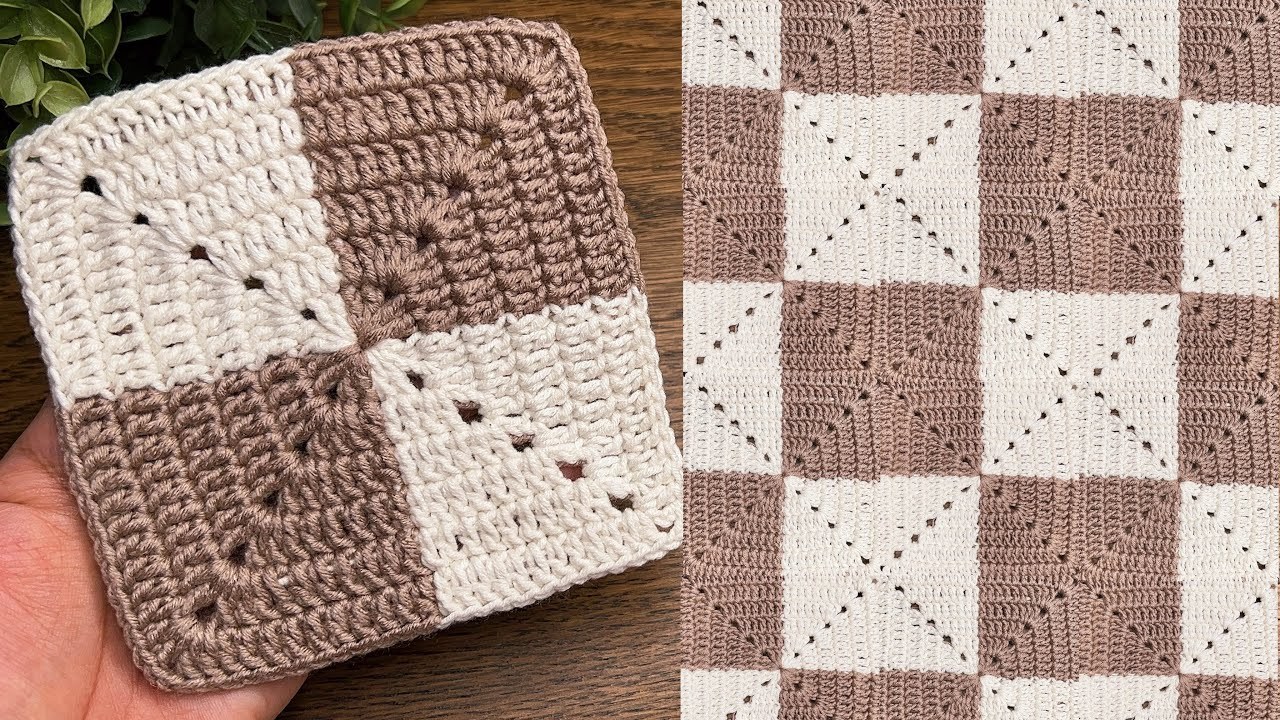
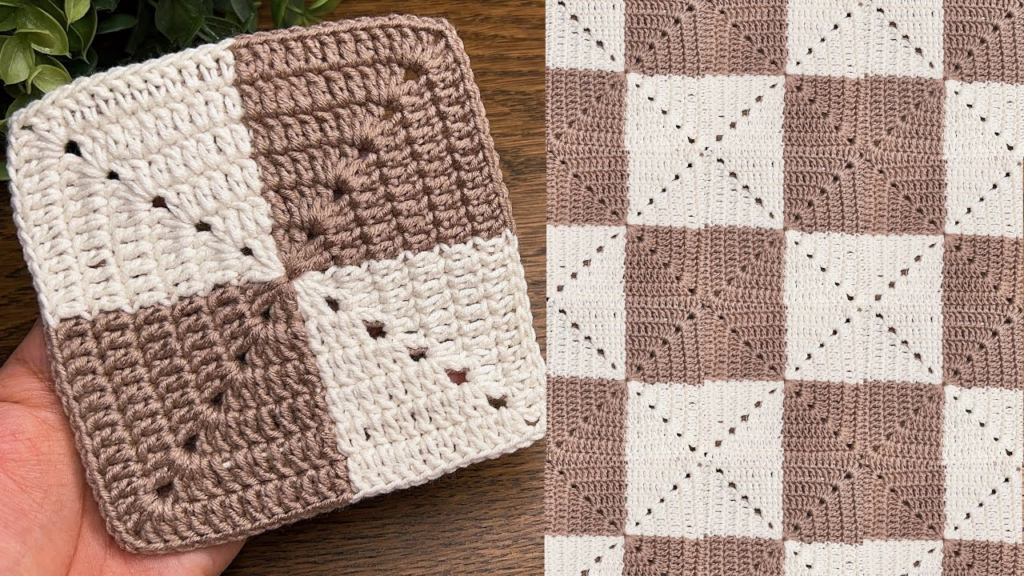
by The Granny Square is the foundational project of crochet. It is modular, portable, and perfect for using up yarn scraps. Below is a comprehensive guide to crafting a classic, professional-looking square.
🧶 The Toolkit
- Yarn: Medium-weight (Worsted) acrylic or cotton.
- Hook: 5.0 mm (H/8).
- Stitch Key (US Terms):
- ch: Chain
- dc: Double Crochet
- sl st: Slip Stitch
🛠 The Step-by-Step Construction
Round 1: The Core
- The Ring:
ch 4, join with asl stto the first chain to form a circle. - The Starting Cluster:
ch 3(counts as firstdc), then work 2 dc into the center of the ring. (You now have a “cluster” of 3 stitches). - The Corner:
ch 2. - The Pattern: Work 3 dc into the ring,
ch 2. Repeat this 3 more times until you have 4 clusters total. - Join:
sl stto the top of your initialch 3.

Round 2: Expanding the Square
- Move to Corner:
sl stacross the next 2 stitches and into the nearest cornerch-2space. - First Corner:
ch 3(counts asdc), 2 dc, ch 2, 3 dc all into the same corner space. - The Side:
ch 1. - The Corners: Move to the next corner hole and work 3 dc, ch 2, 3 dc. Repeat for all 4 corners, remembering to
ch 1between each corner. - Join:
sl stto the top of your initialch 3.
Round 3 & Beyond: The “Granny” Rhythm
- Move to Corner:
sl stto the nearest corner hole. - Corner Pattern: Always work (3 dc, ch 2, 3 dc) in every corner.
- Side Pattern:
ch 1. In every “side gap” (the space created by thech 1in the round below), work a cluster of 3 dc. - Repeat: Follow this pattern: corner groups in the corners, and 3-dc clusters in all side gaps.
- Join:
sl stto the top of your startingch 3.

✨ Professional Finishing Touches
- The Turning Secret: If you notice your square is spiraling or twisting, turn your work over after each round and start the next round in the opposite direction. This keeps your stitches vertical and ensures a perfectly flat square.
- Blocking: This is non-negotiable for a professional look. Lay your finished square on a flat surface, pin the four corners down so they form perfect $90^\circ$ angles, and lightly steam it with a handheld steamer. Once it dries, it will hold that perfectly crisp, flat shape forever.
- Weaving Ends: Never just tie knots! Use a tapestry needle to weave your yarn tails back and forth through the back of your stitches for at least an inch in different directions. This ensures your square stays secure after machine washing.
💡 Pro-Tips for Your Project
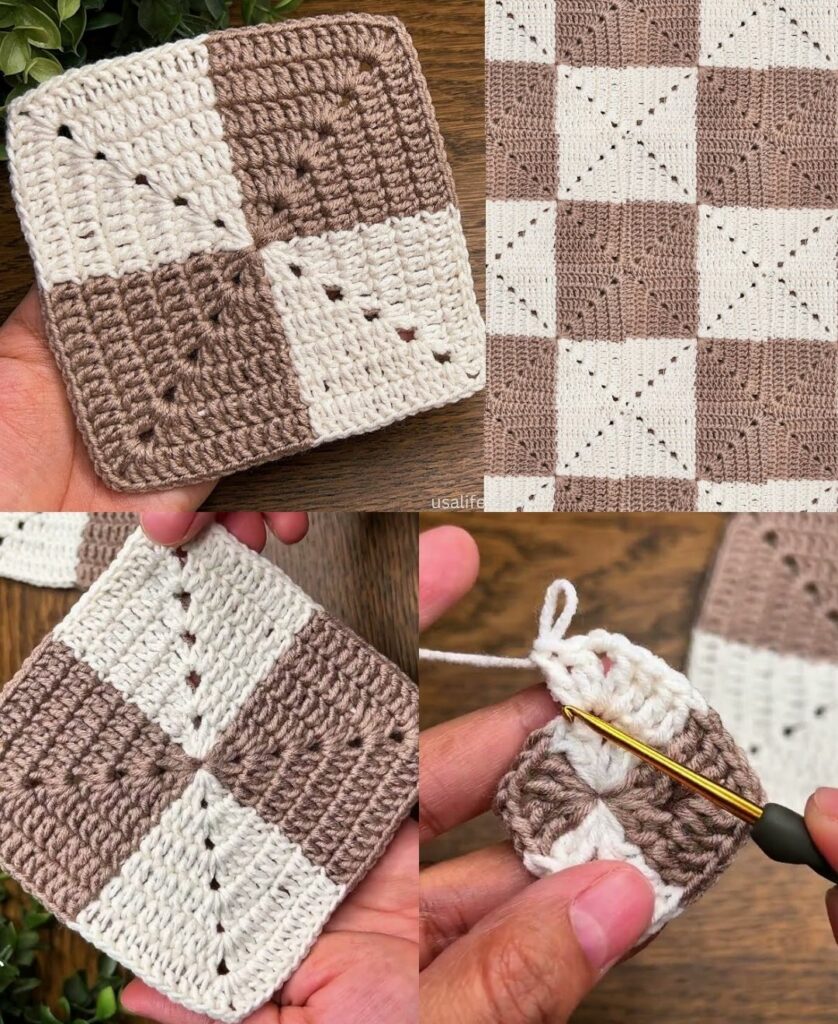
- Color Strategy: Change colors every round to create a vibrant look, or keep the center two rounds consistent and change the outer round to a neutral color (like cream or charcoal) to create a beautiful “frame” that ties all your squares together.
- Joining: When you are ready to join your squares, look into the “Flat Slip Stitch Join.” It creates a smooth, professional, woven-looking seam on the front of your blanket.
Would you like to know how to calculate exactly how many squares you need for a full-sized blanket, or are you looking for a specific, decorative border to finish the edges of your finished piece?