by
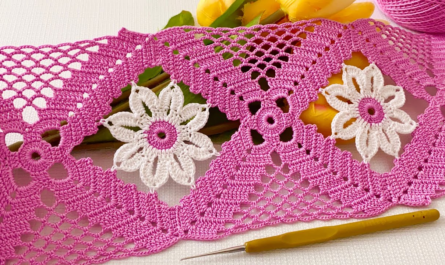
by Creating a crochet doily is a meditative and rewarding process that transforms simple thread into an intricate, heirloom-quality piece of art. While doilies look complex, they are almost always built using a radial construction—meaning you work in circular rounds, expanding outward from the center.
Here is a detailed, step-by-step masterclass on crafting your first professional-looking doily.
🧶 The Doily Maker’s Toolkit
| Tool | Recommendation | Why? |
| Thread | Size 10 Cotton Crochet Thread | The industry standard for a delicate, crisp finish. |
| Hook | 1.5 mm – 1.75 mm (Steel) | Smaller steel hooks are required for thread work. |
| Essentials | Rust-proof T-pins & Blocking Board | Mandatory for giving the doily its final, starched shape. |
Stitch Key (US Terms):
- ch: Chain
- sl st: Slip Stitch
- dc: Double Crochet
- tr: Treble Crochet (for taller, lacier stitches)
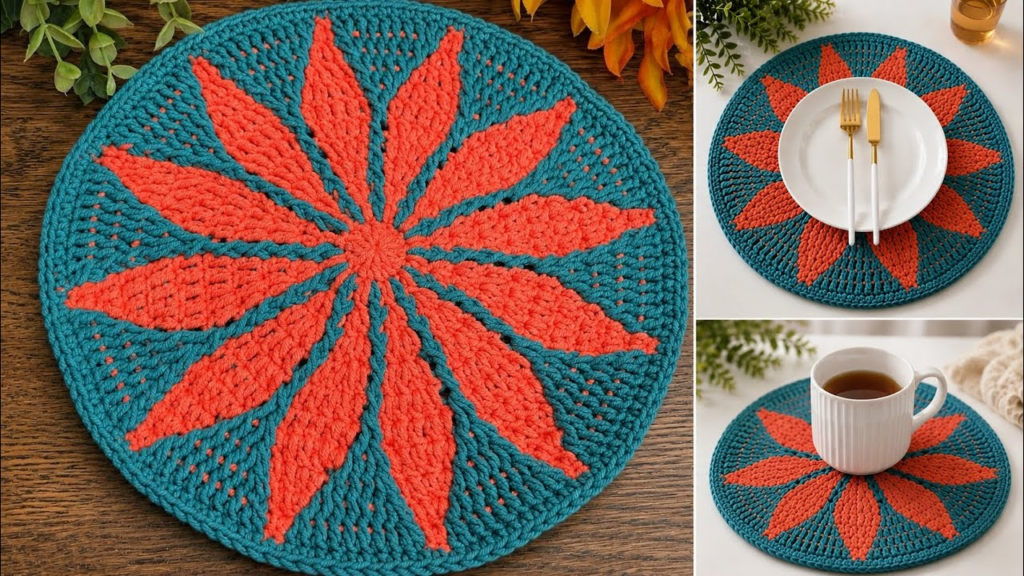
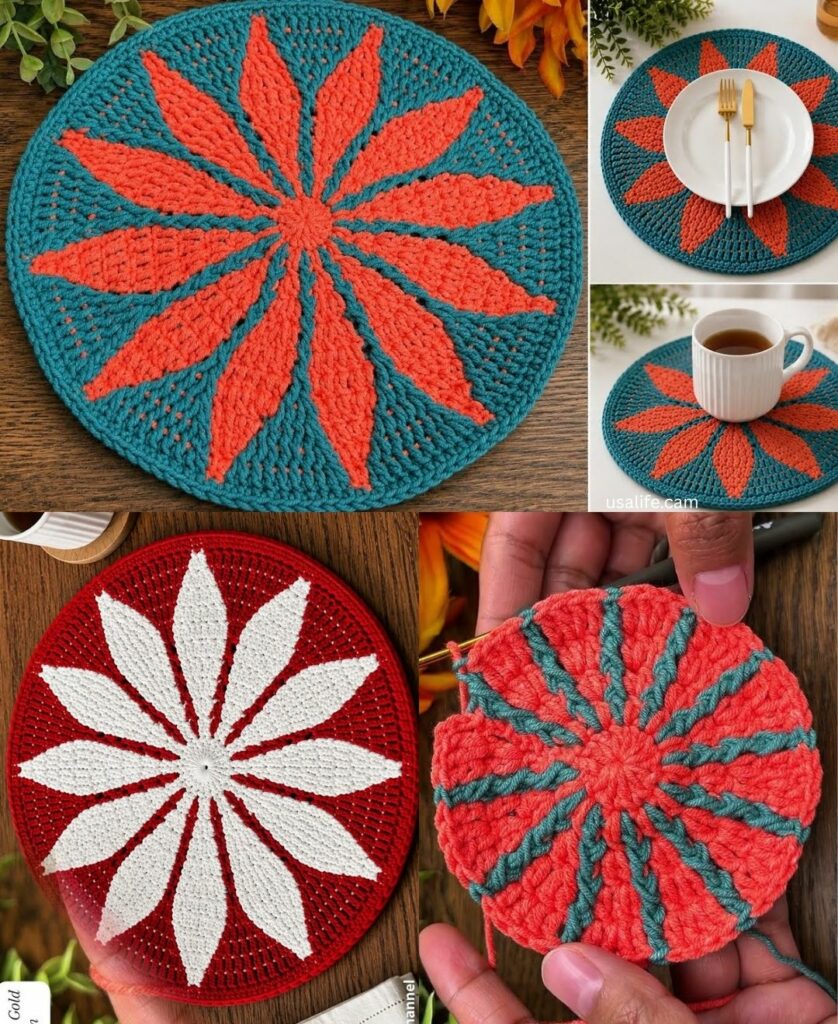
🛠 Step-by-Step: The “Radiating Petal” Doily
Round 1: The Foundation
- Start:
ch 8, join with asl stto the first chain to form a ring. - The Base:
ch 3(counts as first dc). Work 23 dc into the ring (24 stitches total). - Join:
sl stto the top of the initialch 3.

Round 2: The “Spokes”
- Pattern:
ch 4(counts as dc + ch-1). [Work 1 dc in the next stitch, ch 1]. - Repeat: Repeat this 23 times around the circle.
- Join:
sl stto the 3rd chain of your startingch-4.
Result: You have created a small, wheel-like structure that serves as the base for your lace.
Round 3: The Expanding Lace
- Travel:
sl stinto the firstch-1space. - Pattern:
ch 3(counts as dc),2 dcin the same space. - The Increase:
ch 2. Skip the next dc, and work3 dcin the nextch-1space. - Repeat: Work
[3 dc, ch 2]in everych-1space around. - Join:
sl stto the top of the startingch 3.

Round 4: The Radiating Rays
- Pattern:
sl stto the center dc of the 3-dc cluster. - The Ray:
ch 5(counts as dc + ch 2).1 dcin the same stitch. - The Gap:
ch 3. - Repeat: Work
[1 dc, ch 2, 1 dc](a V-stitch) in the center dc of every cluster around, separated bych 3.
Round 5: The Finishing Picot Edge
- Pattern: In every
ch-2V-stitch space, work5 dc. - The Picot: At the top of the 5th dc,
ch 3andsl stback into the top of the dc you just made. This creates a tiny, decorative “point” or “picot.” - The Anchor:
scinto the center of thech-3space from the previous round. - Join:
sl stto the very first stitch and fasten off.

📐 The “Pro” Finishing Process: Blocking
A doily is not finished until it is blocked. Without this, your work will be a rumpled, circular mess.
- The Soak: Submerge your finished doily in cool water with a small amount of liquid starch (if you want it stiff) or fabric conditioner (if you want it soft).
- The Pinning: Lay the doily flat on a blocking mat or a thick towel. Start by pinning the center, then work outward, pinning every “picot” or point. Use a ruler to ensure each point is exactly the same distance from the center.
- The Tension: You want the doily to be stretched taut. This opens up the lace stitches and creates the geometric perfection you see in heirloom pieces.
- The Set: Leave the doily pinned for at least 24–48 hours until it is bone dry. When you remove the pins, it will hold its beautiful, star-like shape permanently.
💡 Troubleshooting for Beginners
- “My doily is ruffling (wavy edges)”: You have too many stitches. Your tension might be too loose, or the pattern is increasing too rapidly. Try using a slightly smaller hook.
- “My doily is curling (like a bowl)”: You don’t have enough stitches. Your tension is likely too tight, or you need to add extra chain stitches in the spaces to allow the fabric to lay flat.
Would you like me to recommend a specific, more intricate pattern for an advanced doily, or would you like to practice this foundation on a smaller scale, such as a coaster?